


Hey Everyone, this blog is on Github an Internet hosting service for software development and version control using Git. my last blog is on Git Version Control if you haven't read it, please go and read that and then come back for this blog.
What is GitHub?
We may infer from the name that it is a Hub with initiatives, communities, etc. GitHub is a hosting service for Git repositories that offers a web-based graphical user interface. It is the world's biggest community. When a project is open-source, its specific repository is made public and receives numerous contributions.
We can access Github central repository via HTTPS or SSH.
The key benefits of GitHub are as follows:
- It is easy to contribute to open-source projects via GitHub.
- It helps to create an excellent document.
- You can attract a recruiter by showing off your work. If you have a profile on GitHub, you will have a higher chance of being recruited.
- It allows your work to get out there in front of the public.
- You can track changes in your code across versions.
Creating A GitHub Account
Hop on to GitHub and create your own GitHub account that you will use to create remote repositories and get started with your Open - Source Journey.
Tip💡- If you're a student, do consider getting a GitHub Student Developer Pack which provides you with different tools and resources to head start your tech journey.
Click to Sign Up for GitHub then you can just follow the steps to create the account.
Creating a Repository On GitHub
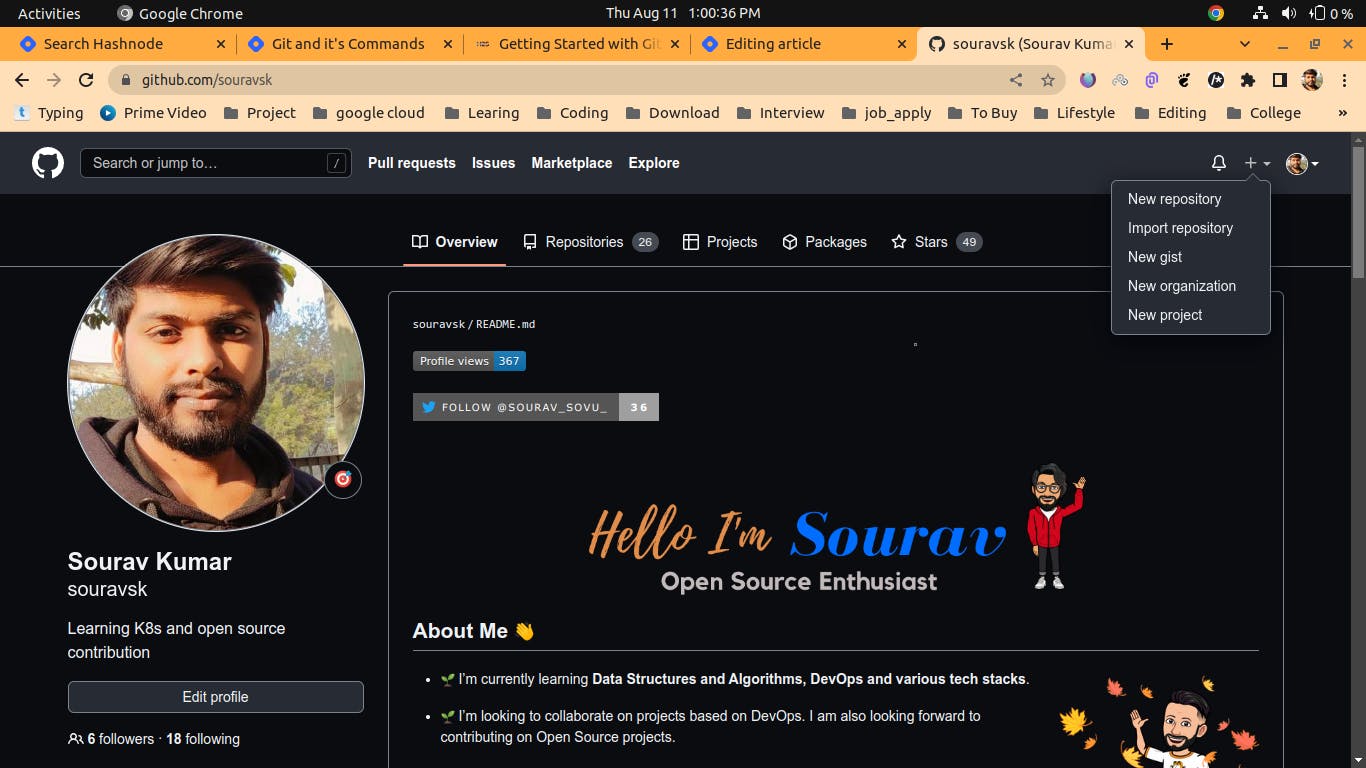
- Step 1:- Click on the "+" And select "New Repository".
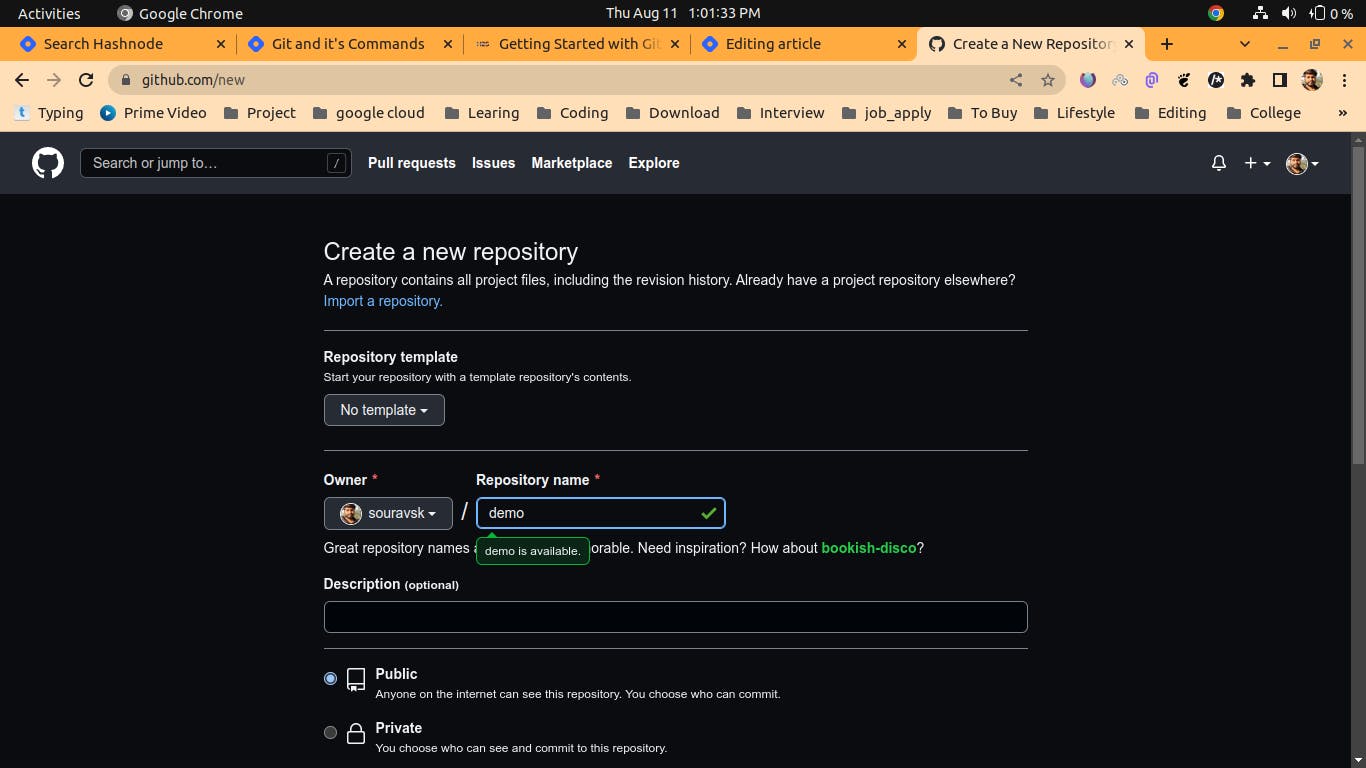
- Step 2:- Enter a name for your repository and click create a repository by leaving everything on default.
✨Your repo is created. Now, you can start working on it.
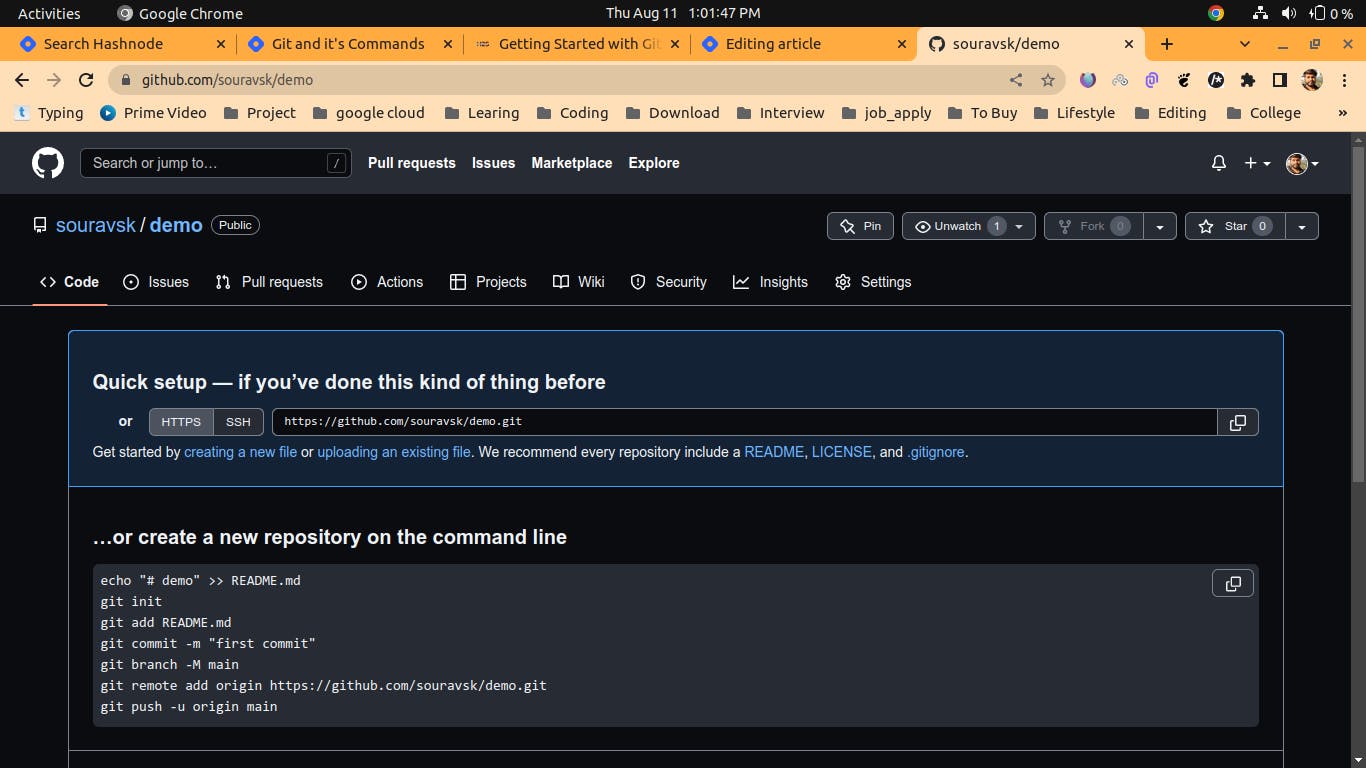
- Step 3:- Connecting your local repository to a remote repository
The GitHub repository we have created is empty, we have to upload our project into it. To do this we have to connect our remote repo(called origin) with our local repo. To do this, we need to copy the remote repo link.
git remote add origin https://github.com/souravsk/demo.git
To check if the remote is added successfully or not use the following command
git remote -v
- Step 4 :- Now add files to your local repository folder which you just created after that we will add to the repository by using git commands
git add .
" . " This means it will add all files and folder init.
- Step 5:- Now after adding all the files we will commit it by using the git command.
git commit -m " First Commit"
-m it is used for the message.
- Step 6:- Now, it's time to push our code which will send the local commits to the remote branch of the repository.
git push origin main
Now, once you go to your remote repository and refresh the page you will see that the code is uploaded on GitHub.
Conclusion
Now You can create awesome projects and share them with everyone and if your project is good then people will also contribute to your project.
GitHub is important for every developer. The aim of this blog was to get you started with GitHub and teach you some basic git commands. After successfully completing this tutorial it's time for you to take off the training wheels and explore these tools on your own. Please leave a remark or question in the space provided below.
Welcome to the open-source community through Git and GitHub, where every idea takes the form of a Pull Request.
Happy Learning!