


Welcome, fellow developers!
Are you tired of manually analyzing your code quality? Do you want to seamlessly automate and integrate the process into your CI/CD pipeline? Well, then you've come to the right place!
Today's blog post is all about integrating SonarQube with Jenkins, two powerful tools that can help you improve your software quality and development process.
So, buckle up and get ready to learn how to:
Install and configure SonarQube and Jenkins
Set up a SonarQube Scanner in Jenkins
Run Jenkins Pipeline
By the end of this blog post, you'll be able to confidently integrate SonarQube and Jenkins to ensure the quality of your software throughout the development lifecycle. Let's dive in!
Install and Configure SonarQube and Jenkins
We will be using Docker to install SonarQube and Jenkins. So make sure that you have installed Docker in your system.
Jenkins
First, we will install Jenkins. To download and run the Jenkins docker image we will use this command.
docker run -d -p 8080:8080 -p 50000:50000 -v jenkins_home:/var/jenkins_home jenkins/jenkins:lts-jdk11
After running this code the docker will download the docker image from the docker hub and then run it on port 8080. We have also created a volume so that we can store the data so that if the docker container gets crushed and restarted again it can get all the reviews configuration.
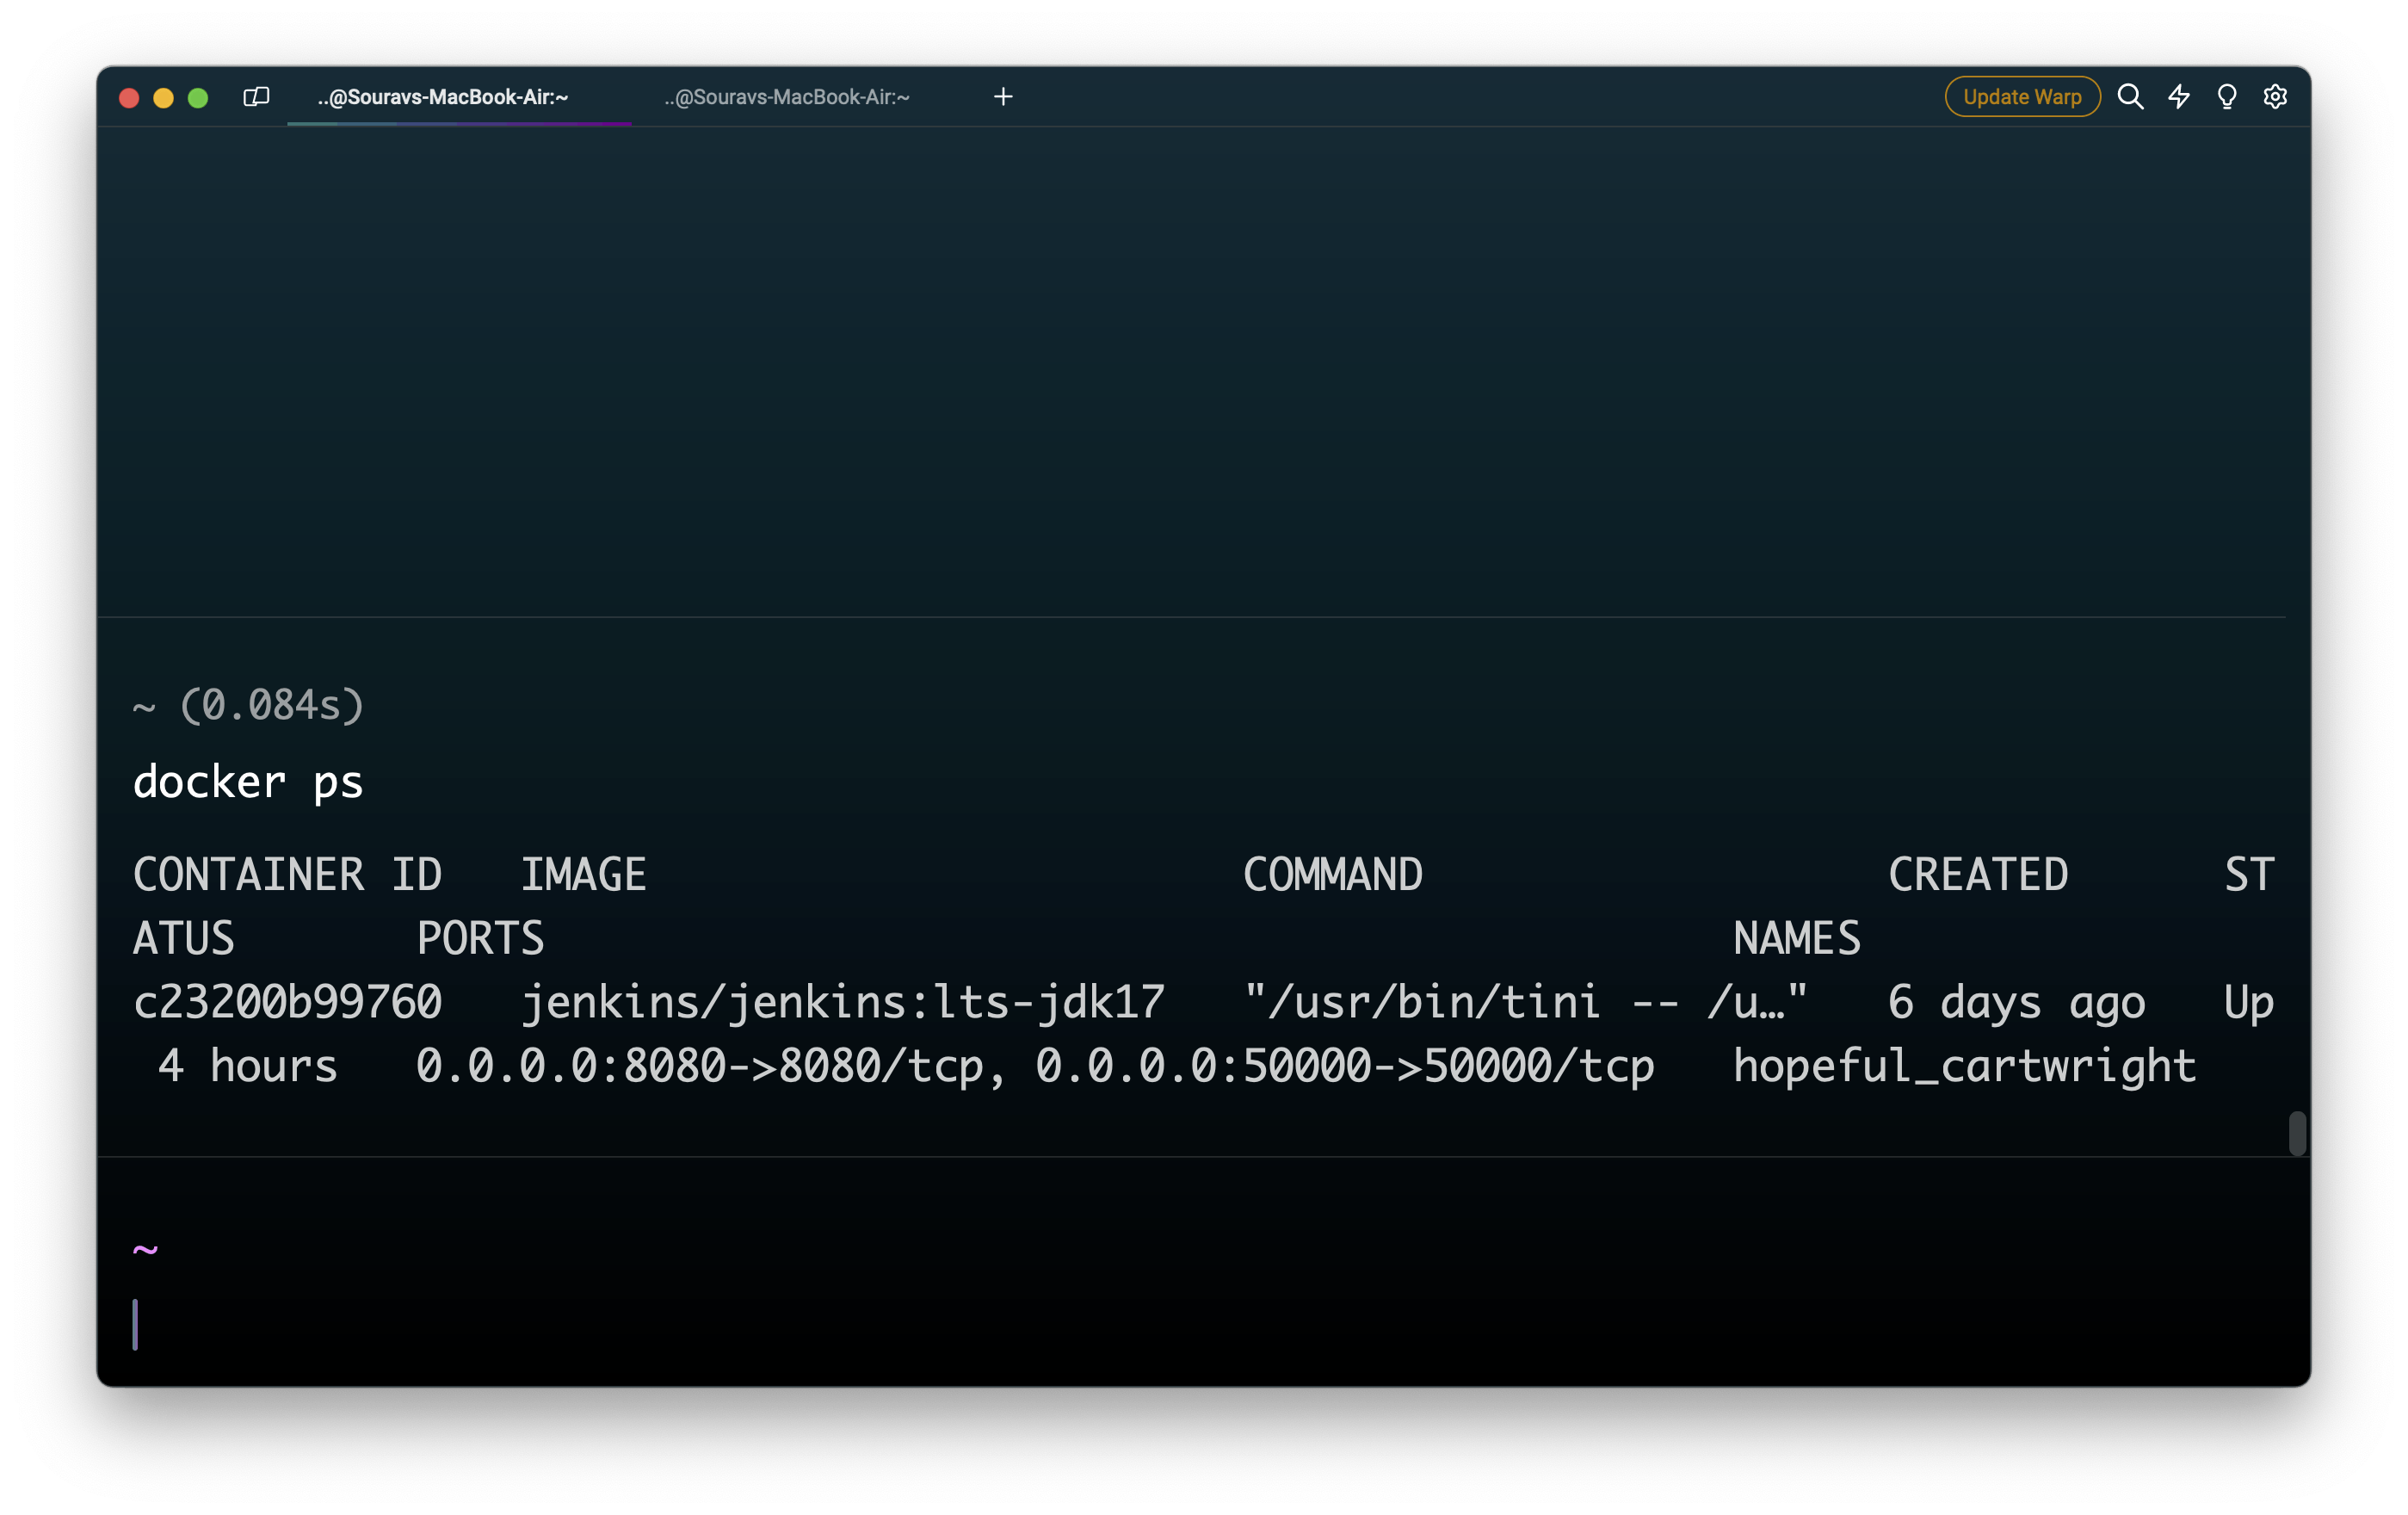
You can use the command docker ps to see the running container. if it is running open your browser then visit localhost:8080 it will ask you to create a username and password and then install some plugin.
SonarQube
To install sonarQube we will use docker compose because we have sonarQube needs a database to store all the data on that database. To do so we will docker-compose file.
  version: "3"

  services:
    sonarqube:
      image: sonarqube:lts-community
      depends_on:
        - db
      environment:
        SONAR_JDBC_URL: jdbc:postgresql://db:5432/sonar
        SONAR_JDBC_USERNAME: sonar
        SONAR_JDBC_PASSWORD: sonar
        SONAR_ES_BOOTSTRAP_CHECKS_DISABLE: "true"
      volumes:
        - sonarqube_data:/opt/sonarqube/data
        - sonarqube_extensions:/opt/sonarqube/extensions
        - sonarqube_logs:/opt/sonarqube/logs
      ports:
        - "9000:9000"
    db:
      image: postgres:12
      environment:
        POSTGRES_USER: sonar
        POSTGRES_PASSWORD: sonar
      volumes:
        - postgresql:/var/lib/postgresql
        - postgresql_data:/var/lib/postgresql/data

  volumes:
    sonarqube_data:
    sonarqube_extensions:
    sonarqube_logs:
    postgresql:
    postgresql_data:
This docker file will pull the sonarqube image with some env, volume, and posts and then we have the Postgres database image.
To run this docker compose.yaml the file we have to use the command docker compose -f "Docker Compose.yml" up -d --build.
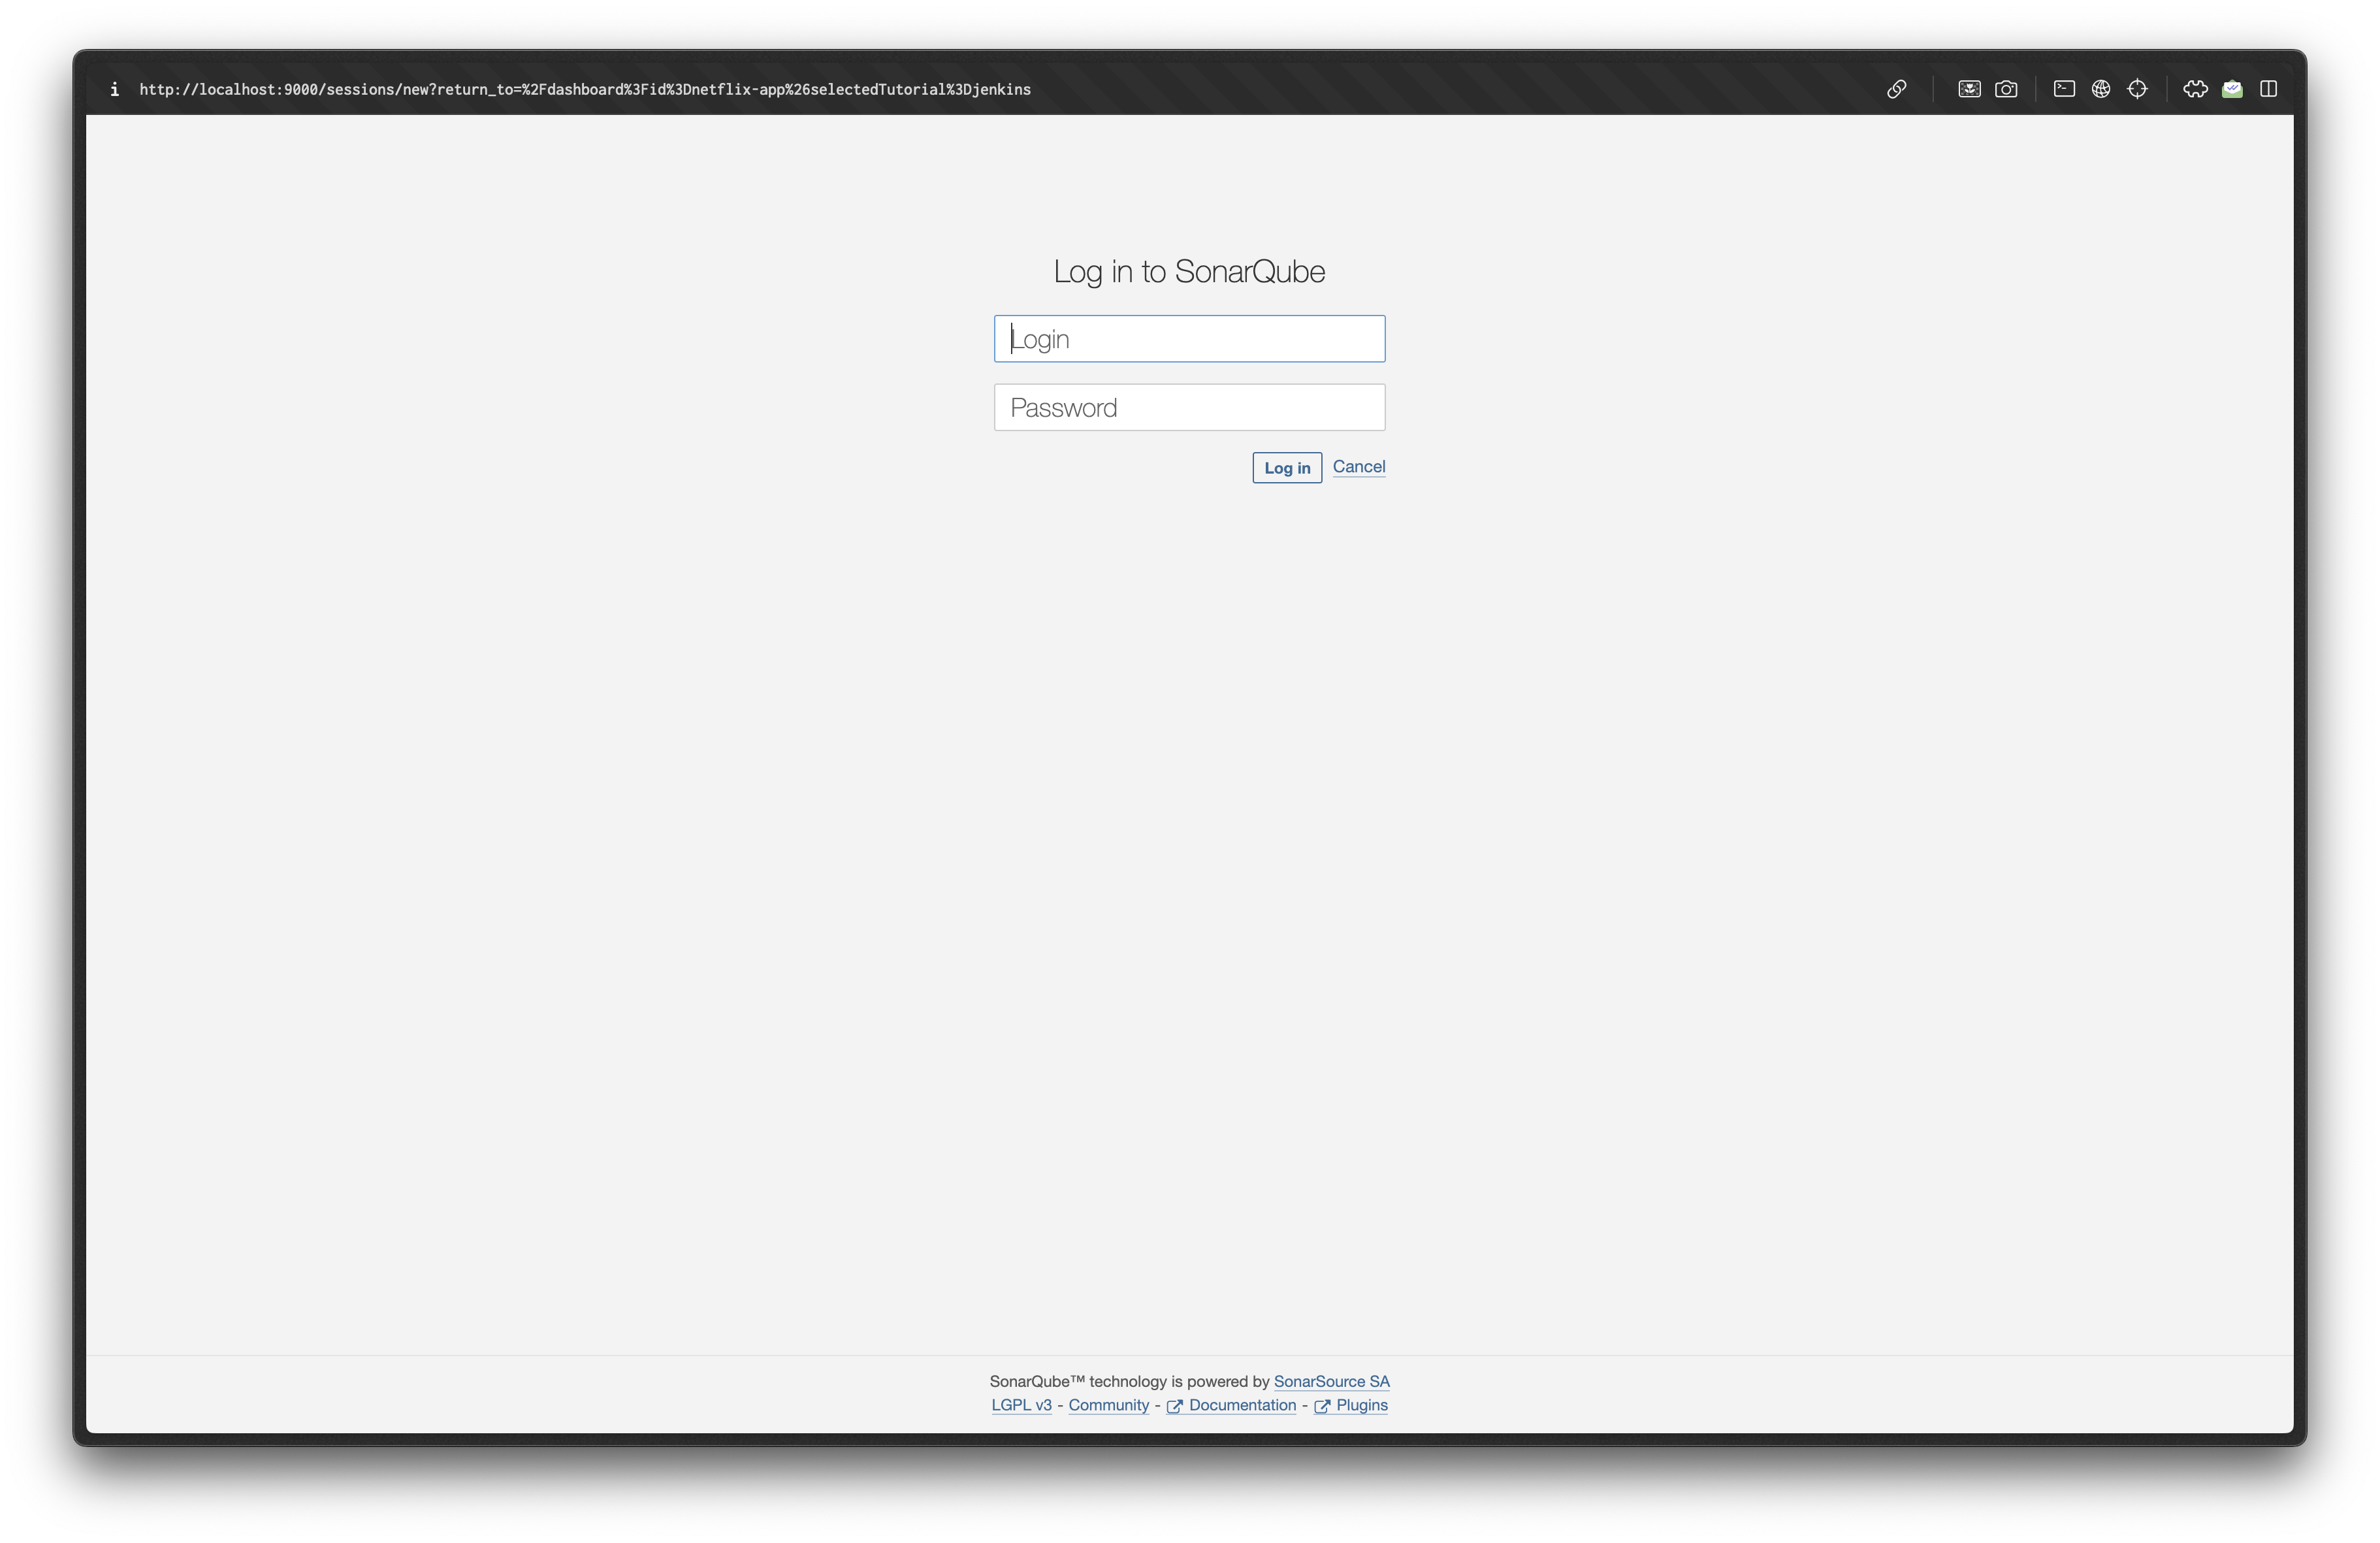
When it is built and starts you can go to localhost:9000
Set up a SonarQube Scanner in Jenkins
First, we will step up our Jenkins
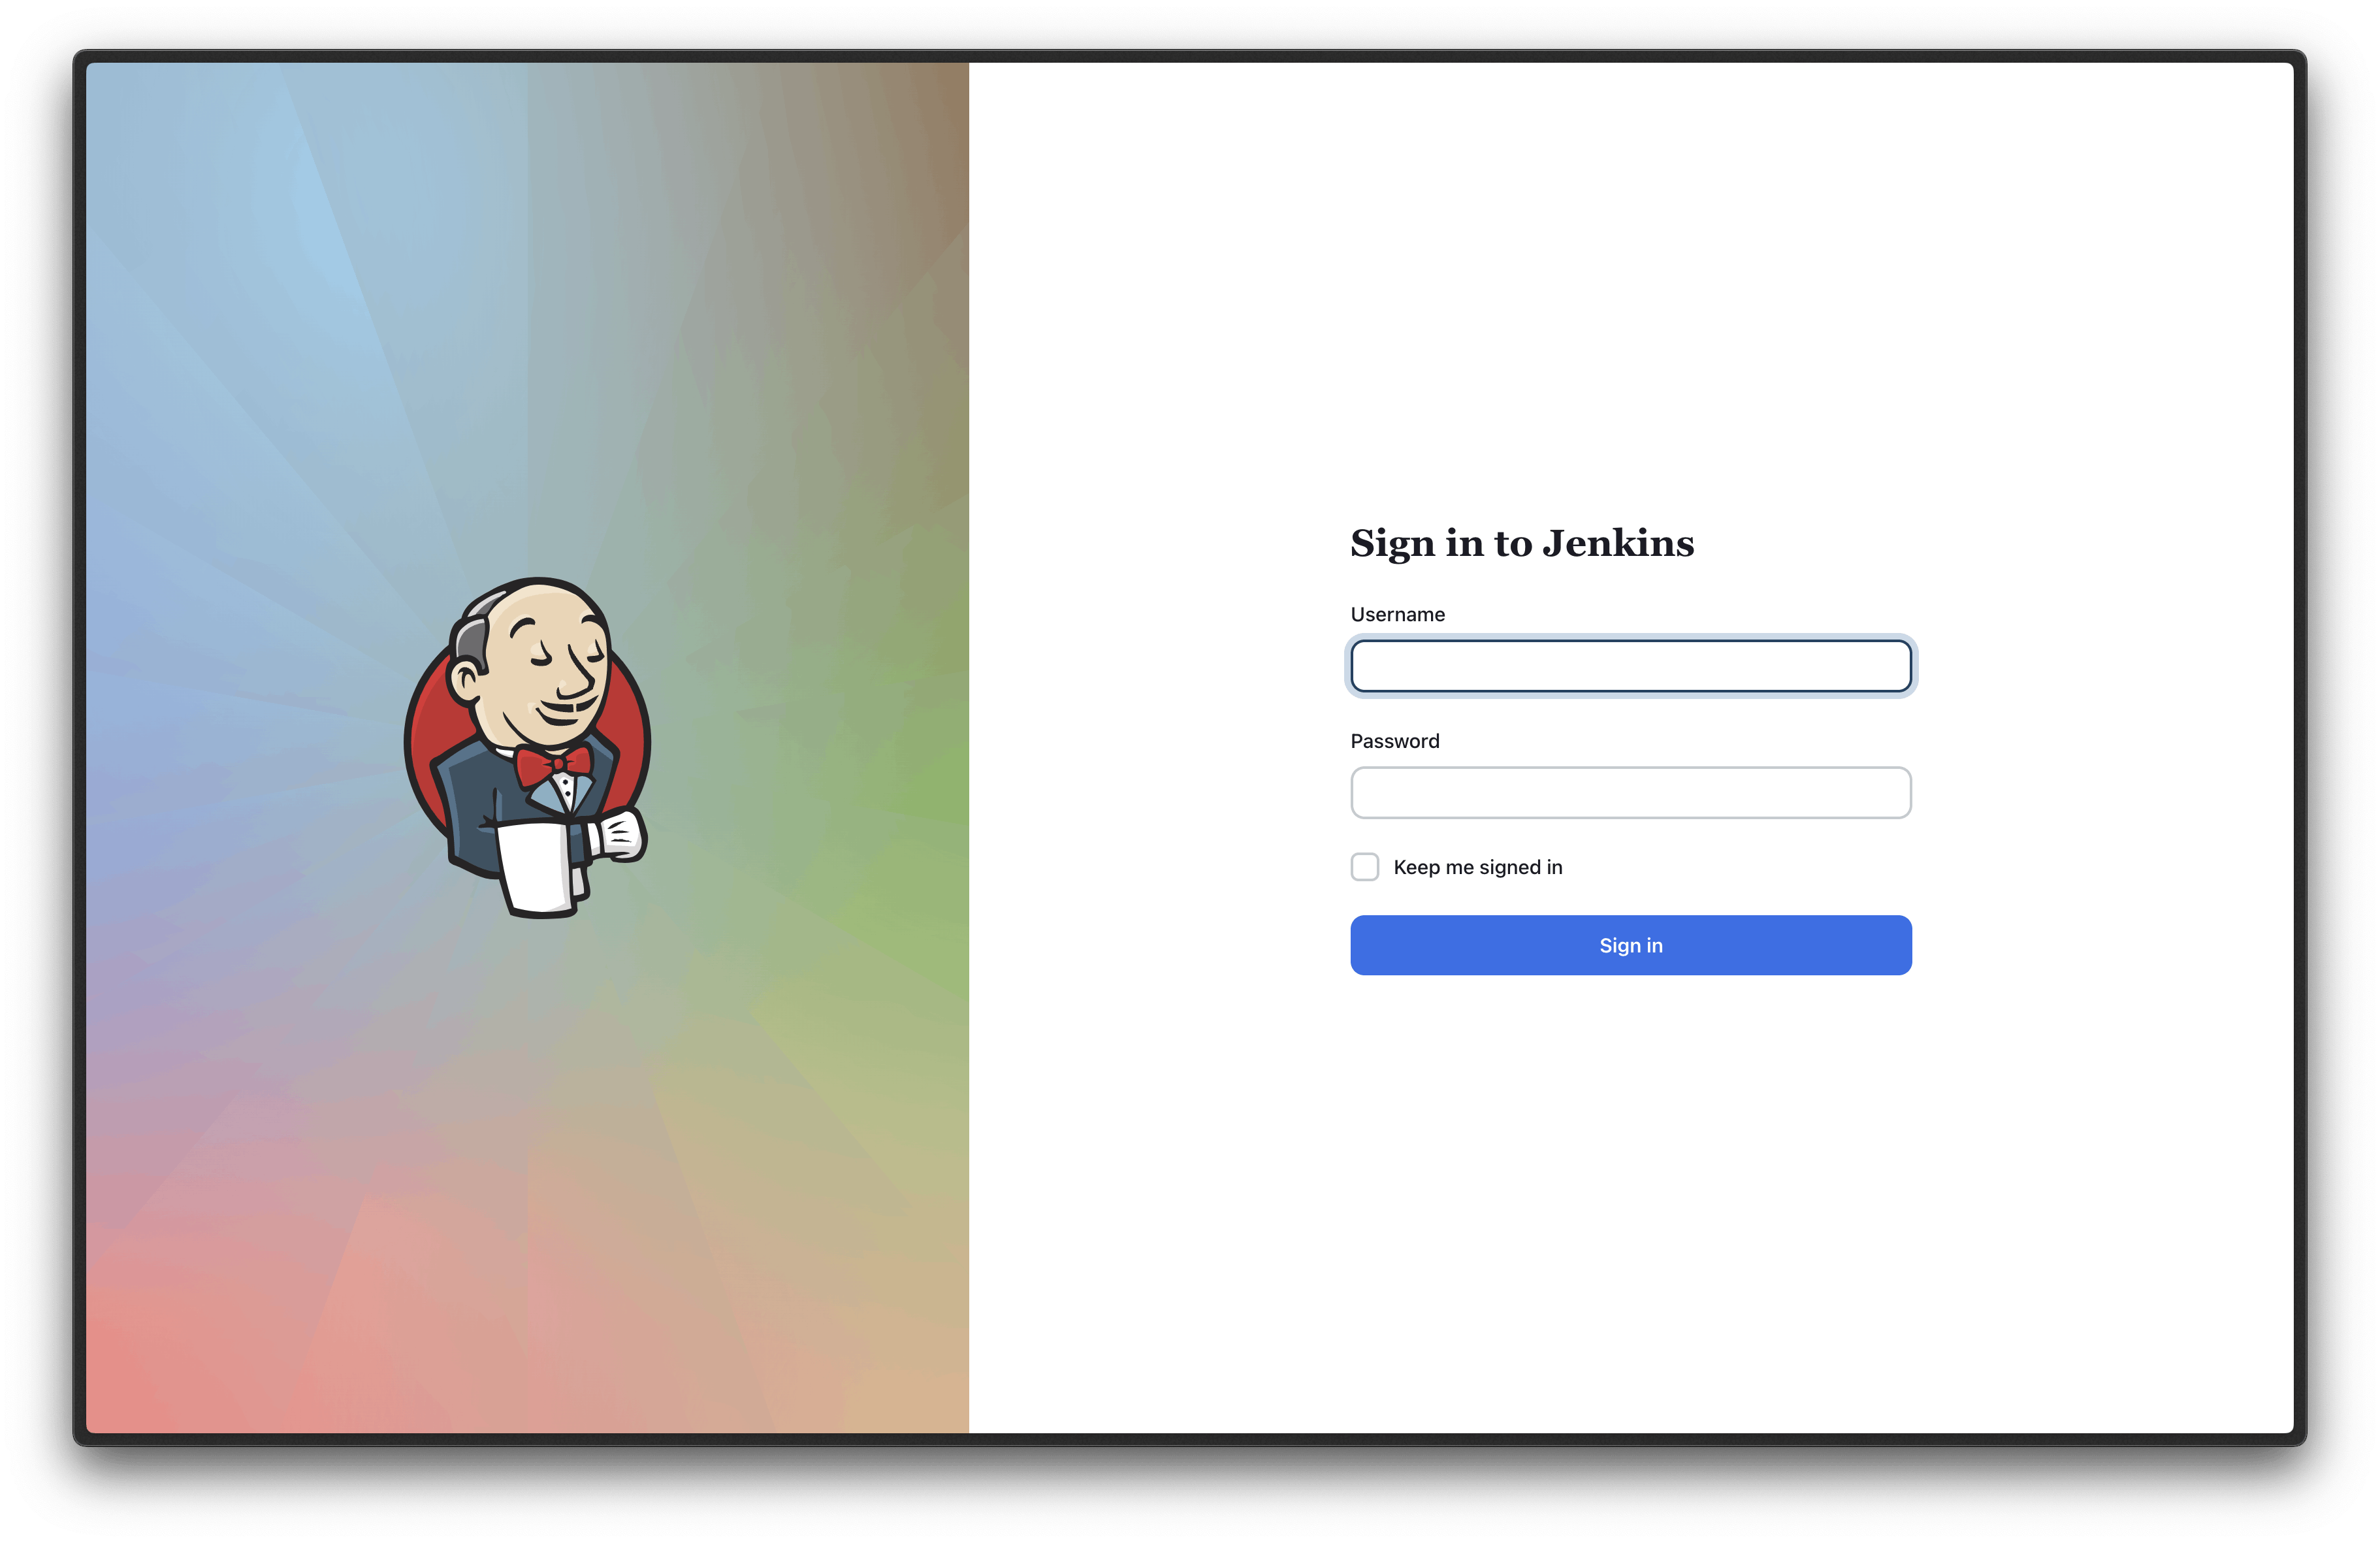
1 - Login with your username and password that you have created while logging in on Jenkins.
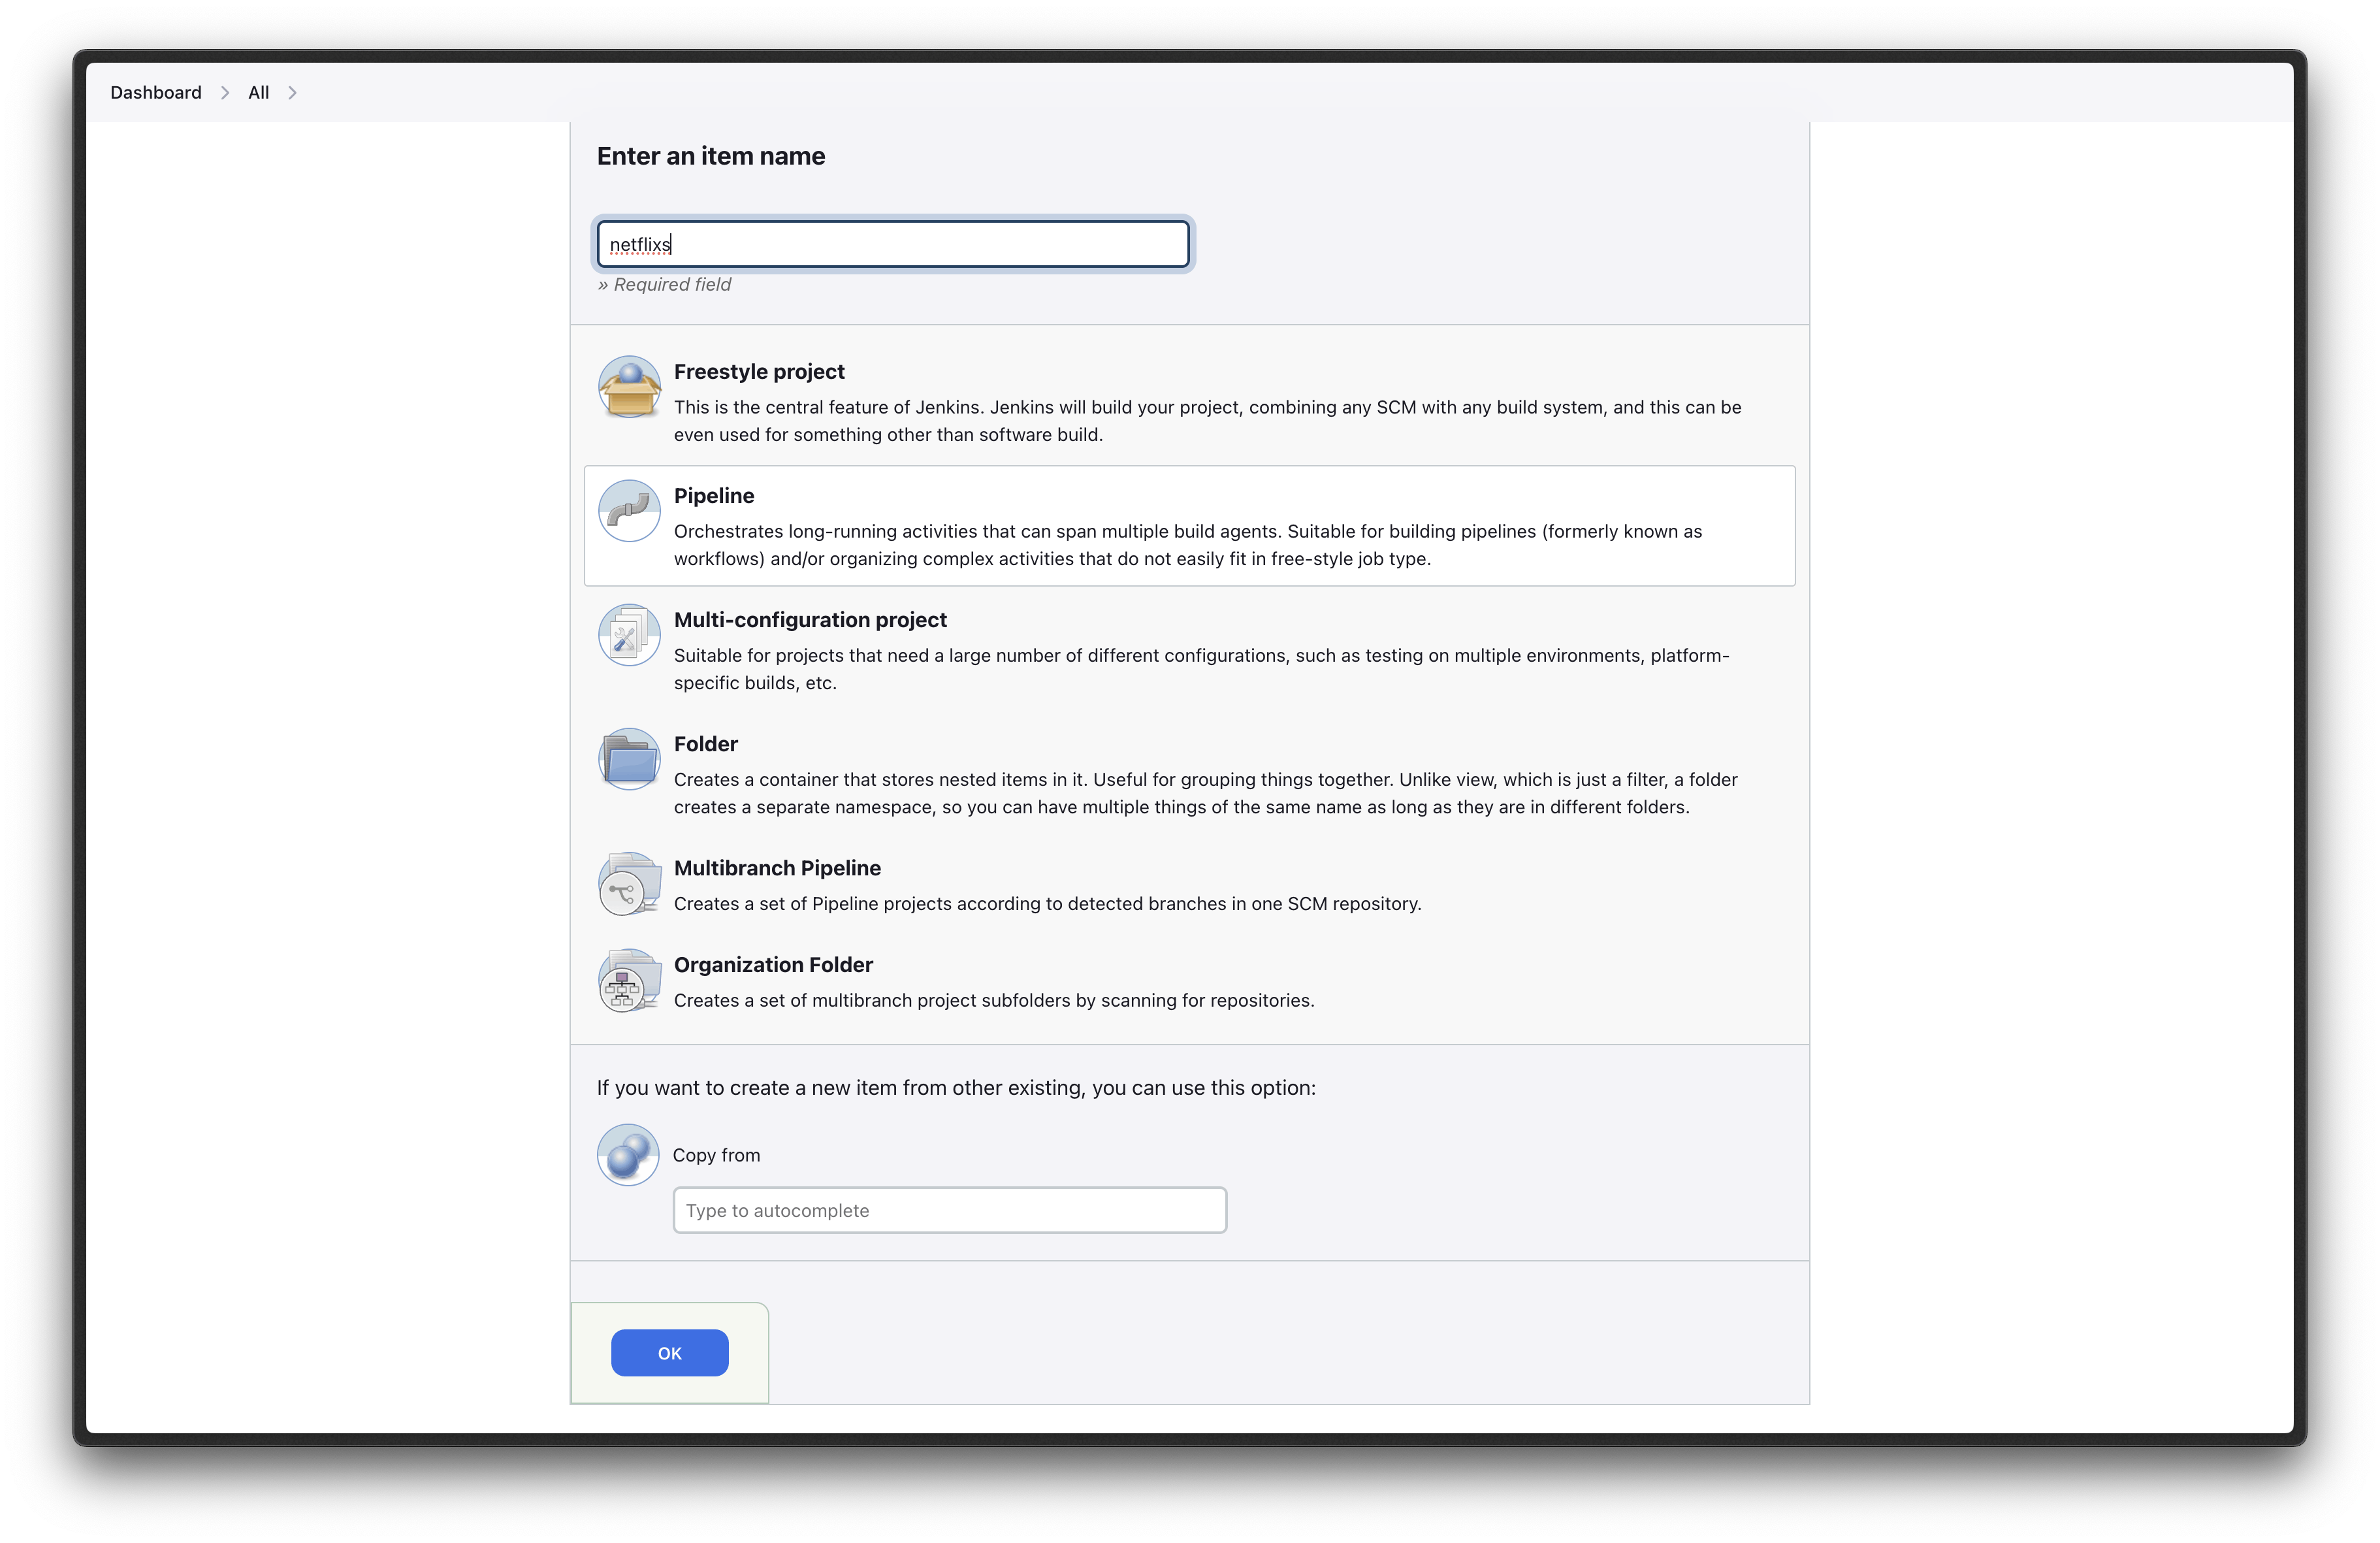
2 - Created a pipeline by clicking on New item then write the project name select pipeline and press OK.
3 - Now you have to put all the necessary details to configure the Jenkins project.
A. GitHub project - with your GitHub project link
B. GitHub hook trigger for GITScm polling

C. Pipeline Configuration
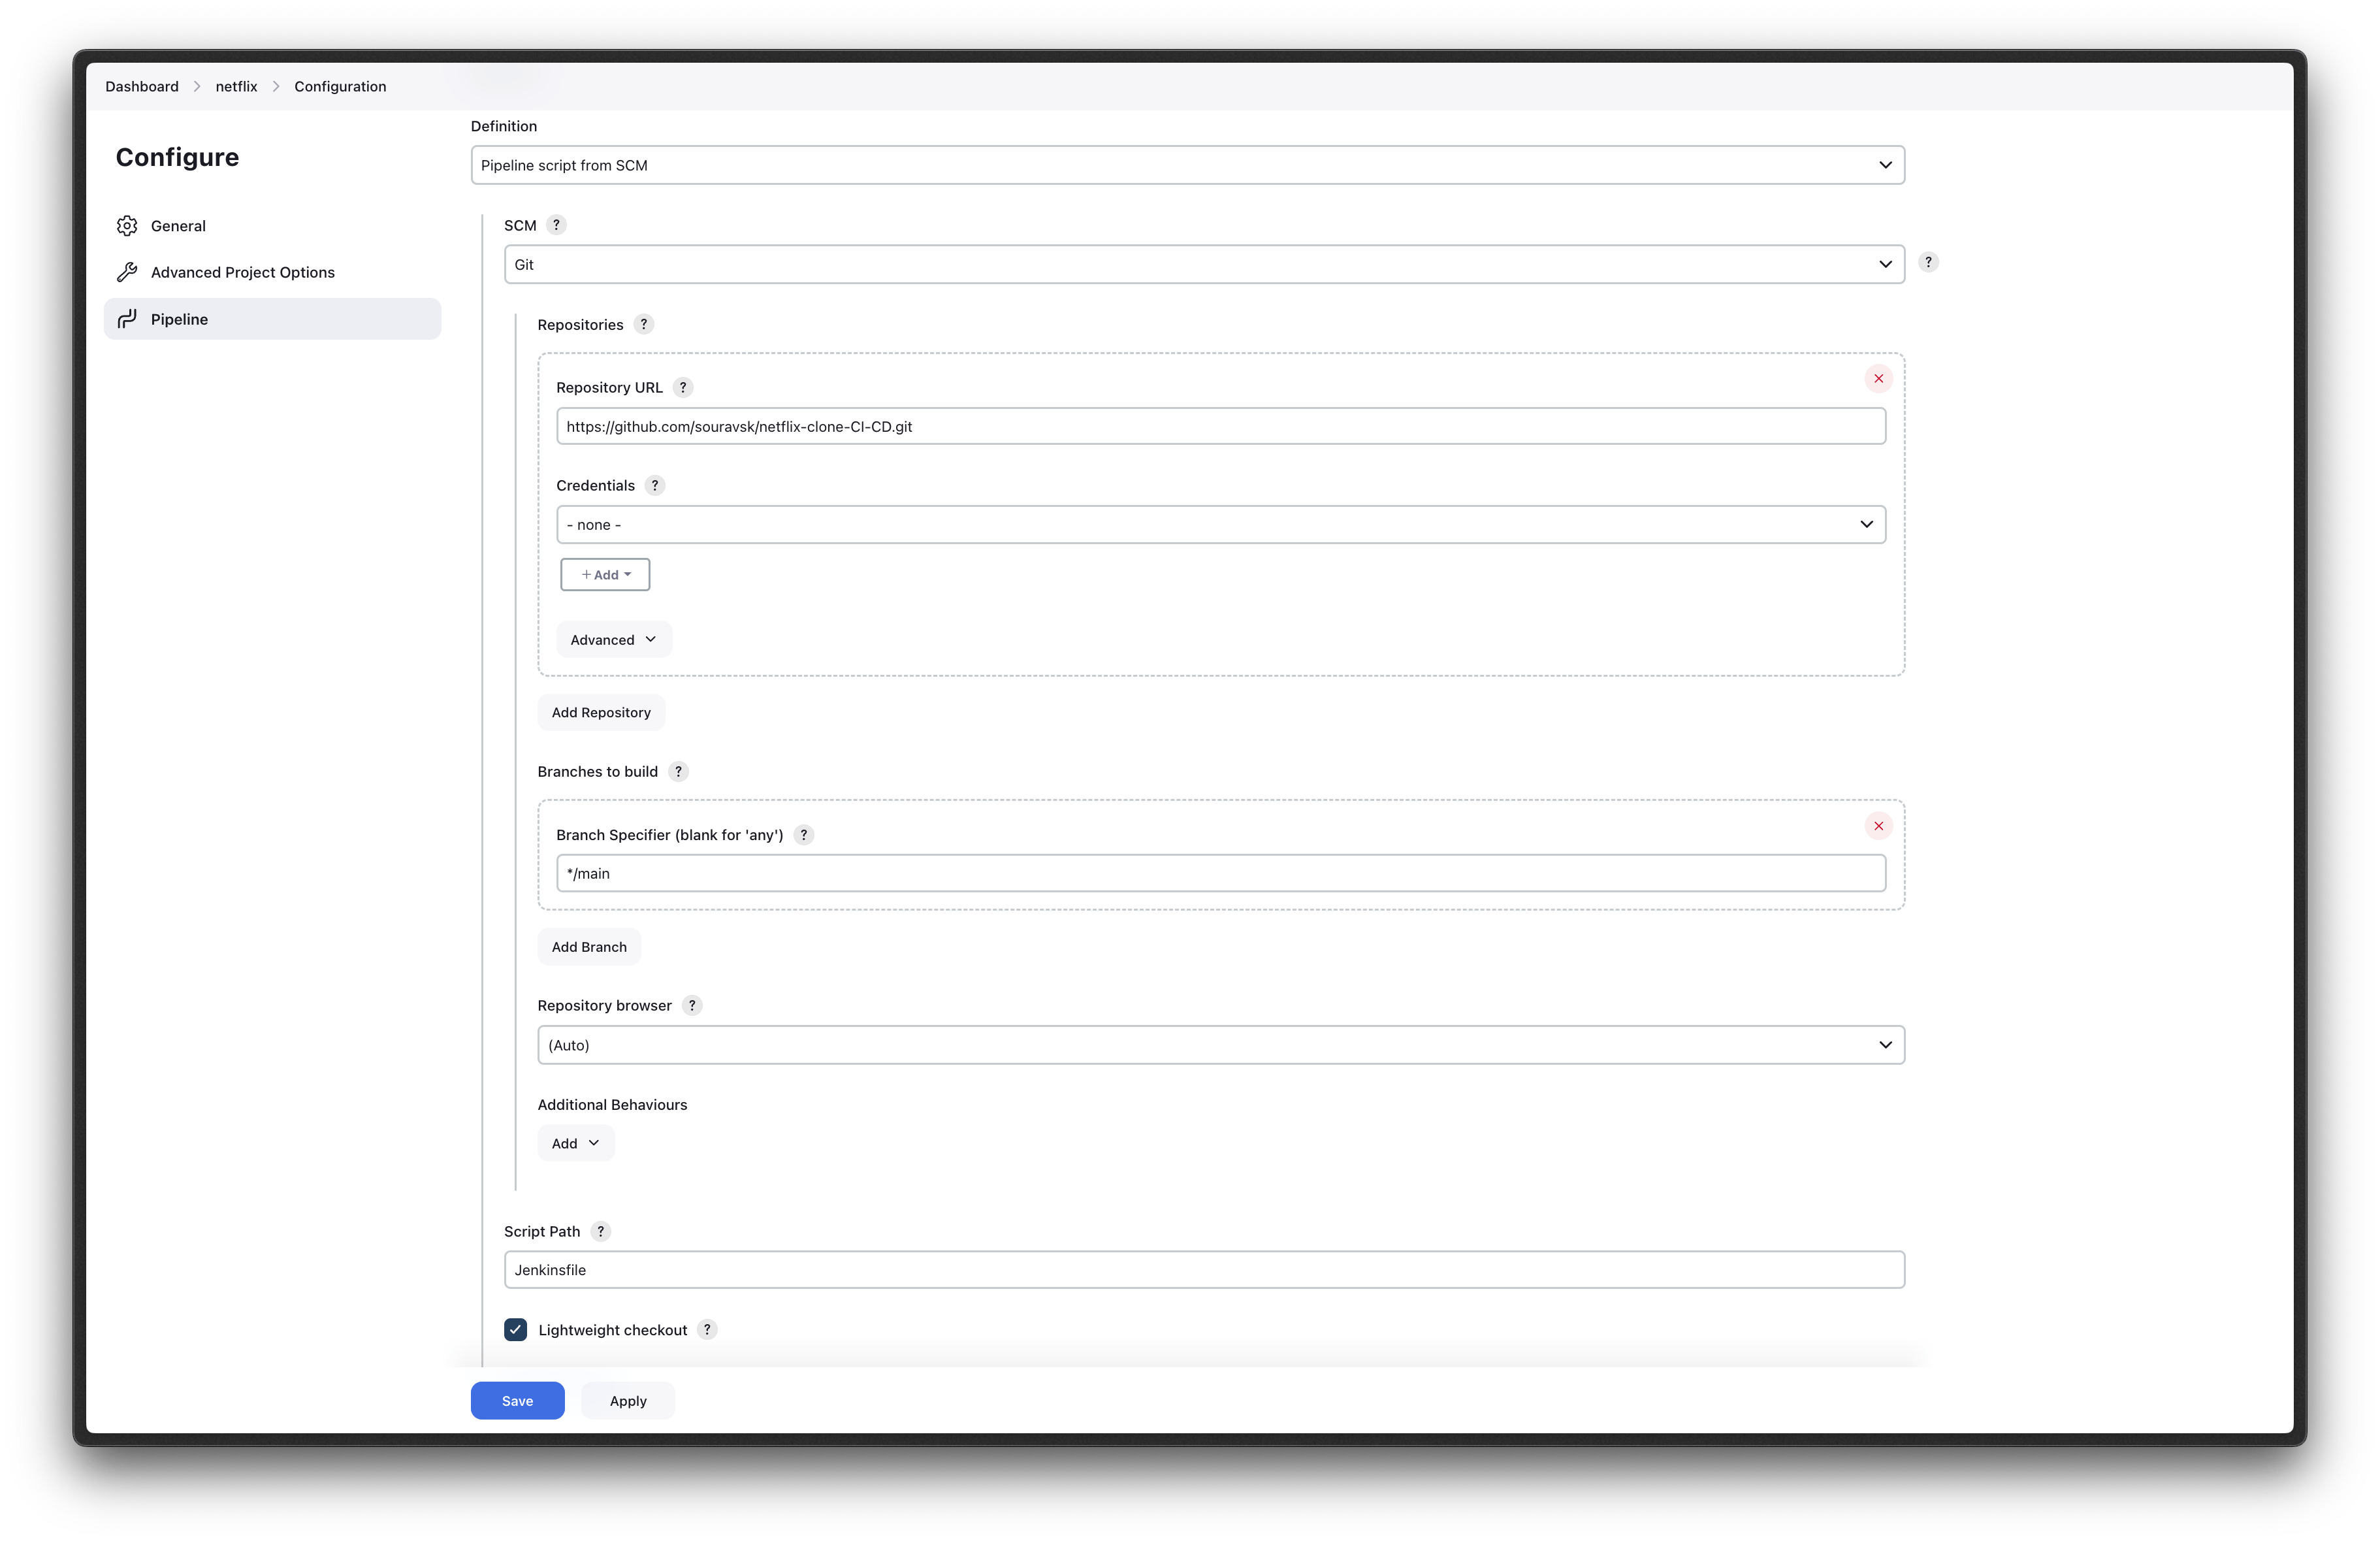
Now the Save it.
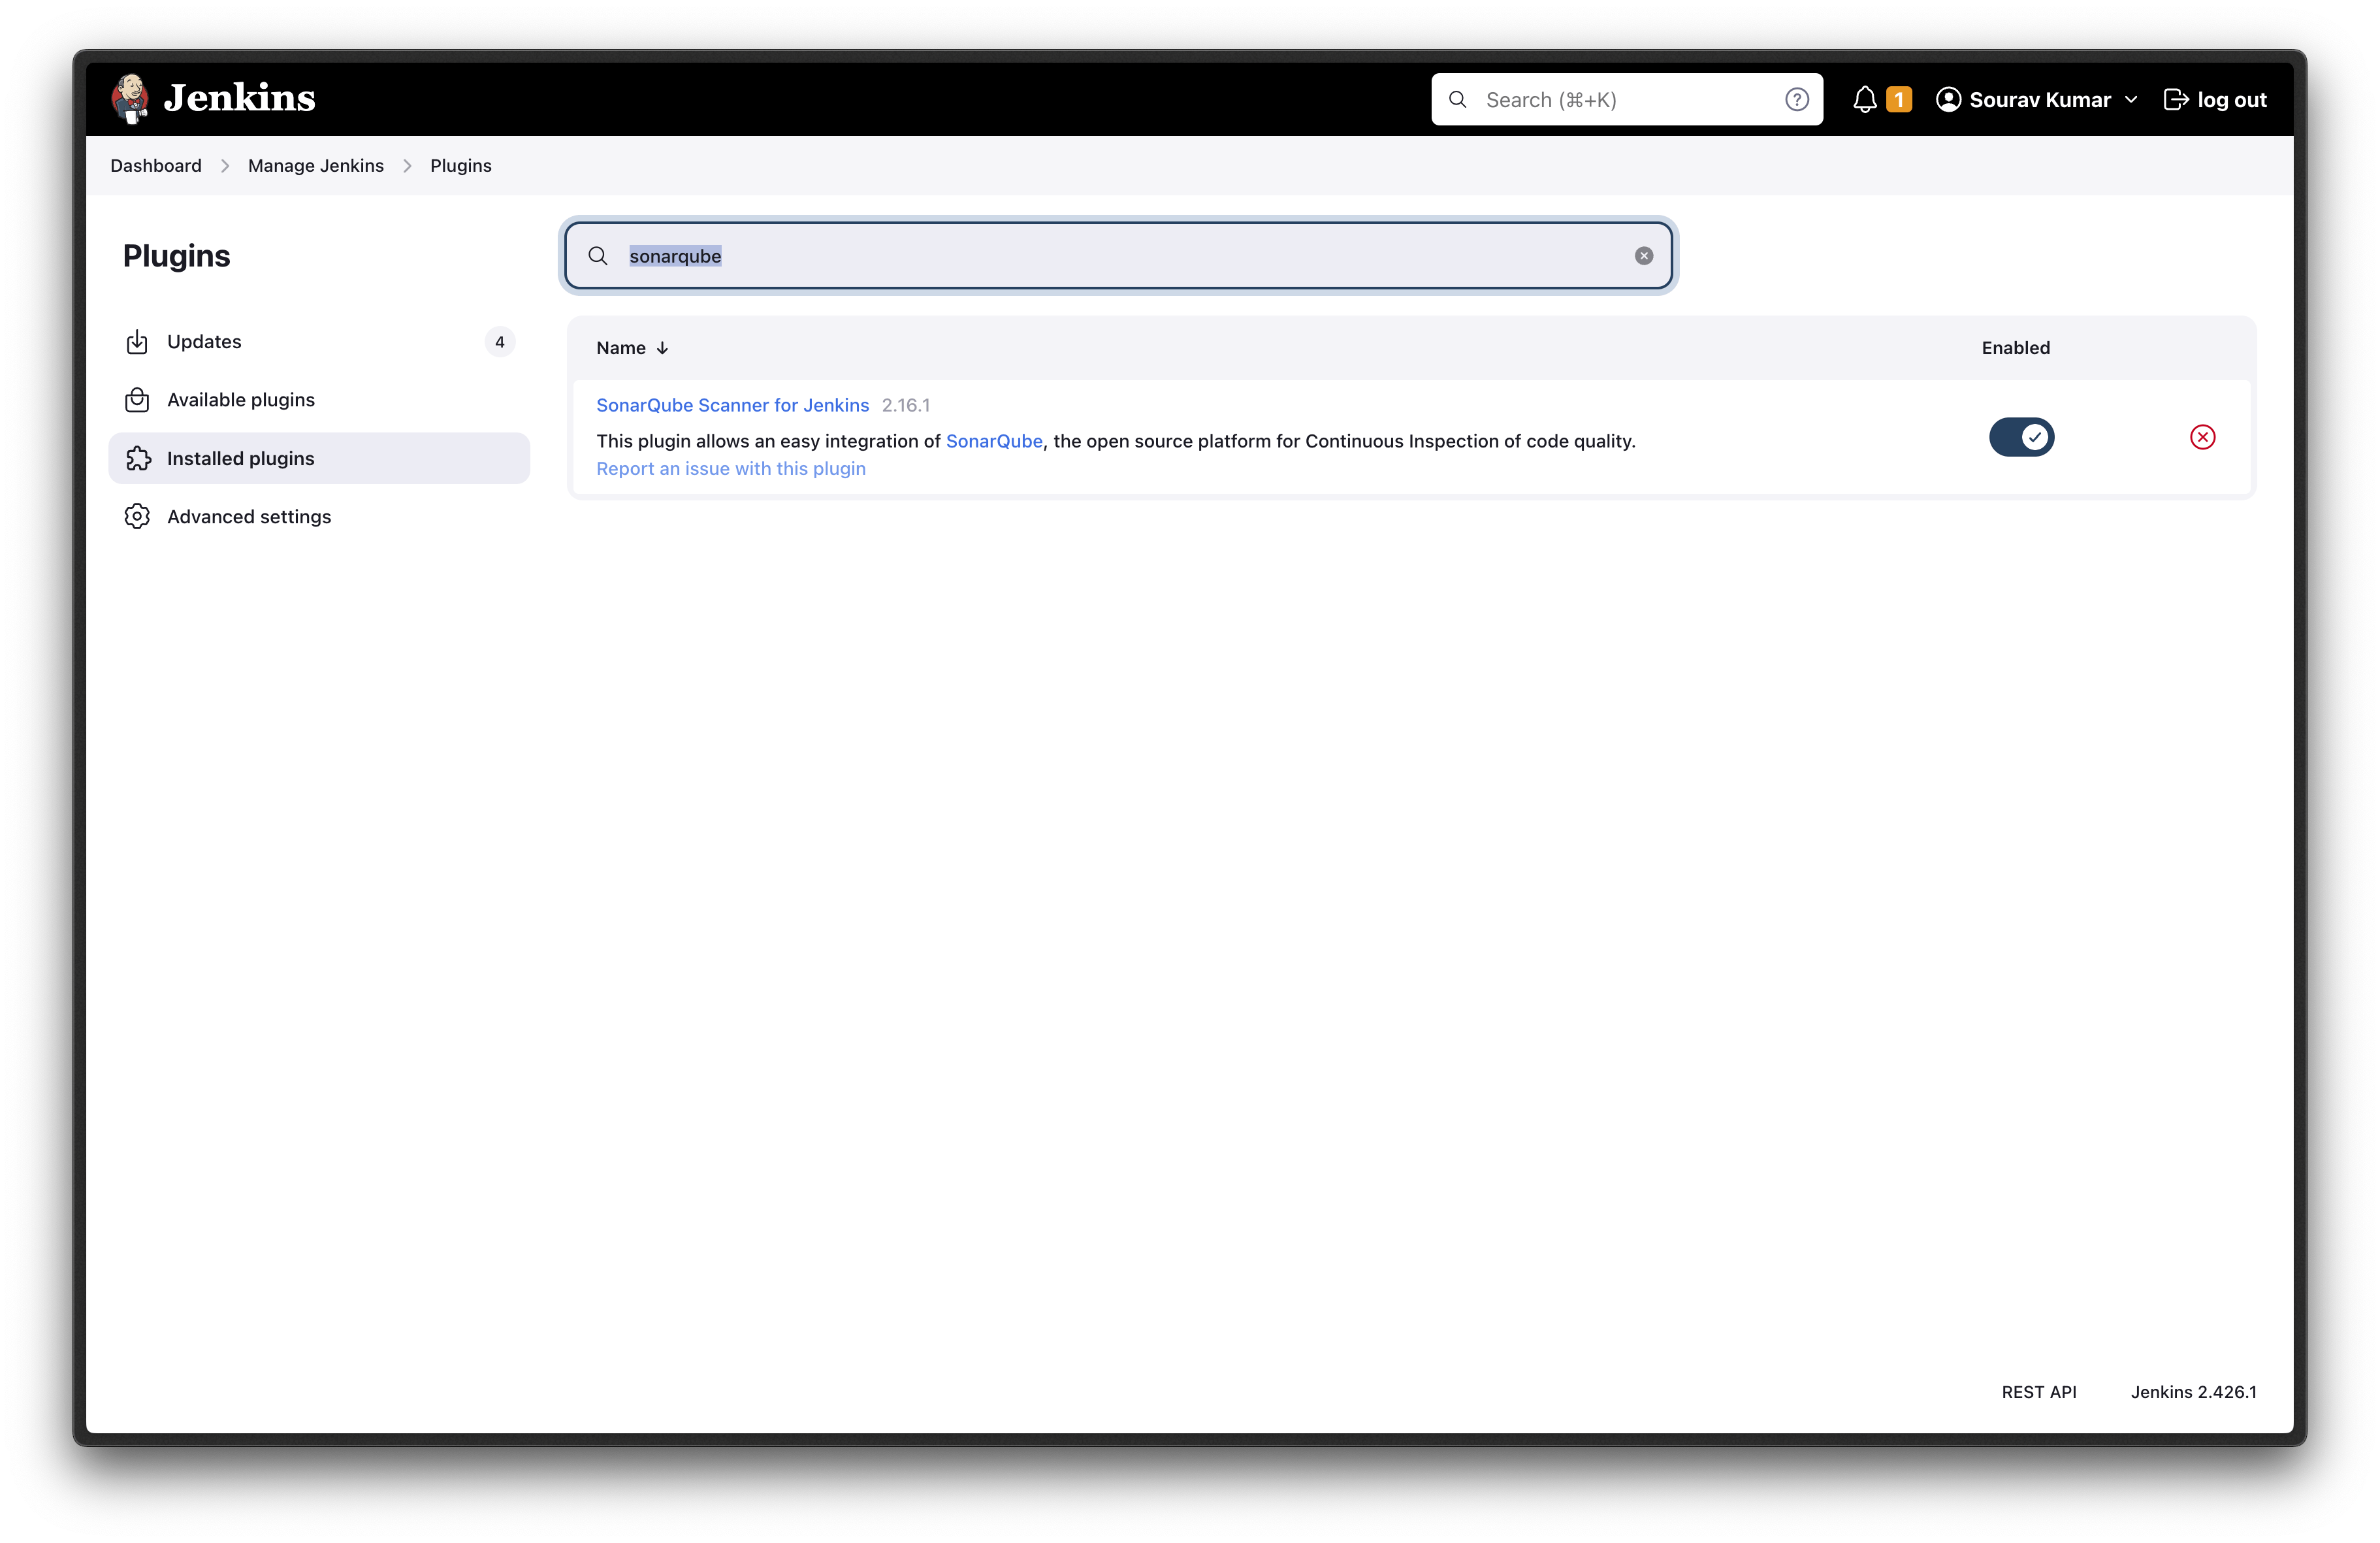
Now we will install Sonarqube plugins. to do that we will first go to manage jenkins
Then click Plugins -> Available plugins (in my case I have already installed Sonarqube)
Now back to manage Jenkins --> Tools and find SonarQube Scanner installations. Once you have found the Click on Add SonarQube Scanner.
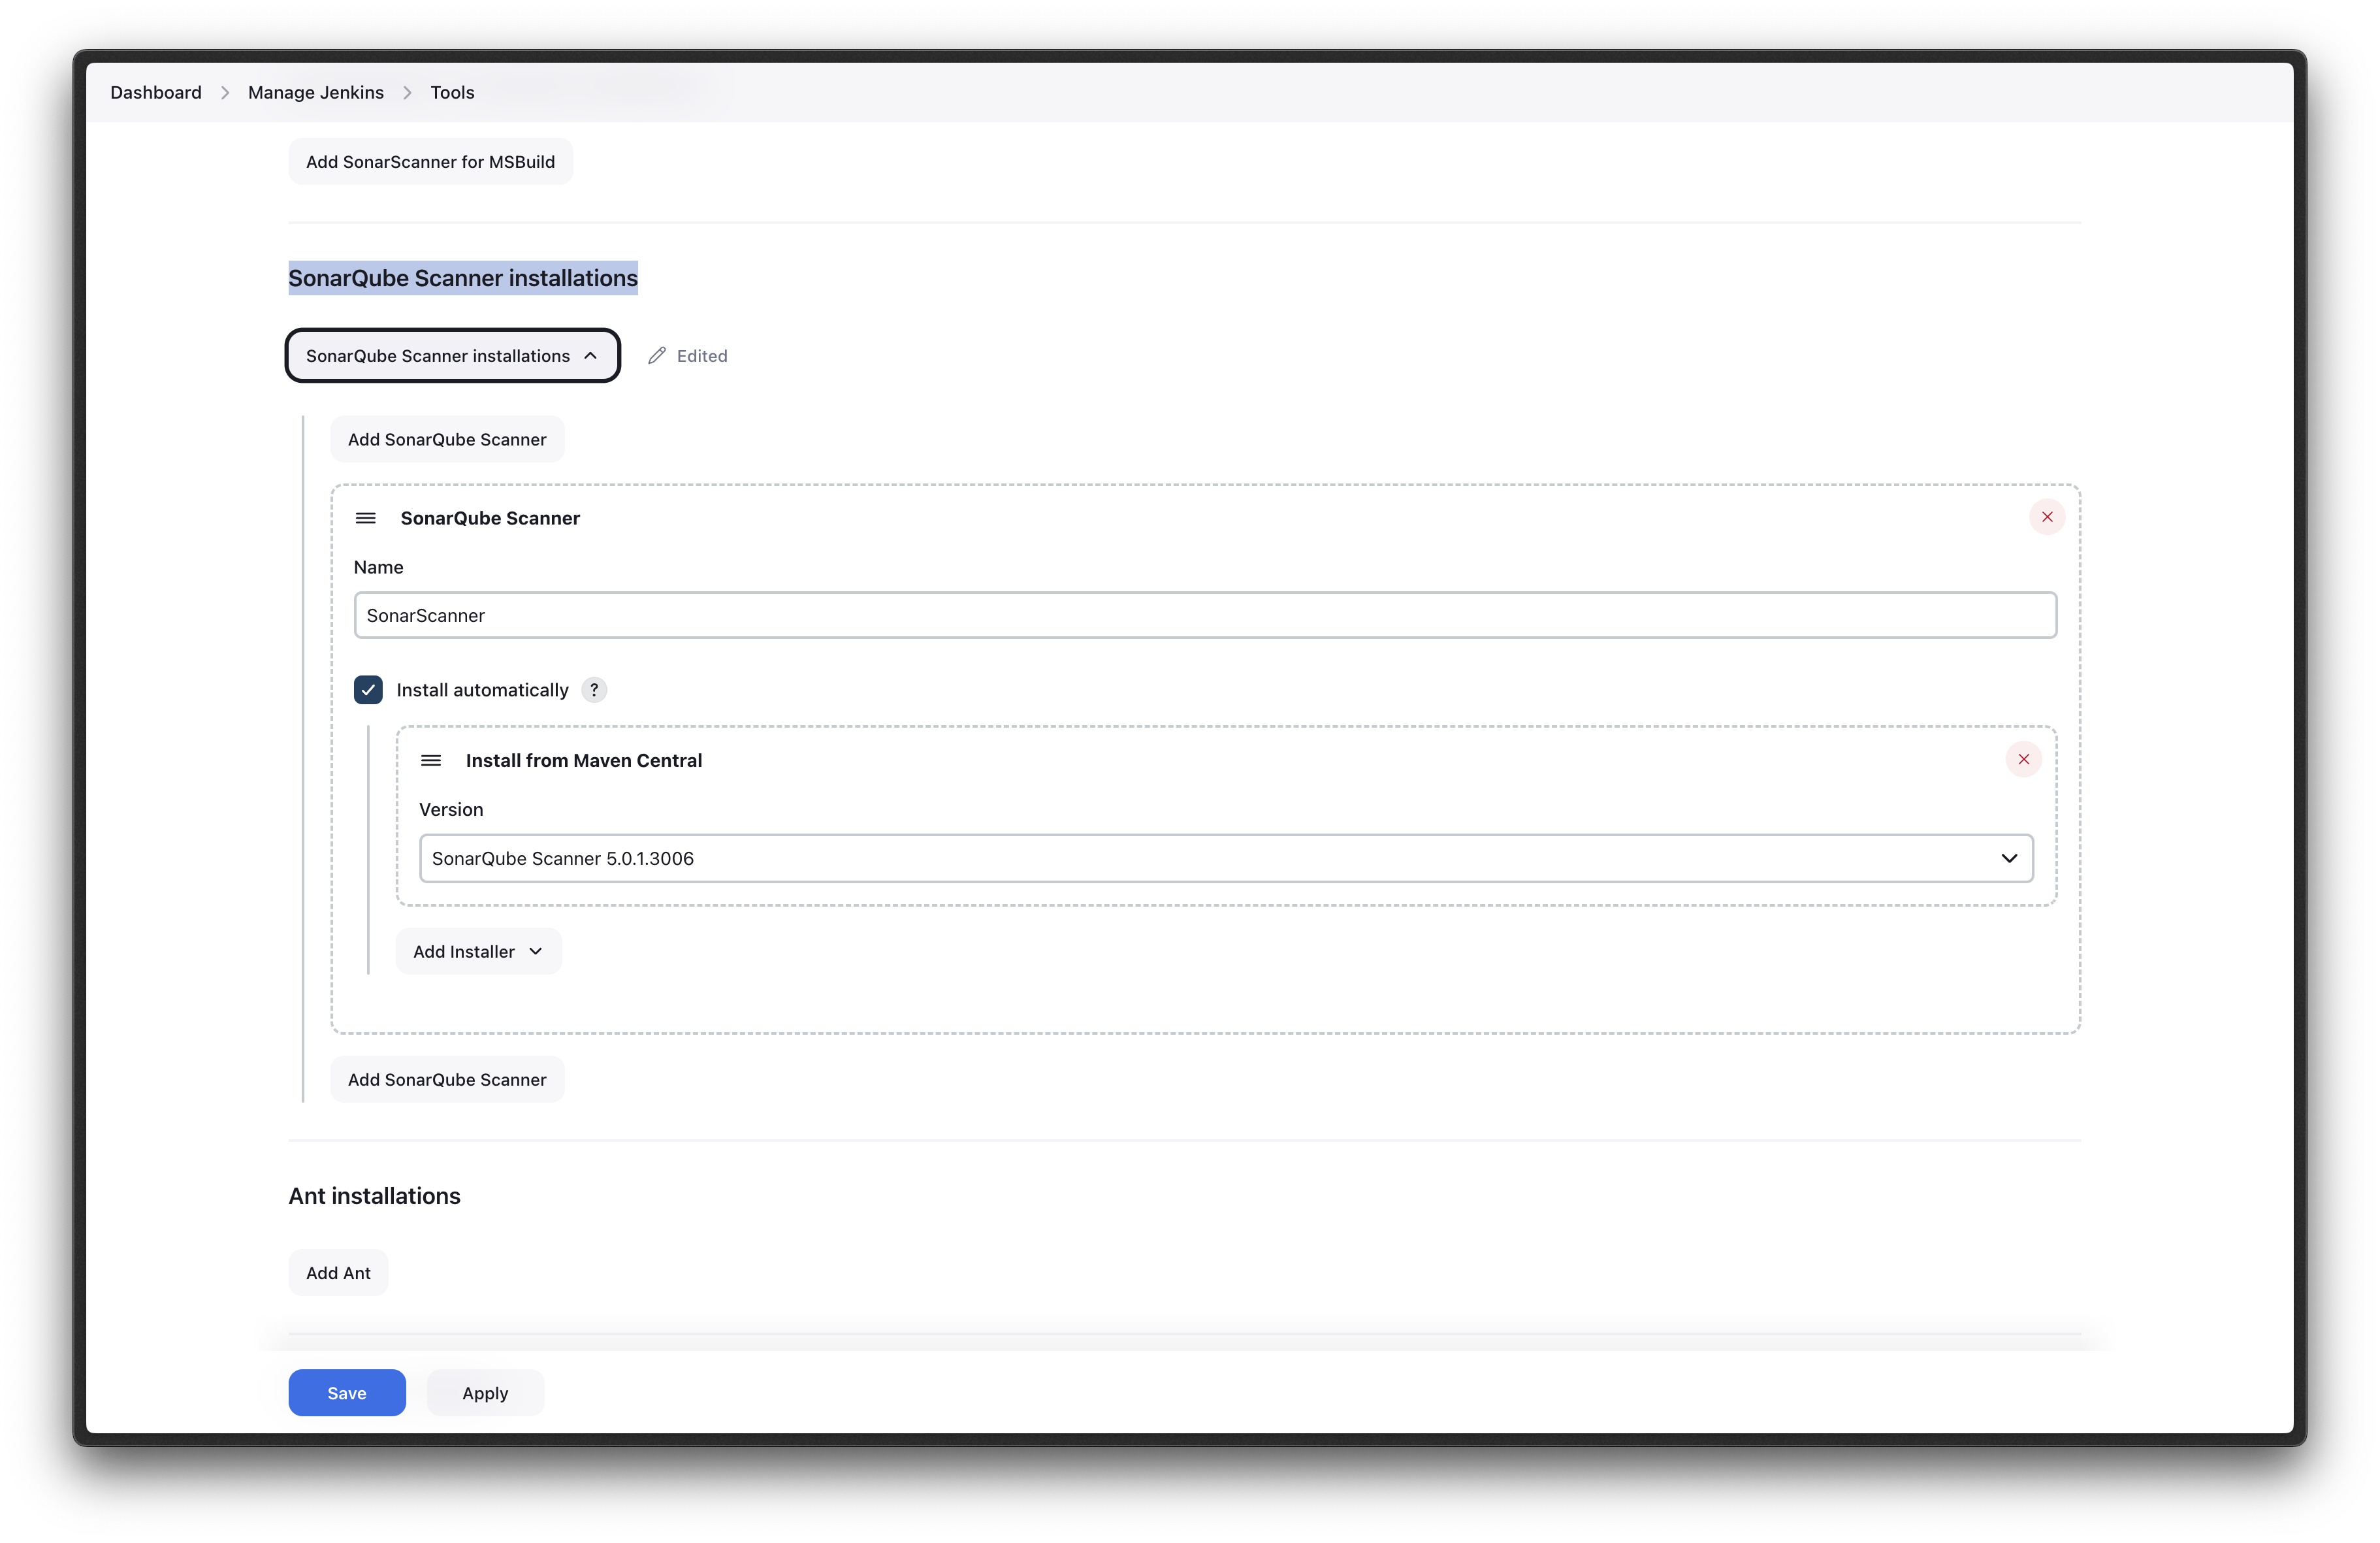
You have to fill it up in the same way. As I have shown you here.
Now we have added the sonarqube server. To do that go to the manage Jenkins --> System and fine SonarQube servers.
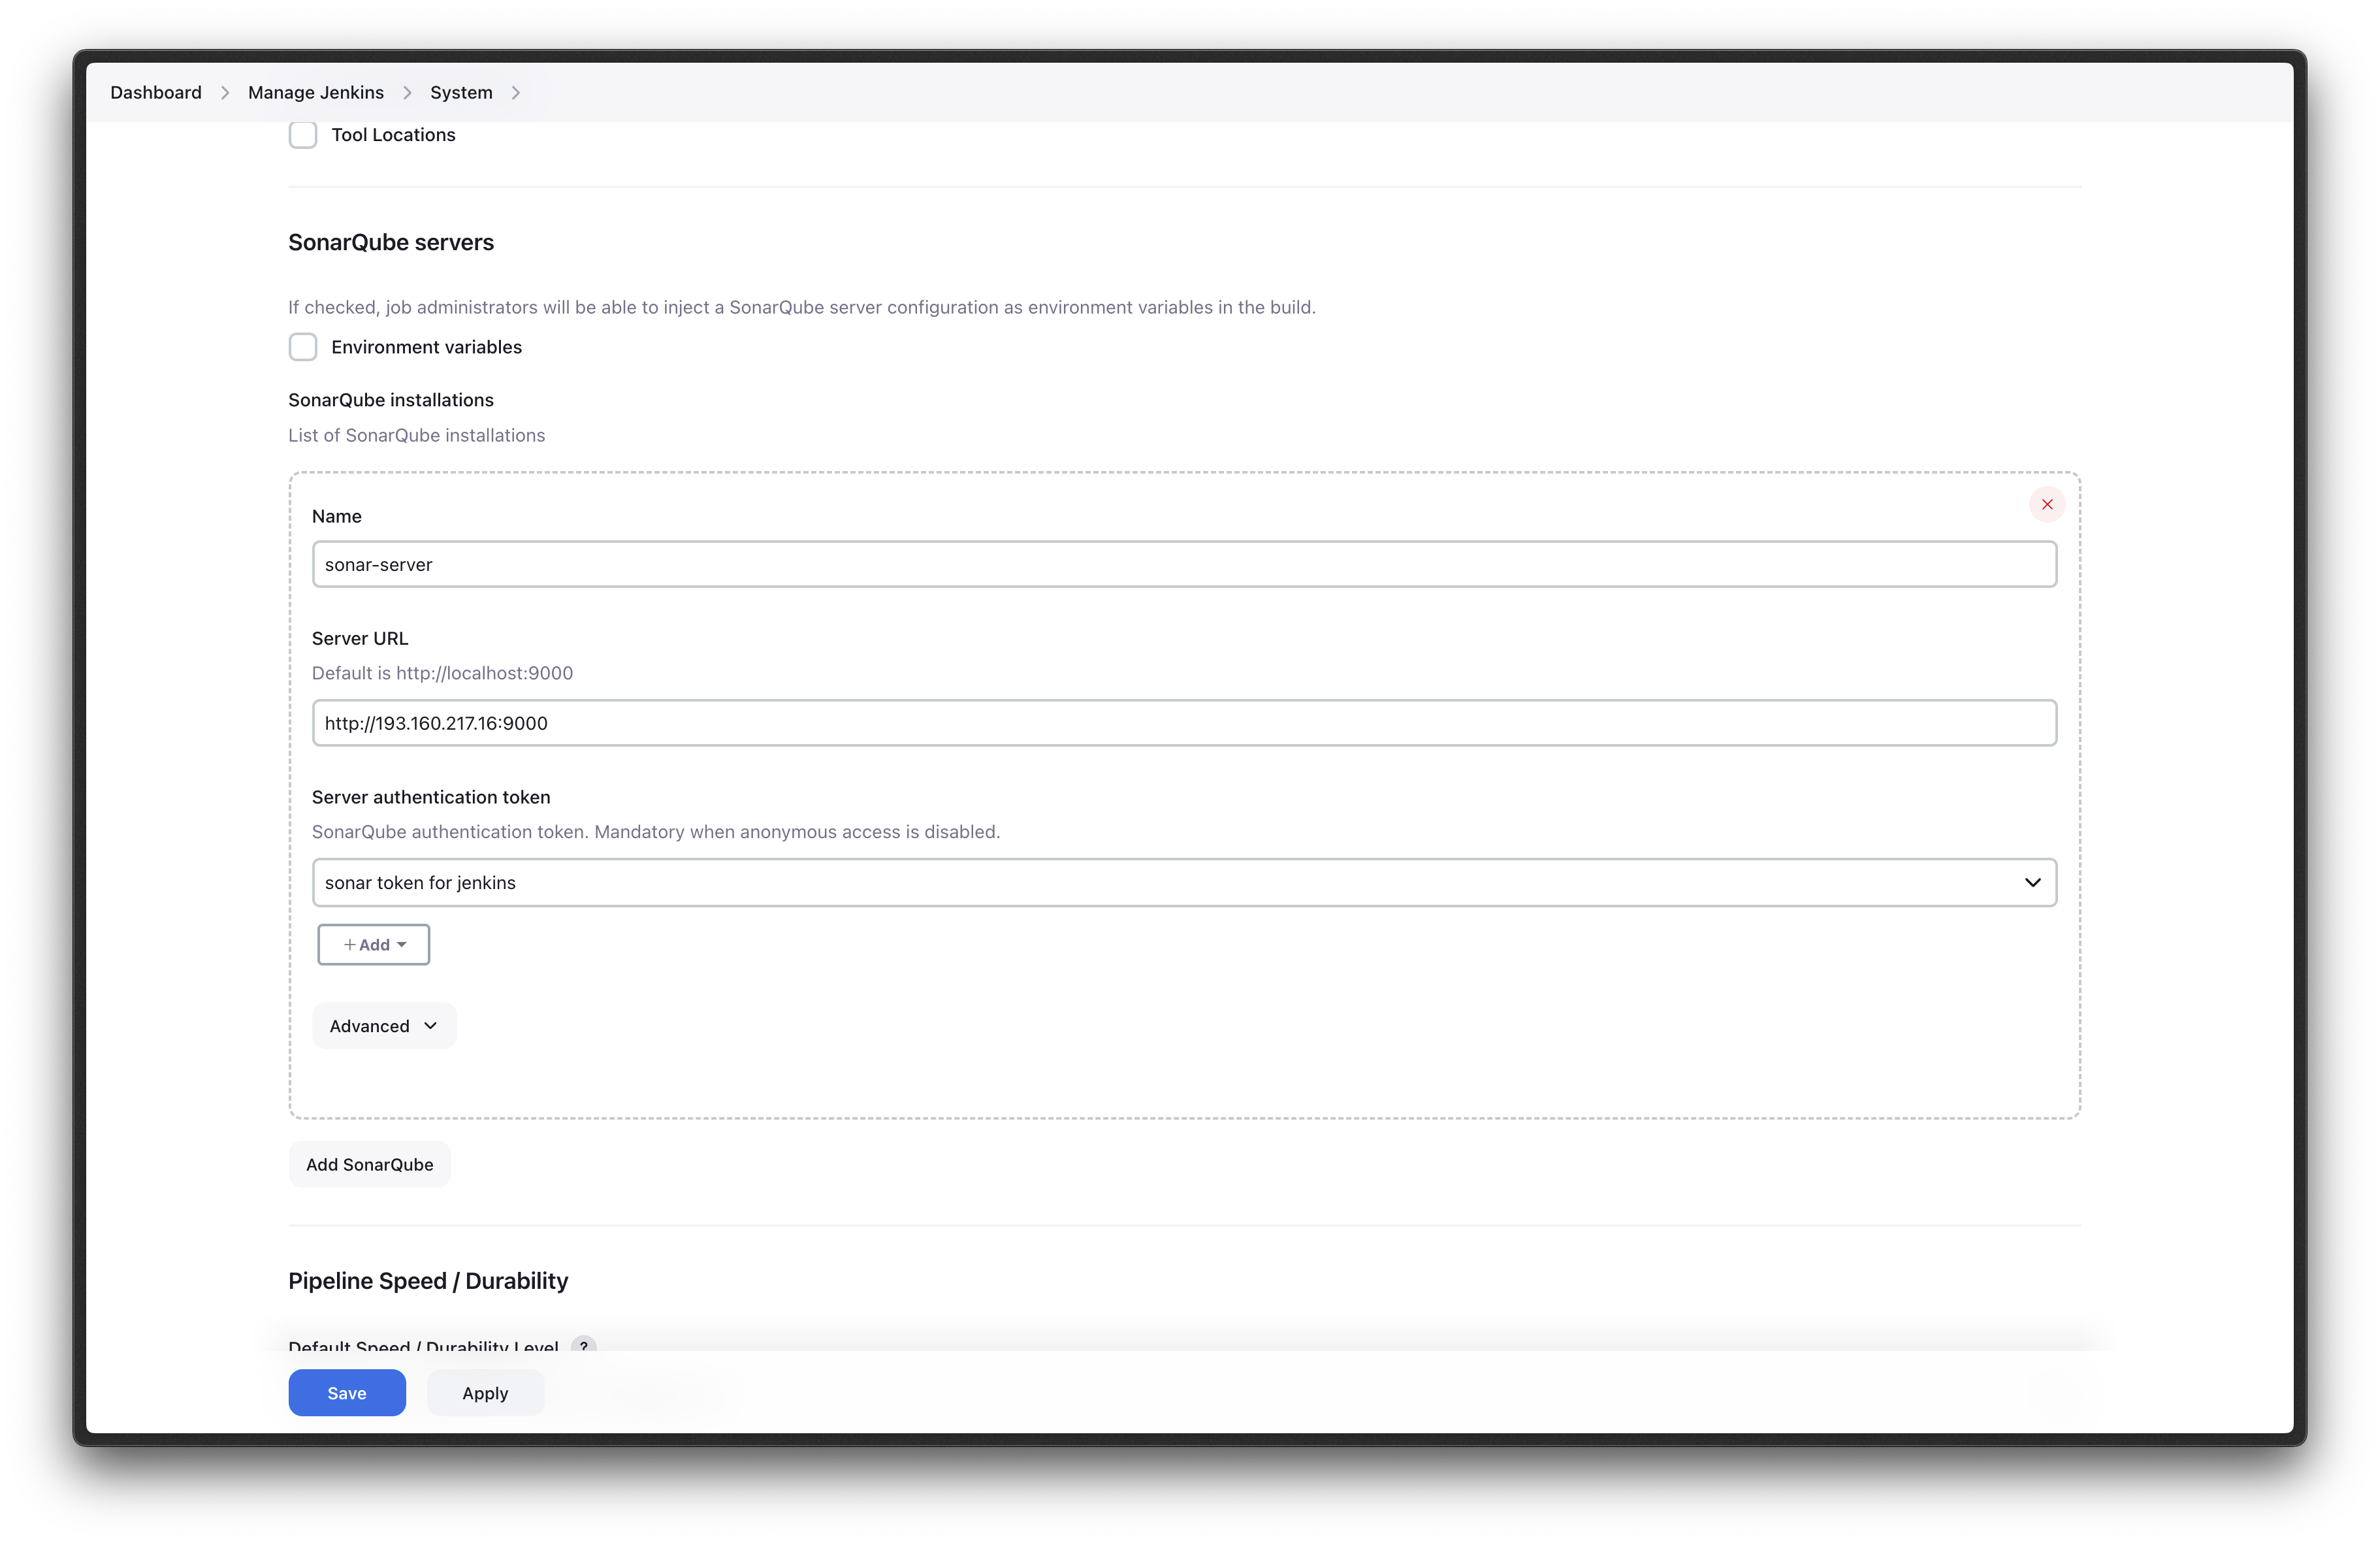
your url of the
sonarQube-serverislocalhost:9000but it can not access that so we have to give it a prober url. So we will give our machine url.
Give the sonarQube Servers Name sonar-server and server URL
Now, we will step up our SonarQube
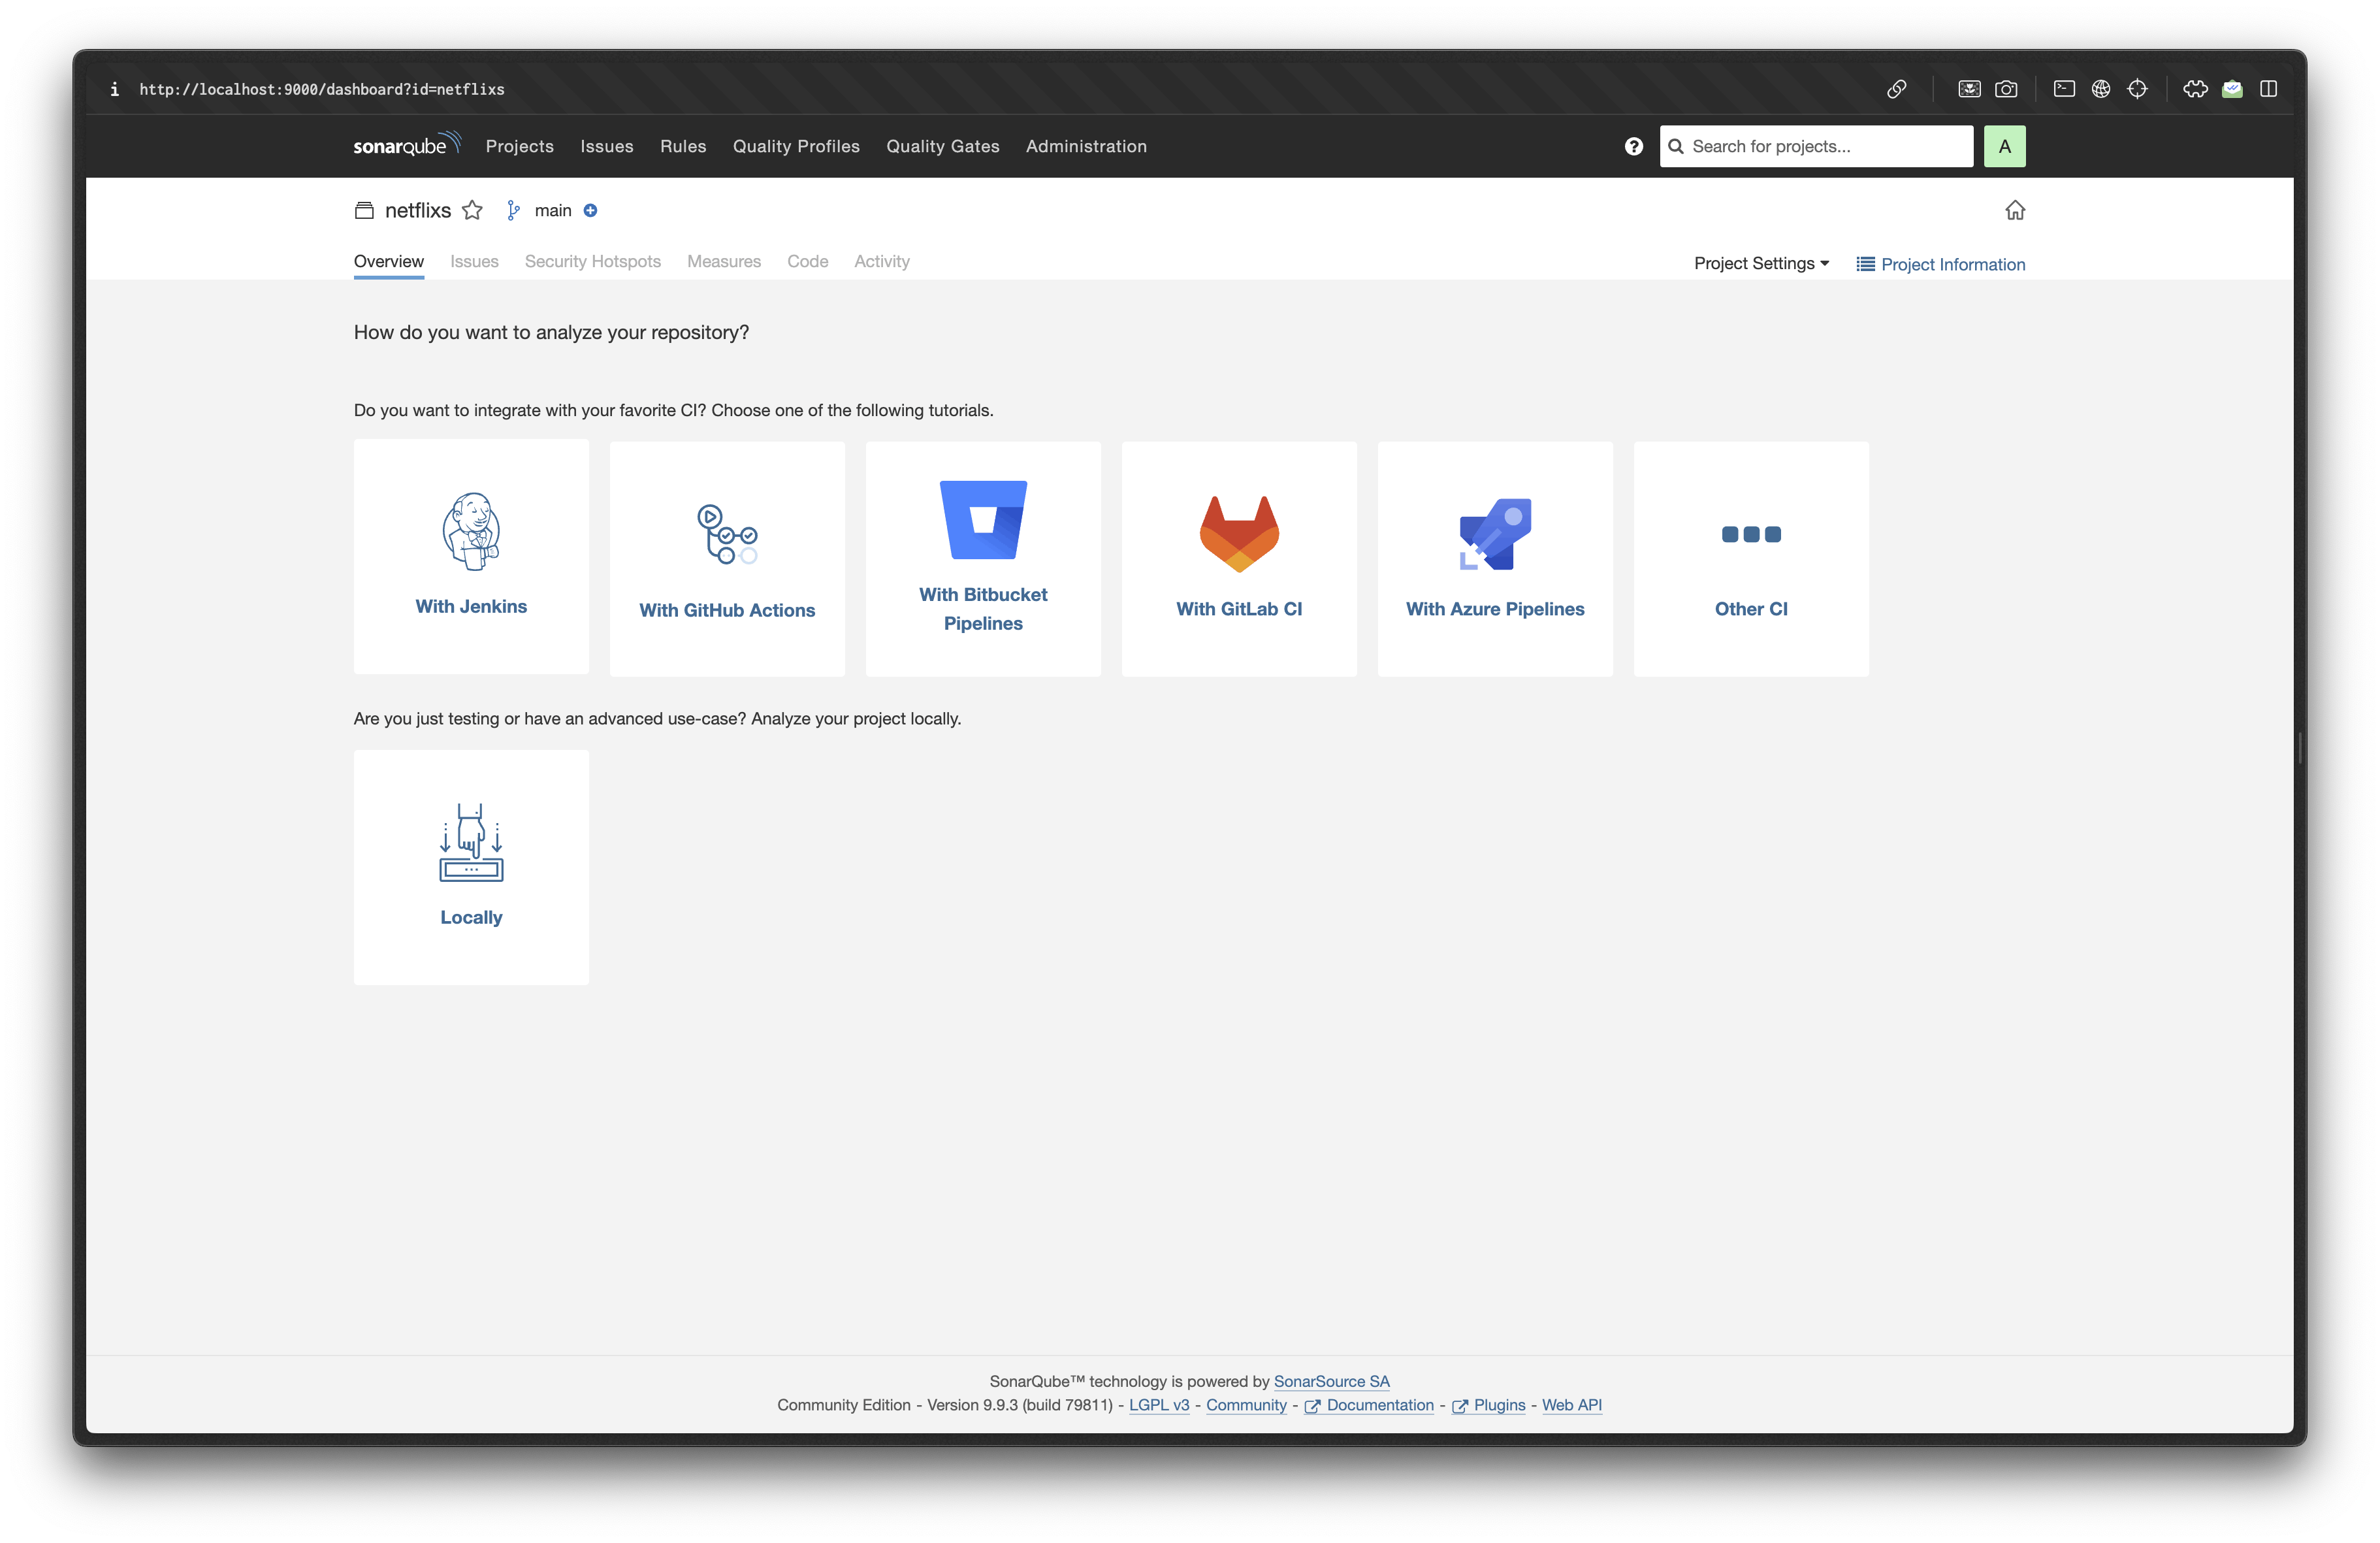
After login to the SonarQube Dashboard, we will create a new project and give the project name.

After selecting Jenkins
Now select GitHub if you have your code in GitHub.
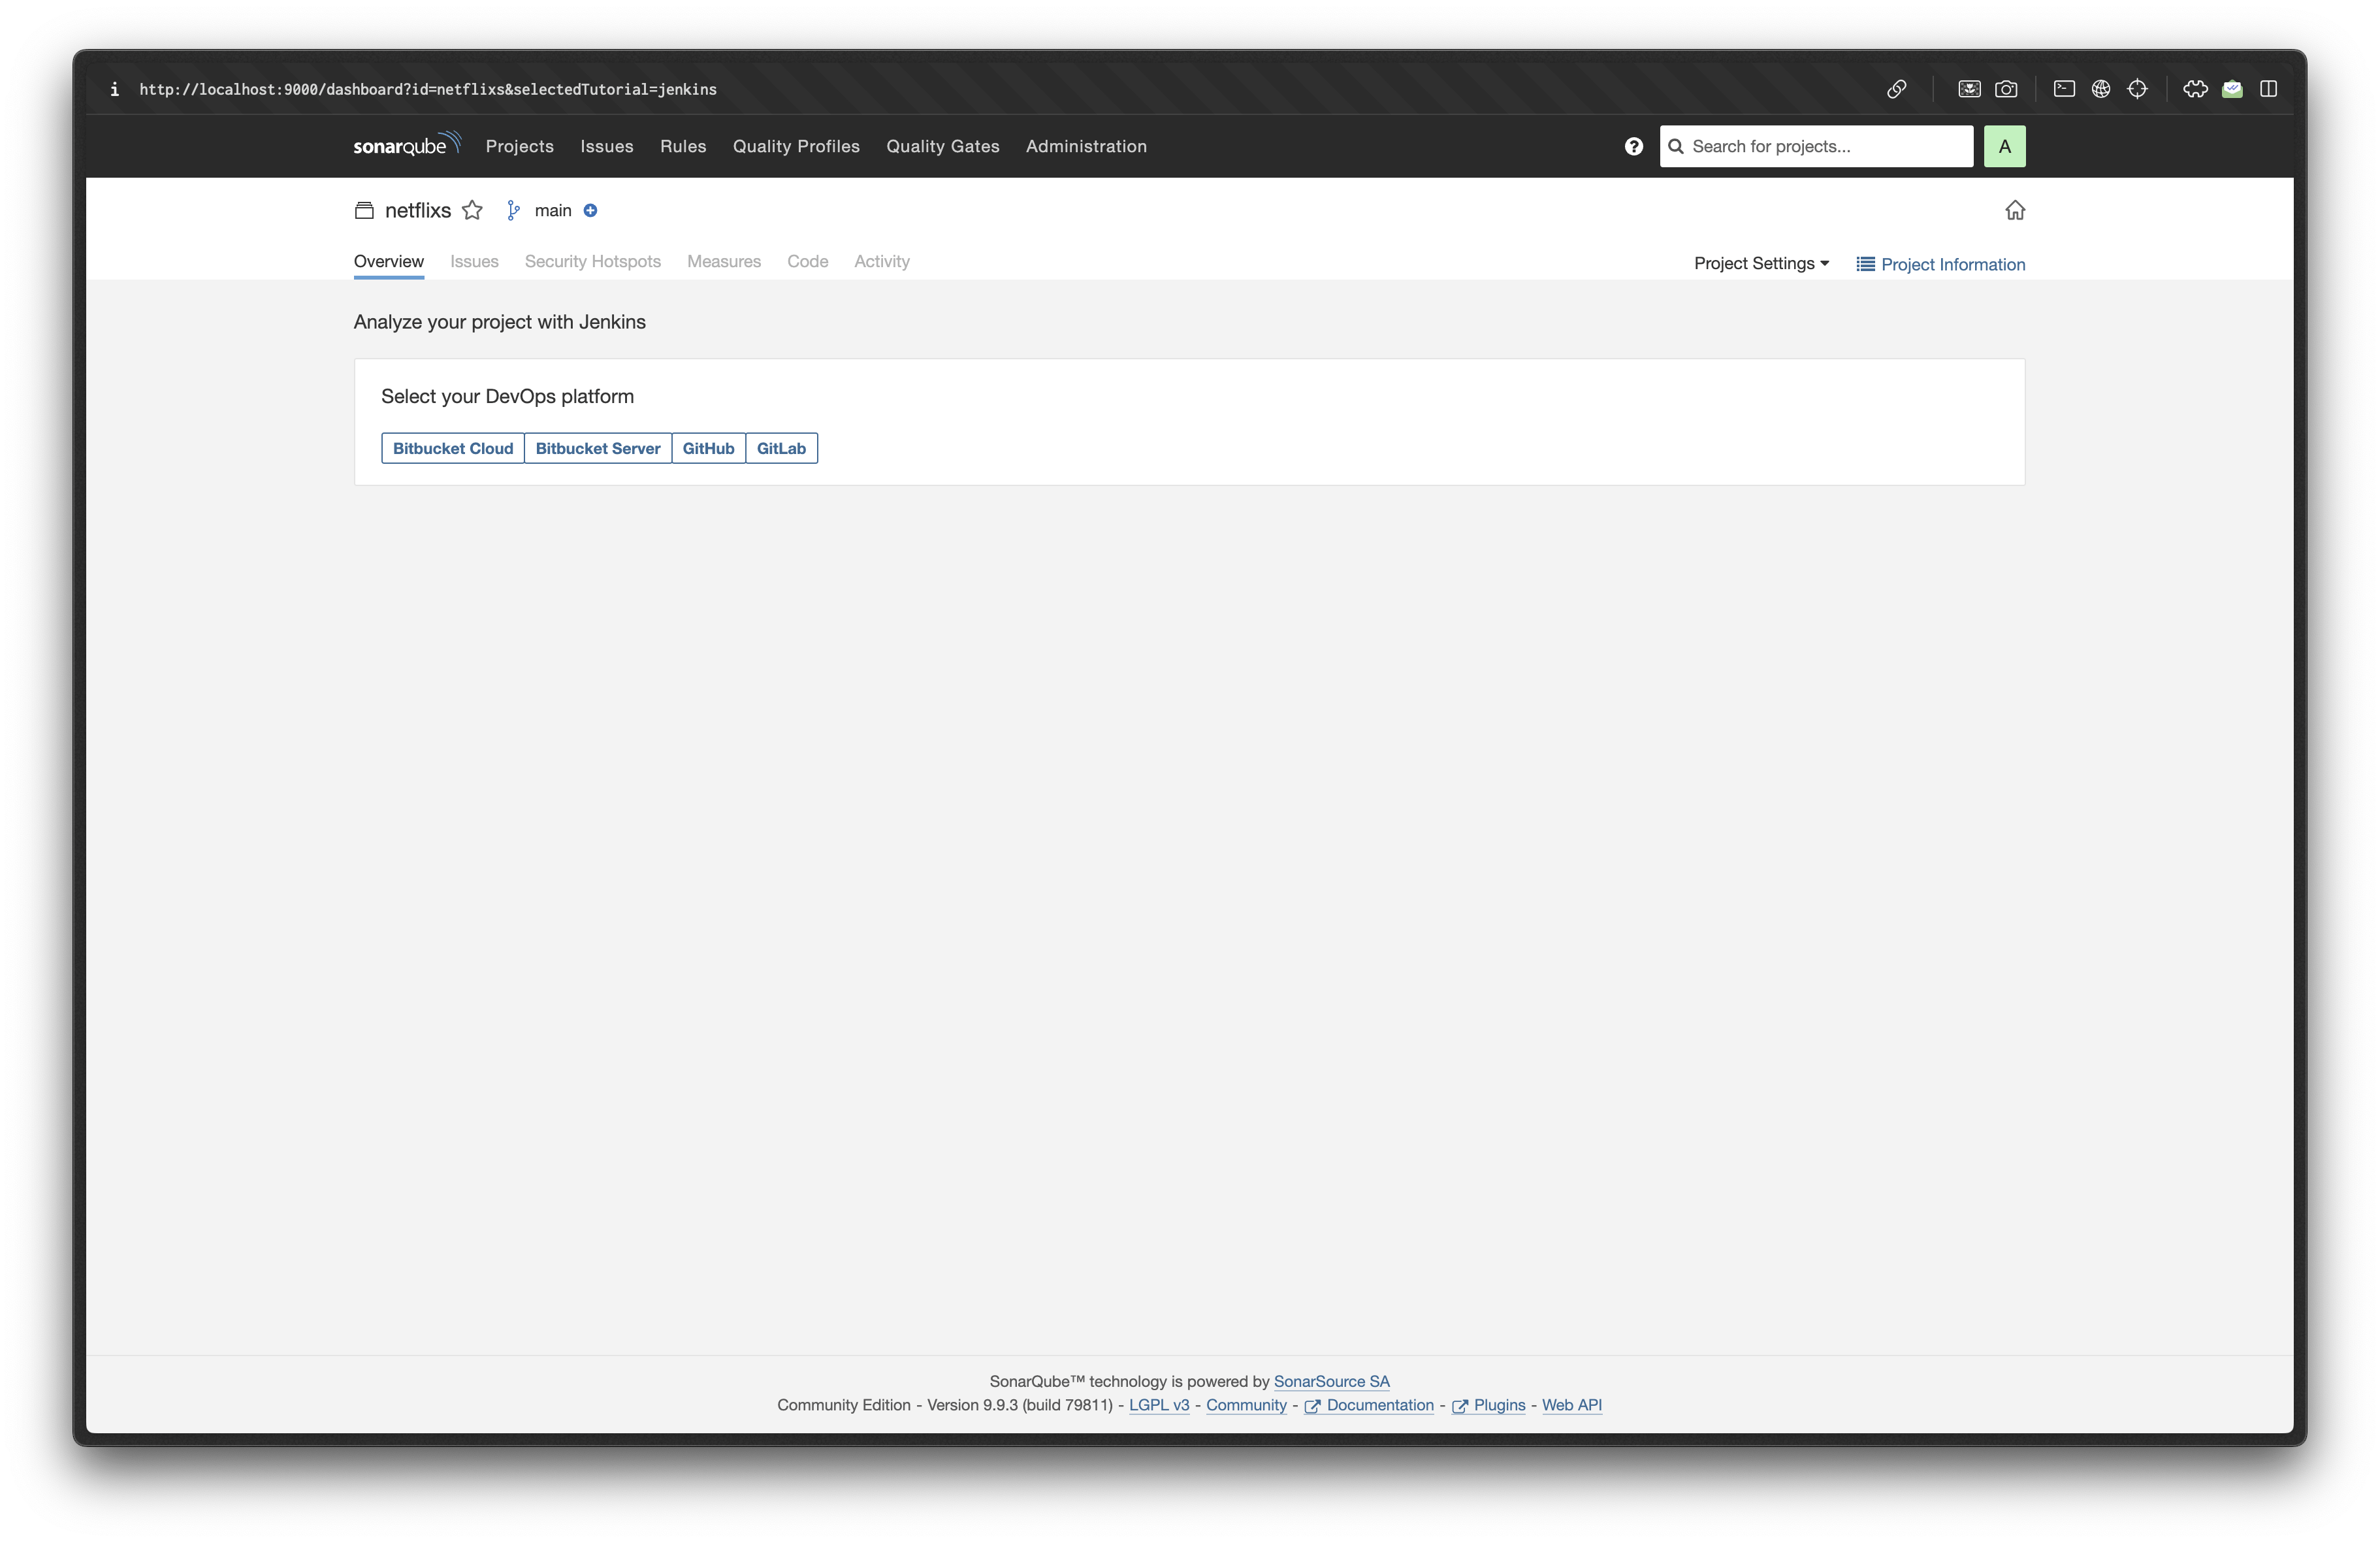
1 - After selecting it will ask you to configure Jenkins first we have to create the Jenkins pipeline which we all already have done. So click on continue.
2 - The next step is to Create a GitHub Webhook To do that we go to the GitHub repo of your project and then click on the setting.
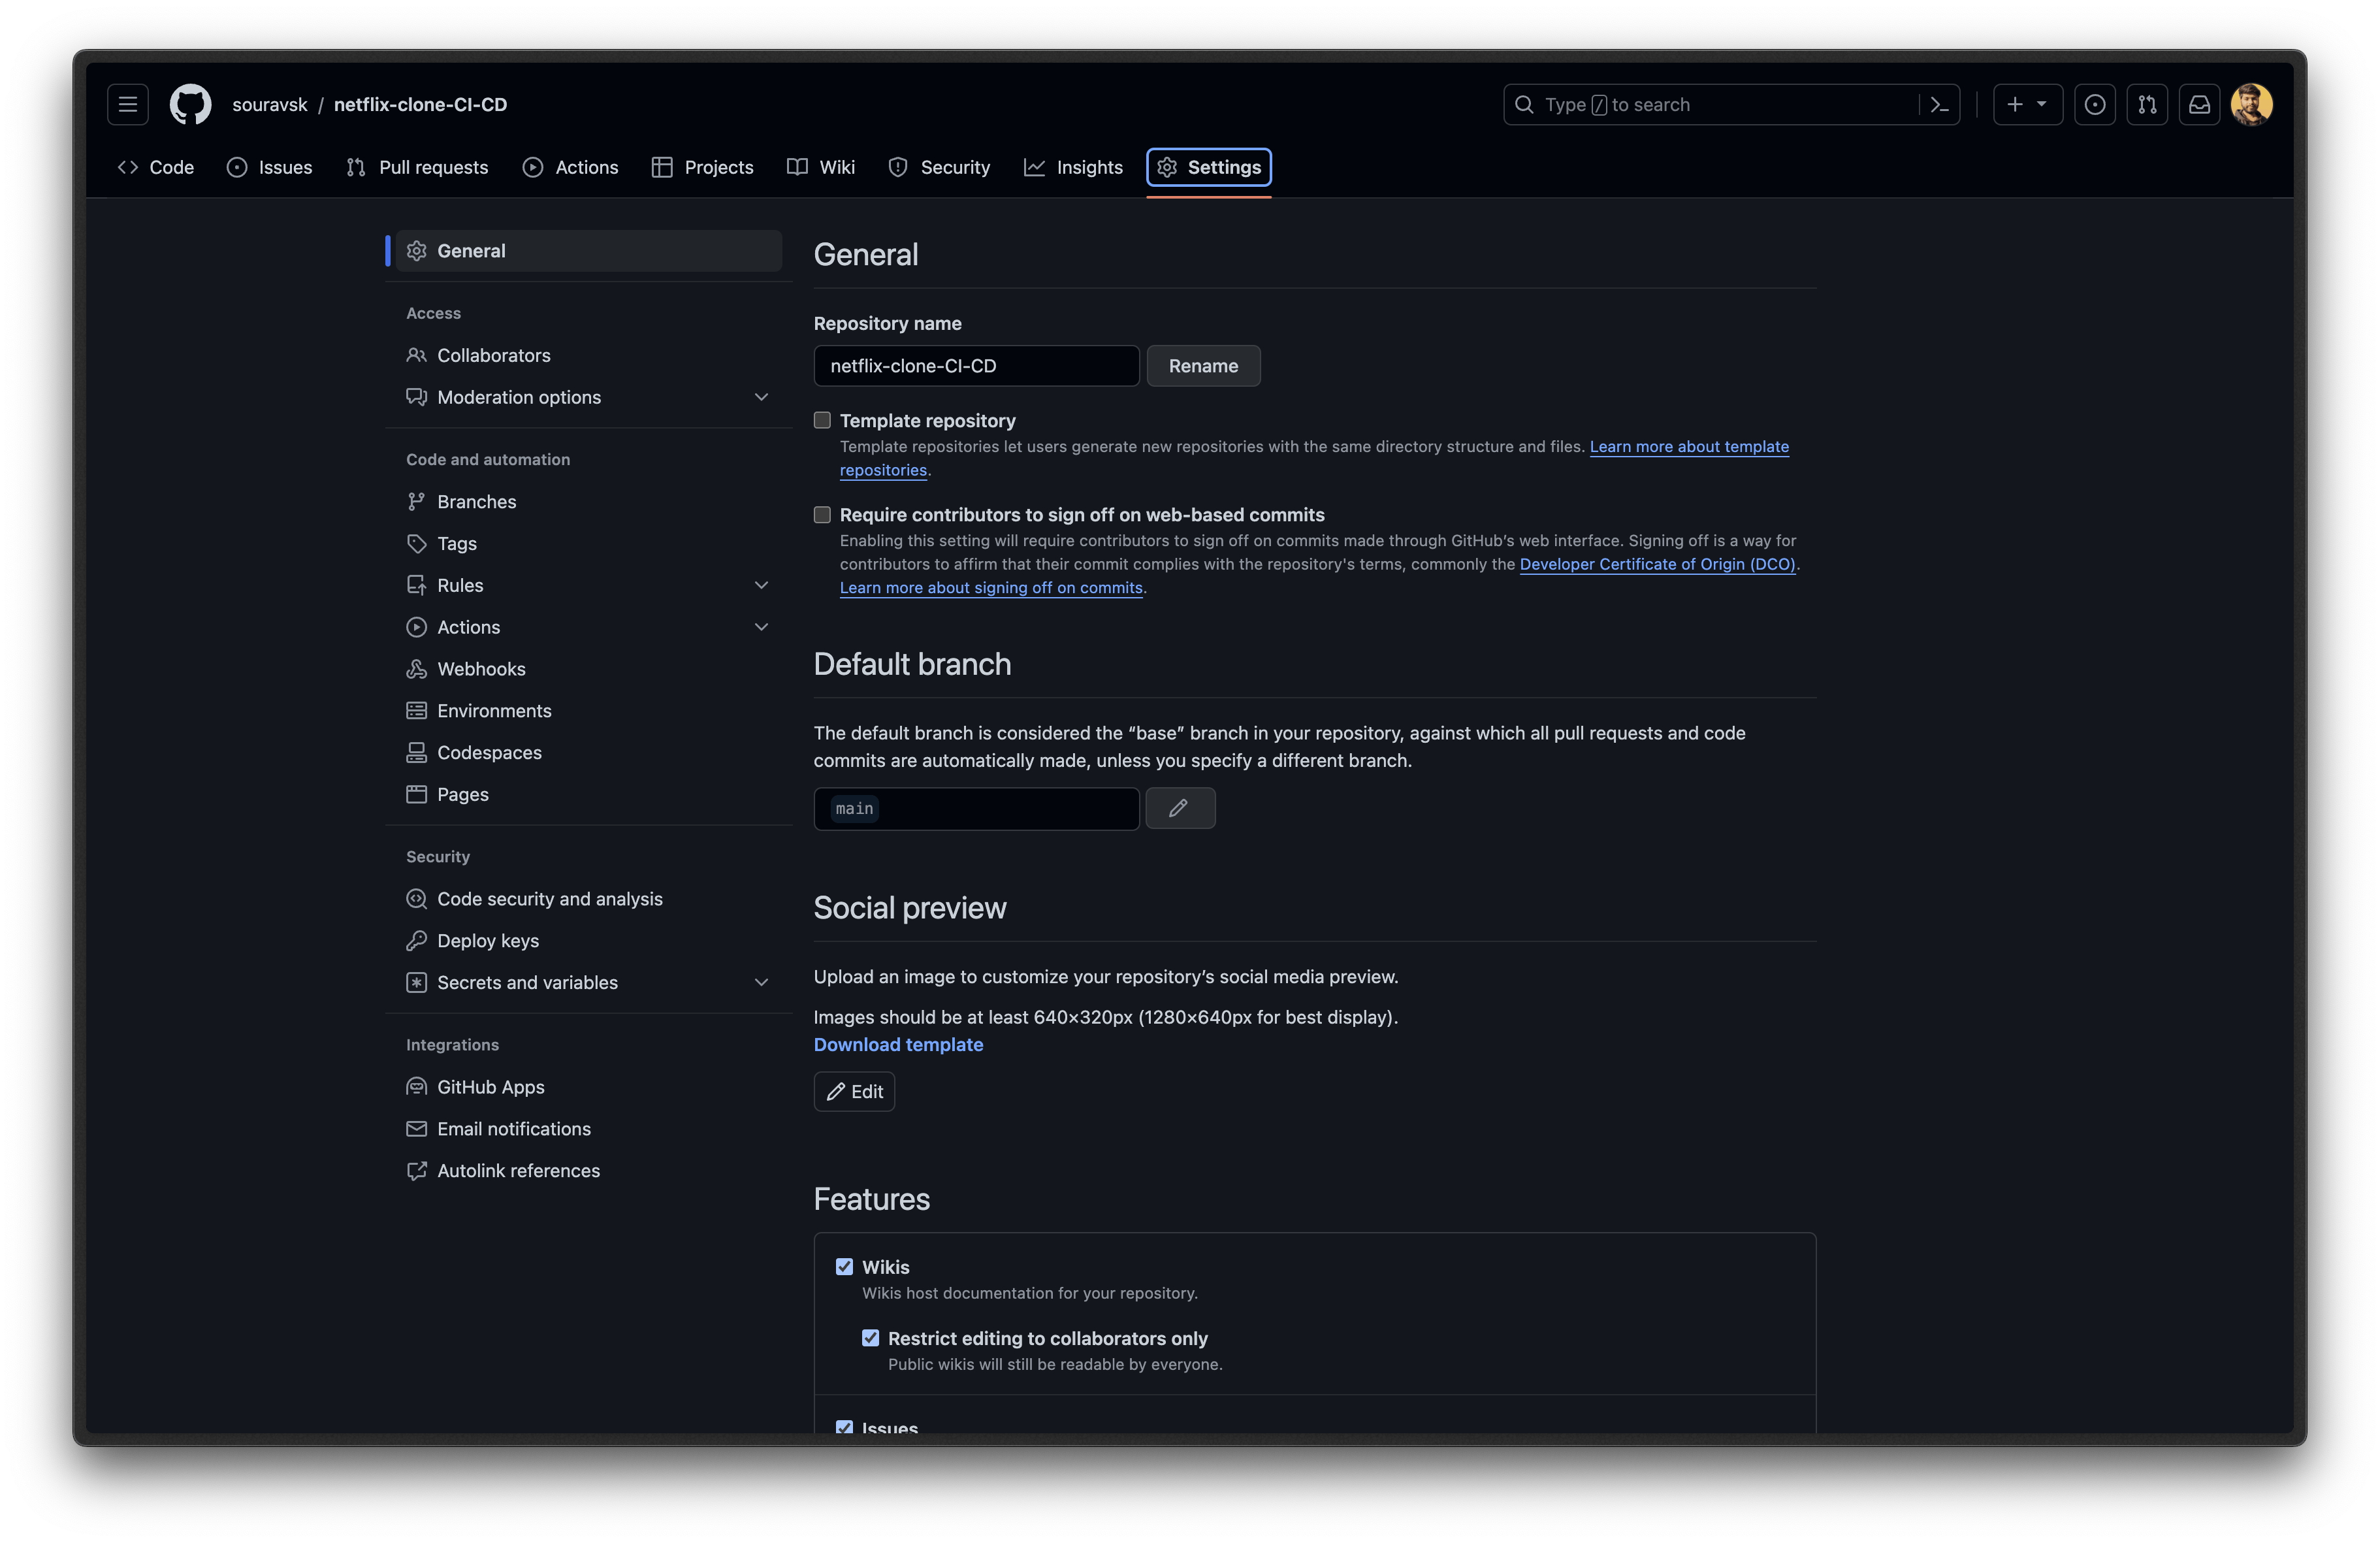
Then Click on Webhooks and then click on Add Webhooks.
In the url section you have to give the url of jenkins but the proble it that we are using docker to run jenkins which is avable on your machine which me github can't access you jenkins. To do that we have to forward that your are to a public url so that github can access the jenkins.
So we will use https://ngrok.com/docs/getting-started/ to forward the localhost:8080 which is for jankins. After installing ngrok use this command to created a new URL.
ngrok http 8080
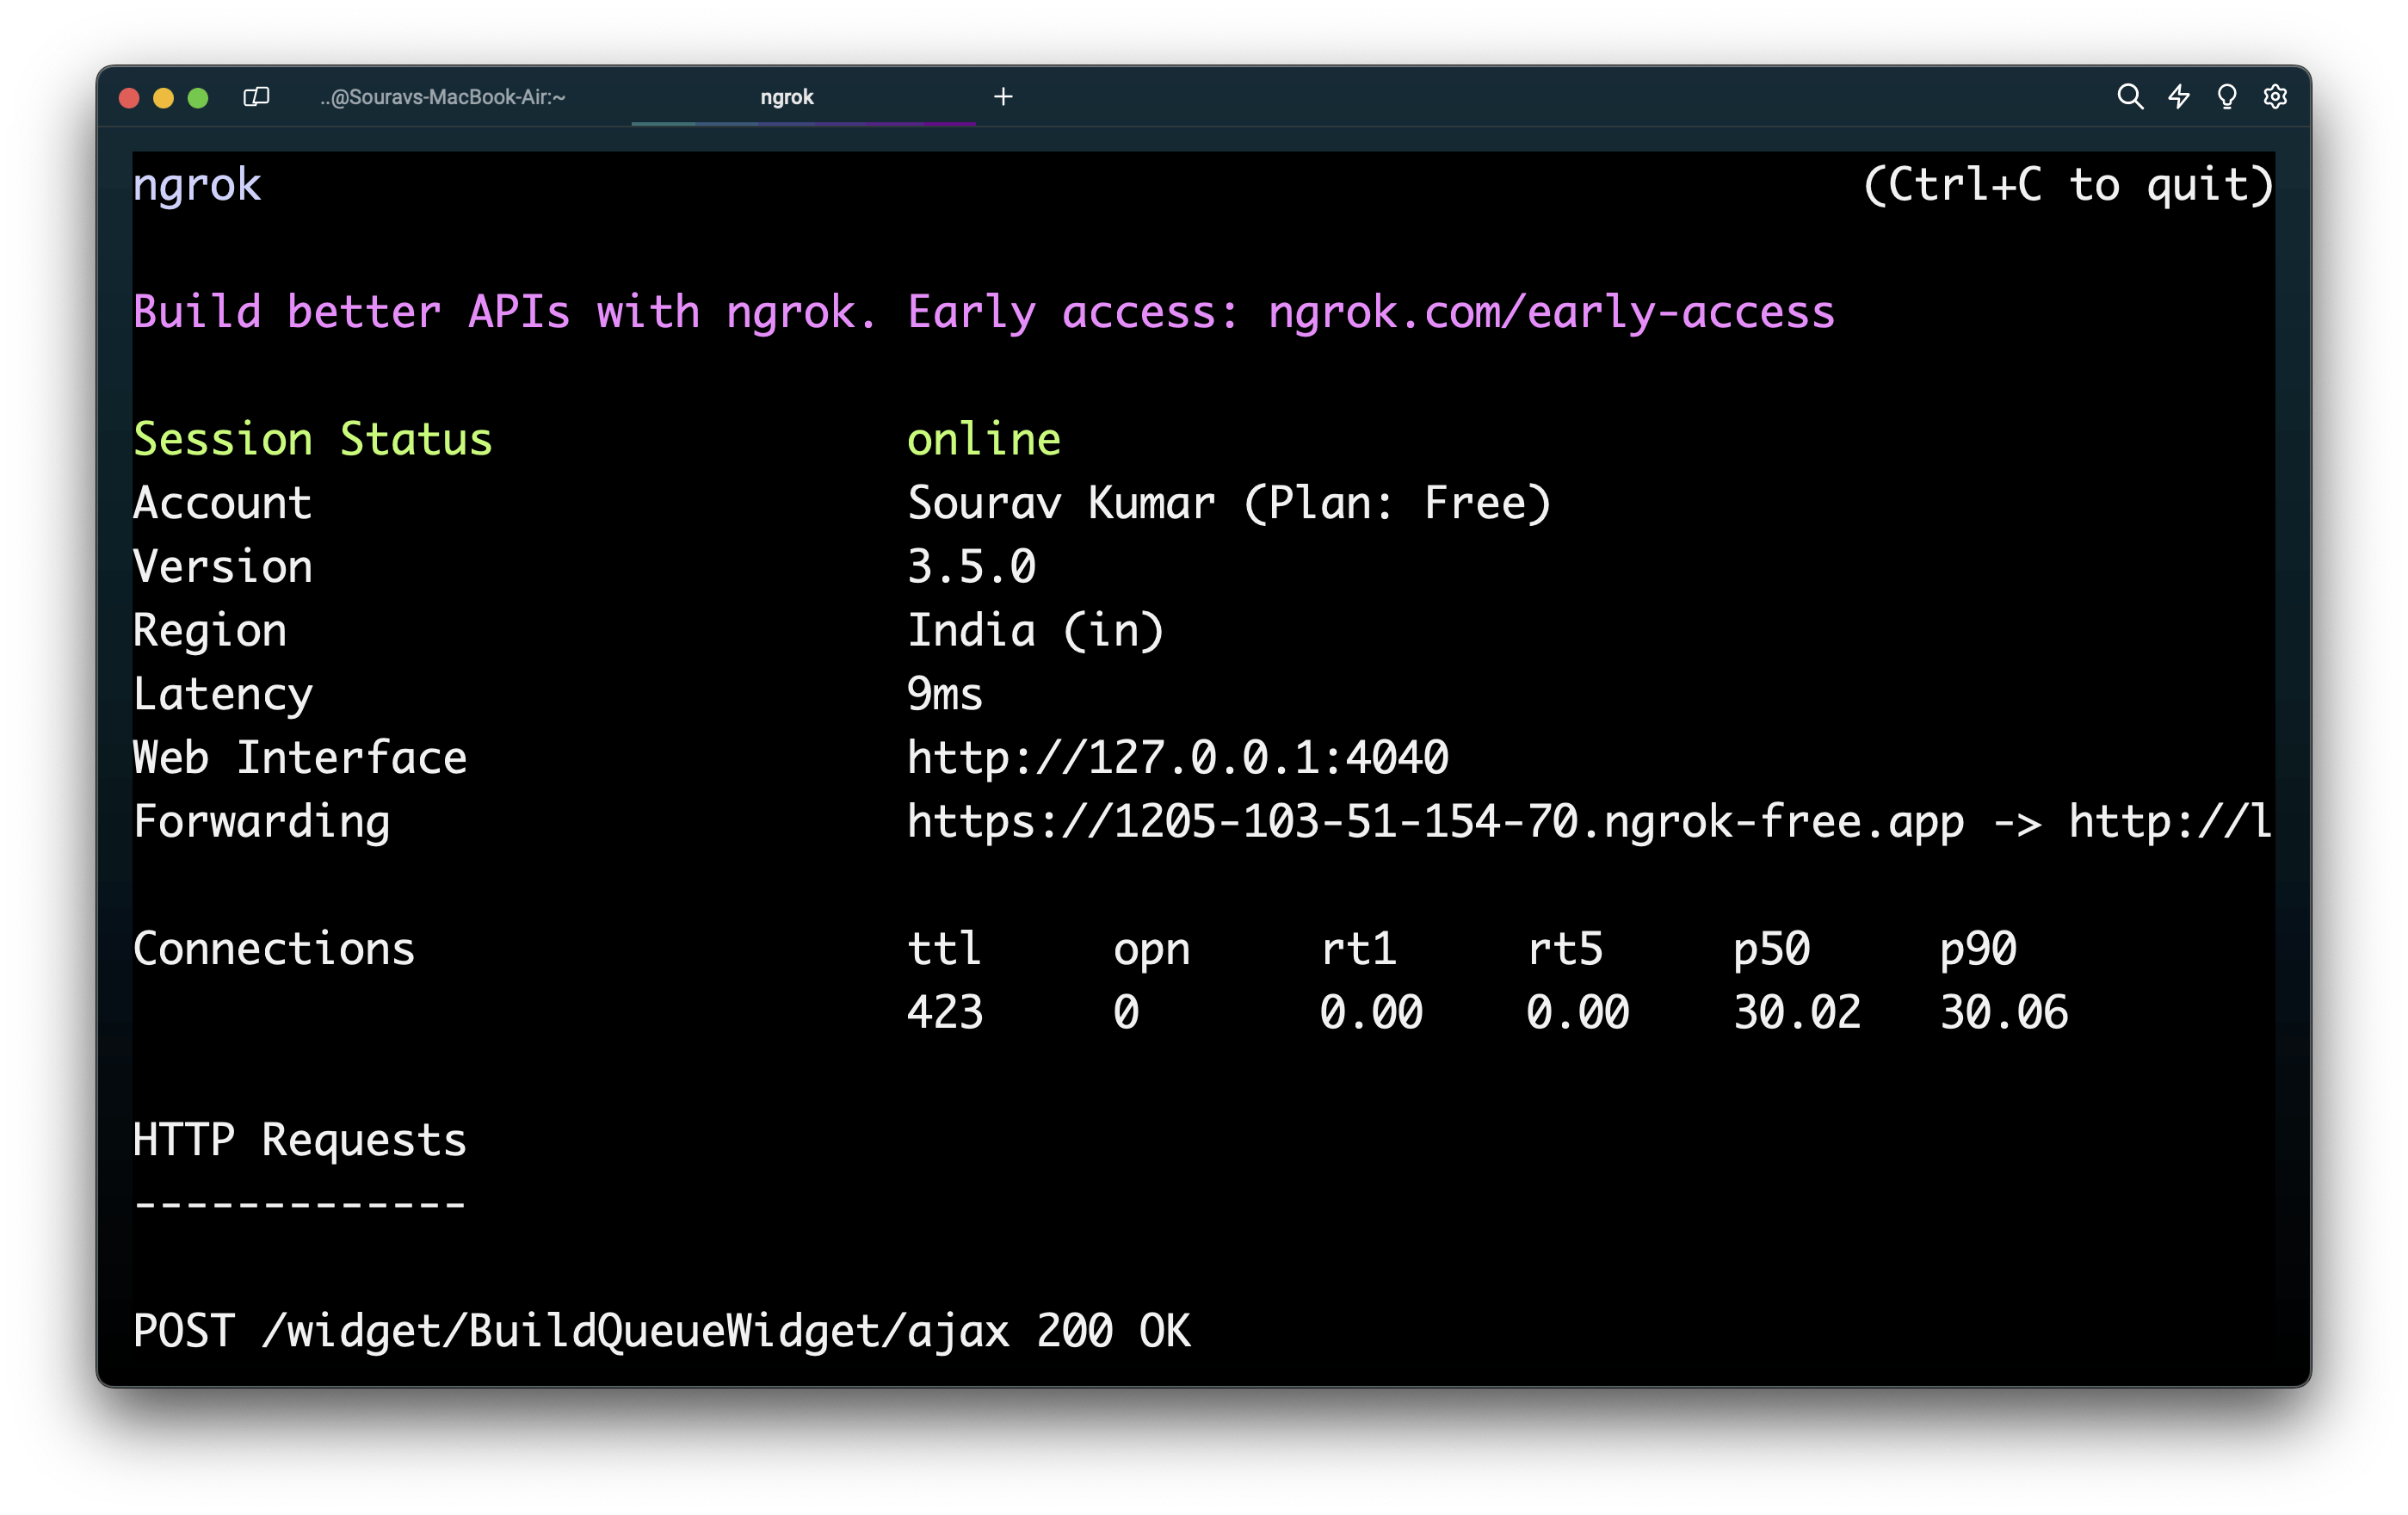
Now copy that URL and past on the GitHub webhooks page after the URL you have to write /github-webhook/.

Make sure your URL should look like this.
3 - Now create a file with the name sonar-project.propertie and past this code on that file.
sonar.projectKey=netflixs
Now Create a Jenkinsfile in your repo with the name jenkinsfile and past this code on that.
node {
  stage('SCM') {
    checkout scm
  }
  stage('SonarQube Analysis') {
    def scannerHome = tool 'SonarScanner';
    withSonarQubeEnv() {
      sh "${scannerHome}/bin/sonar-scanner"
    }
  }
}
Now it is done. All the configuration is done.
Run Jenkins Pipeline
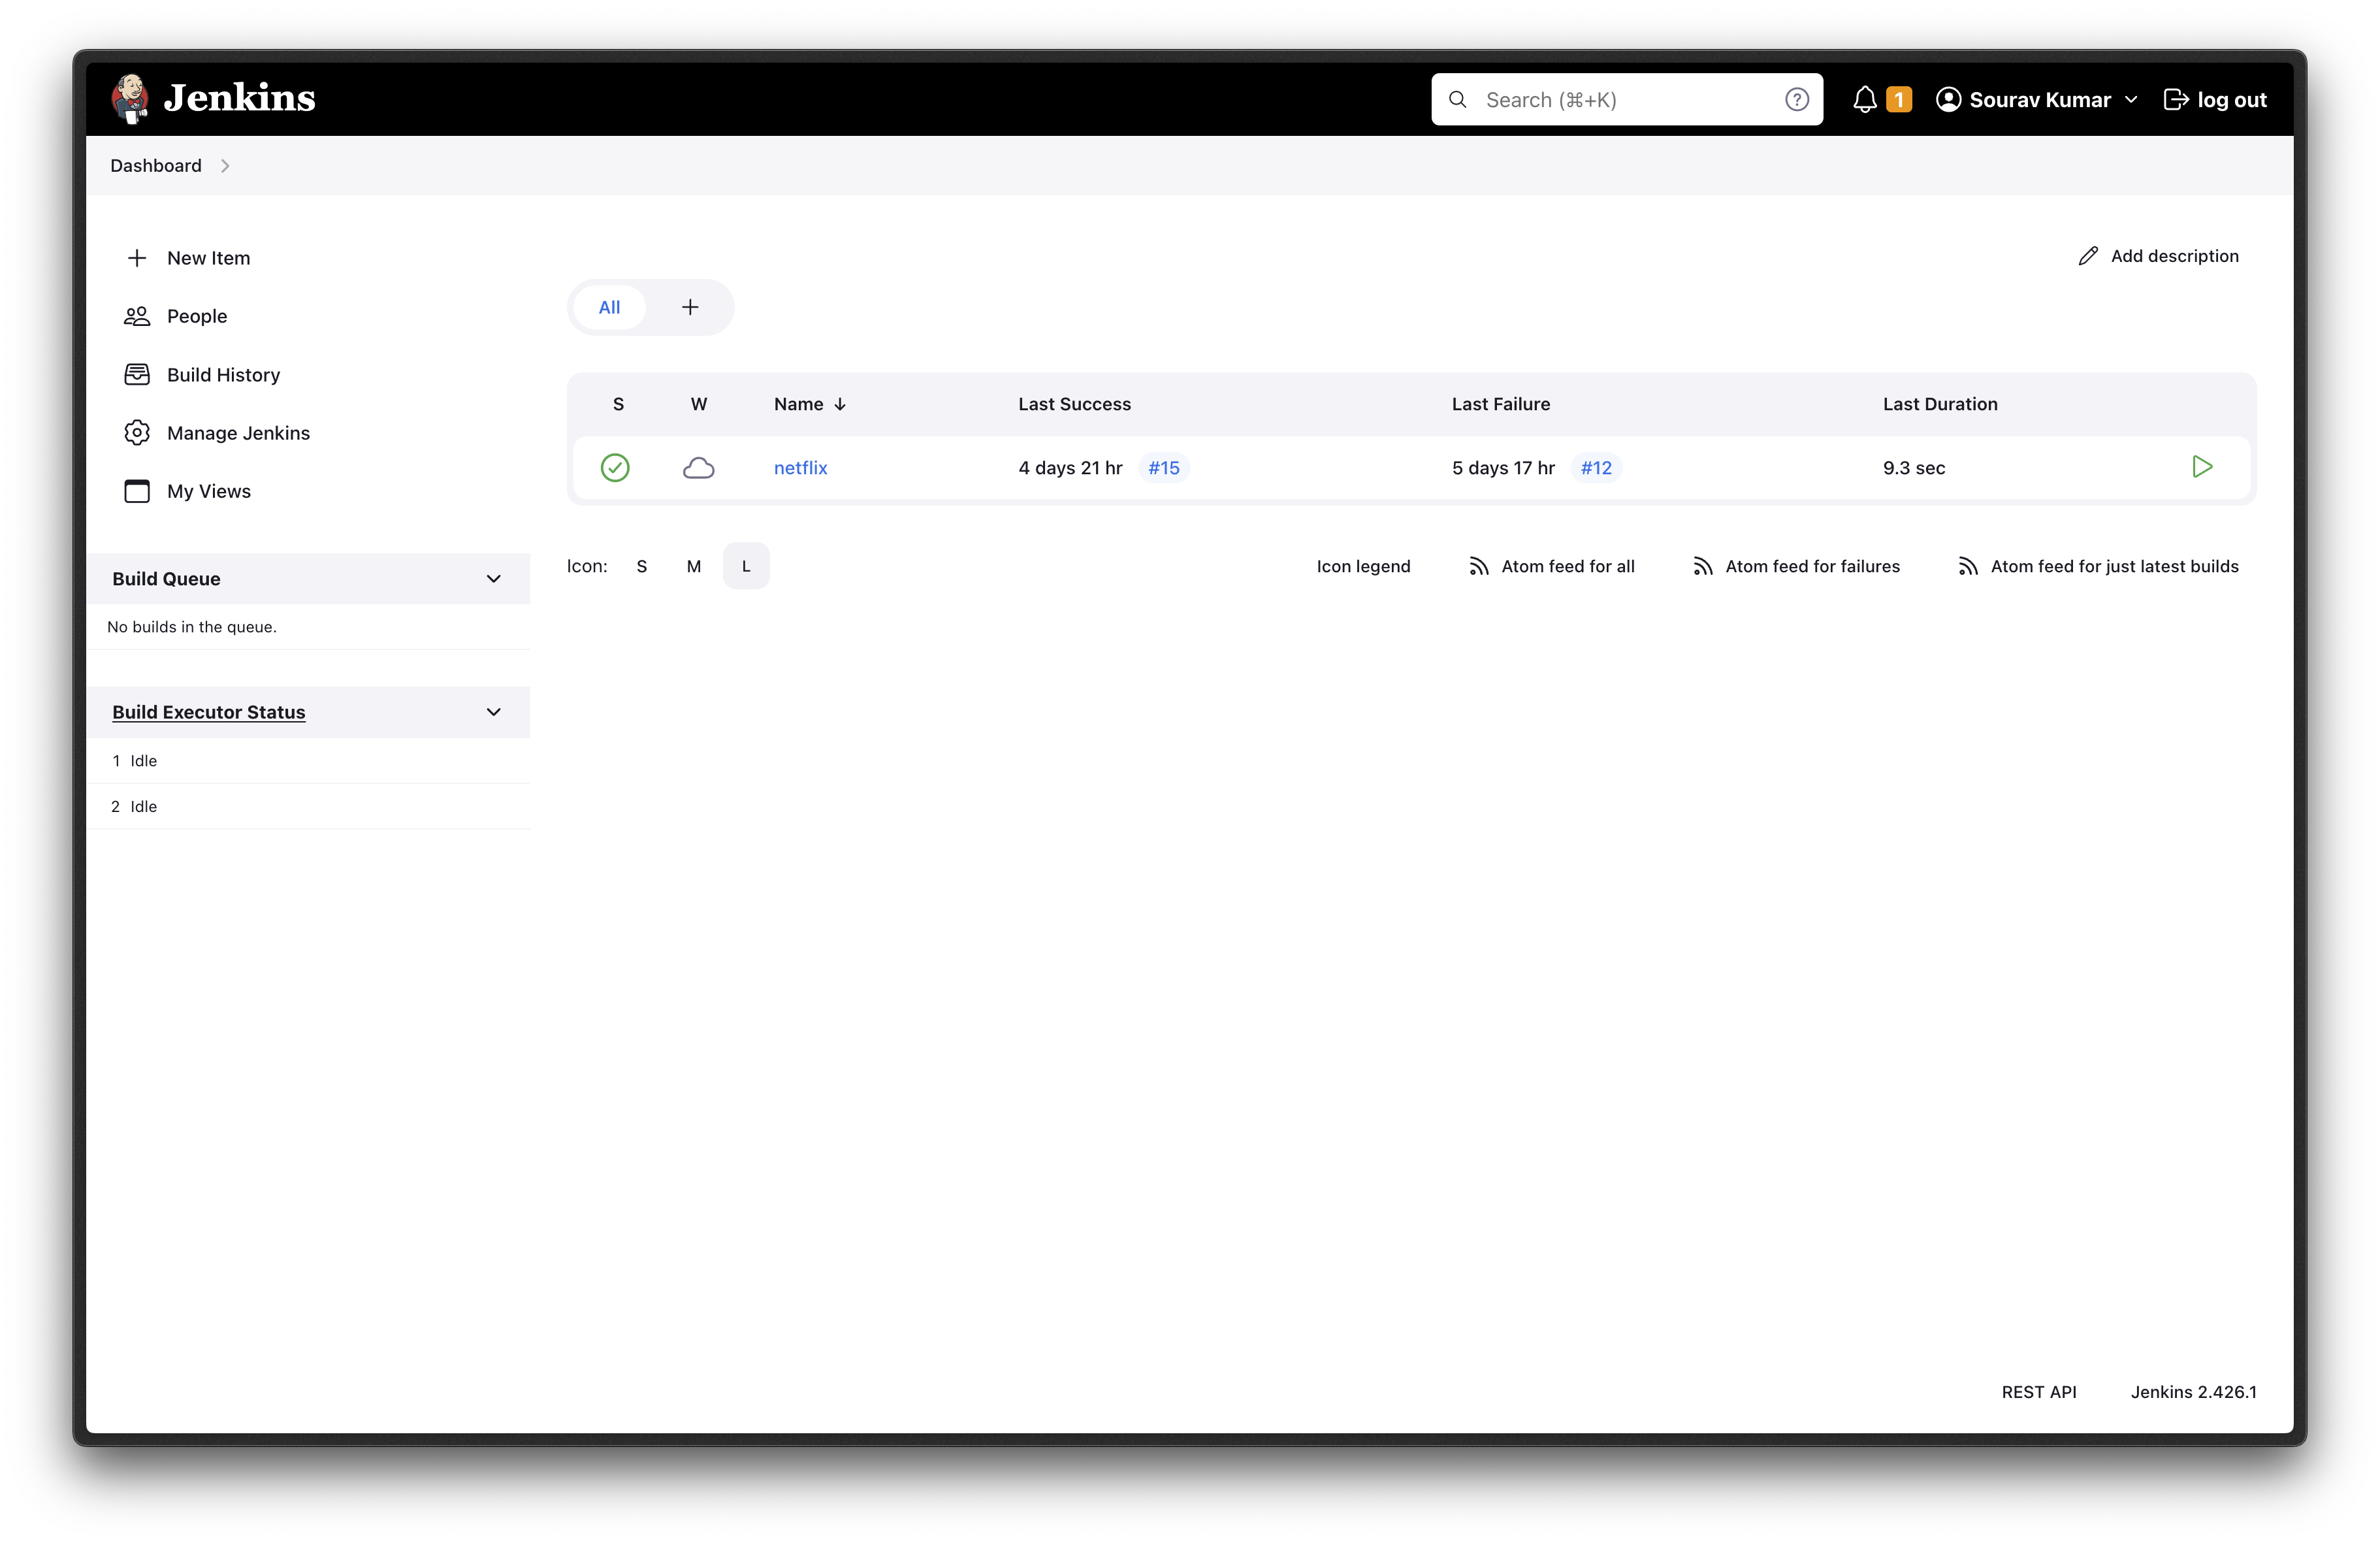
Now push all the code and files that push created into your GitHub repo.
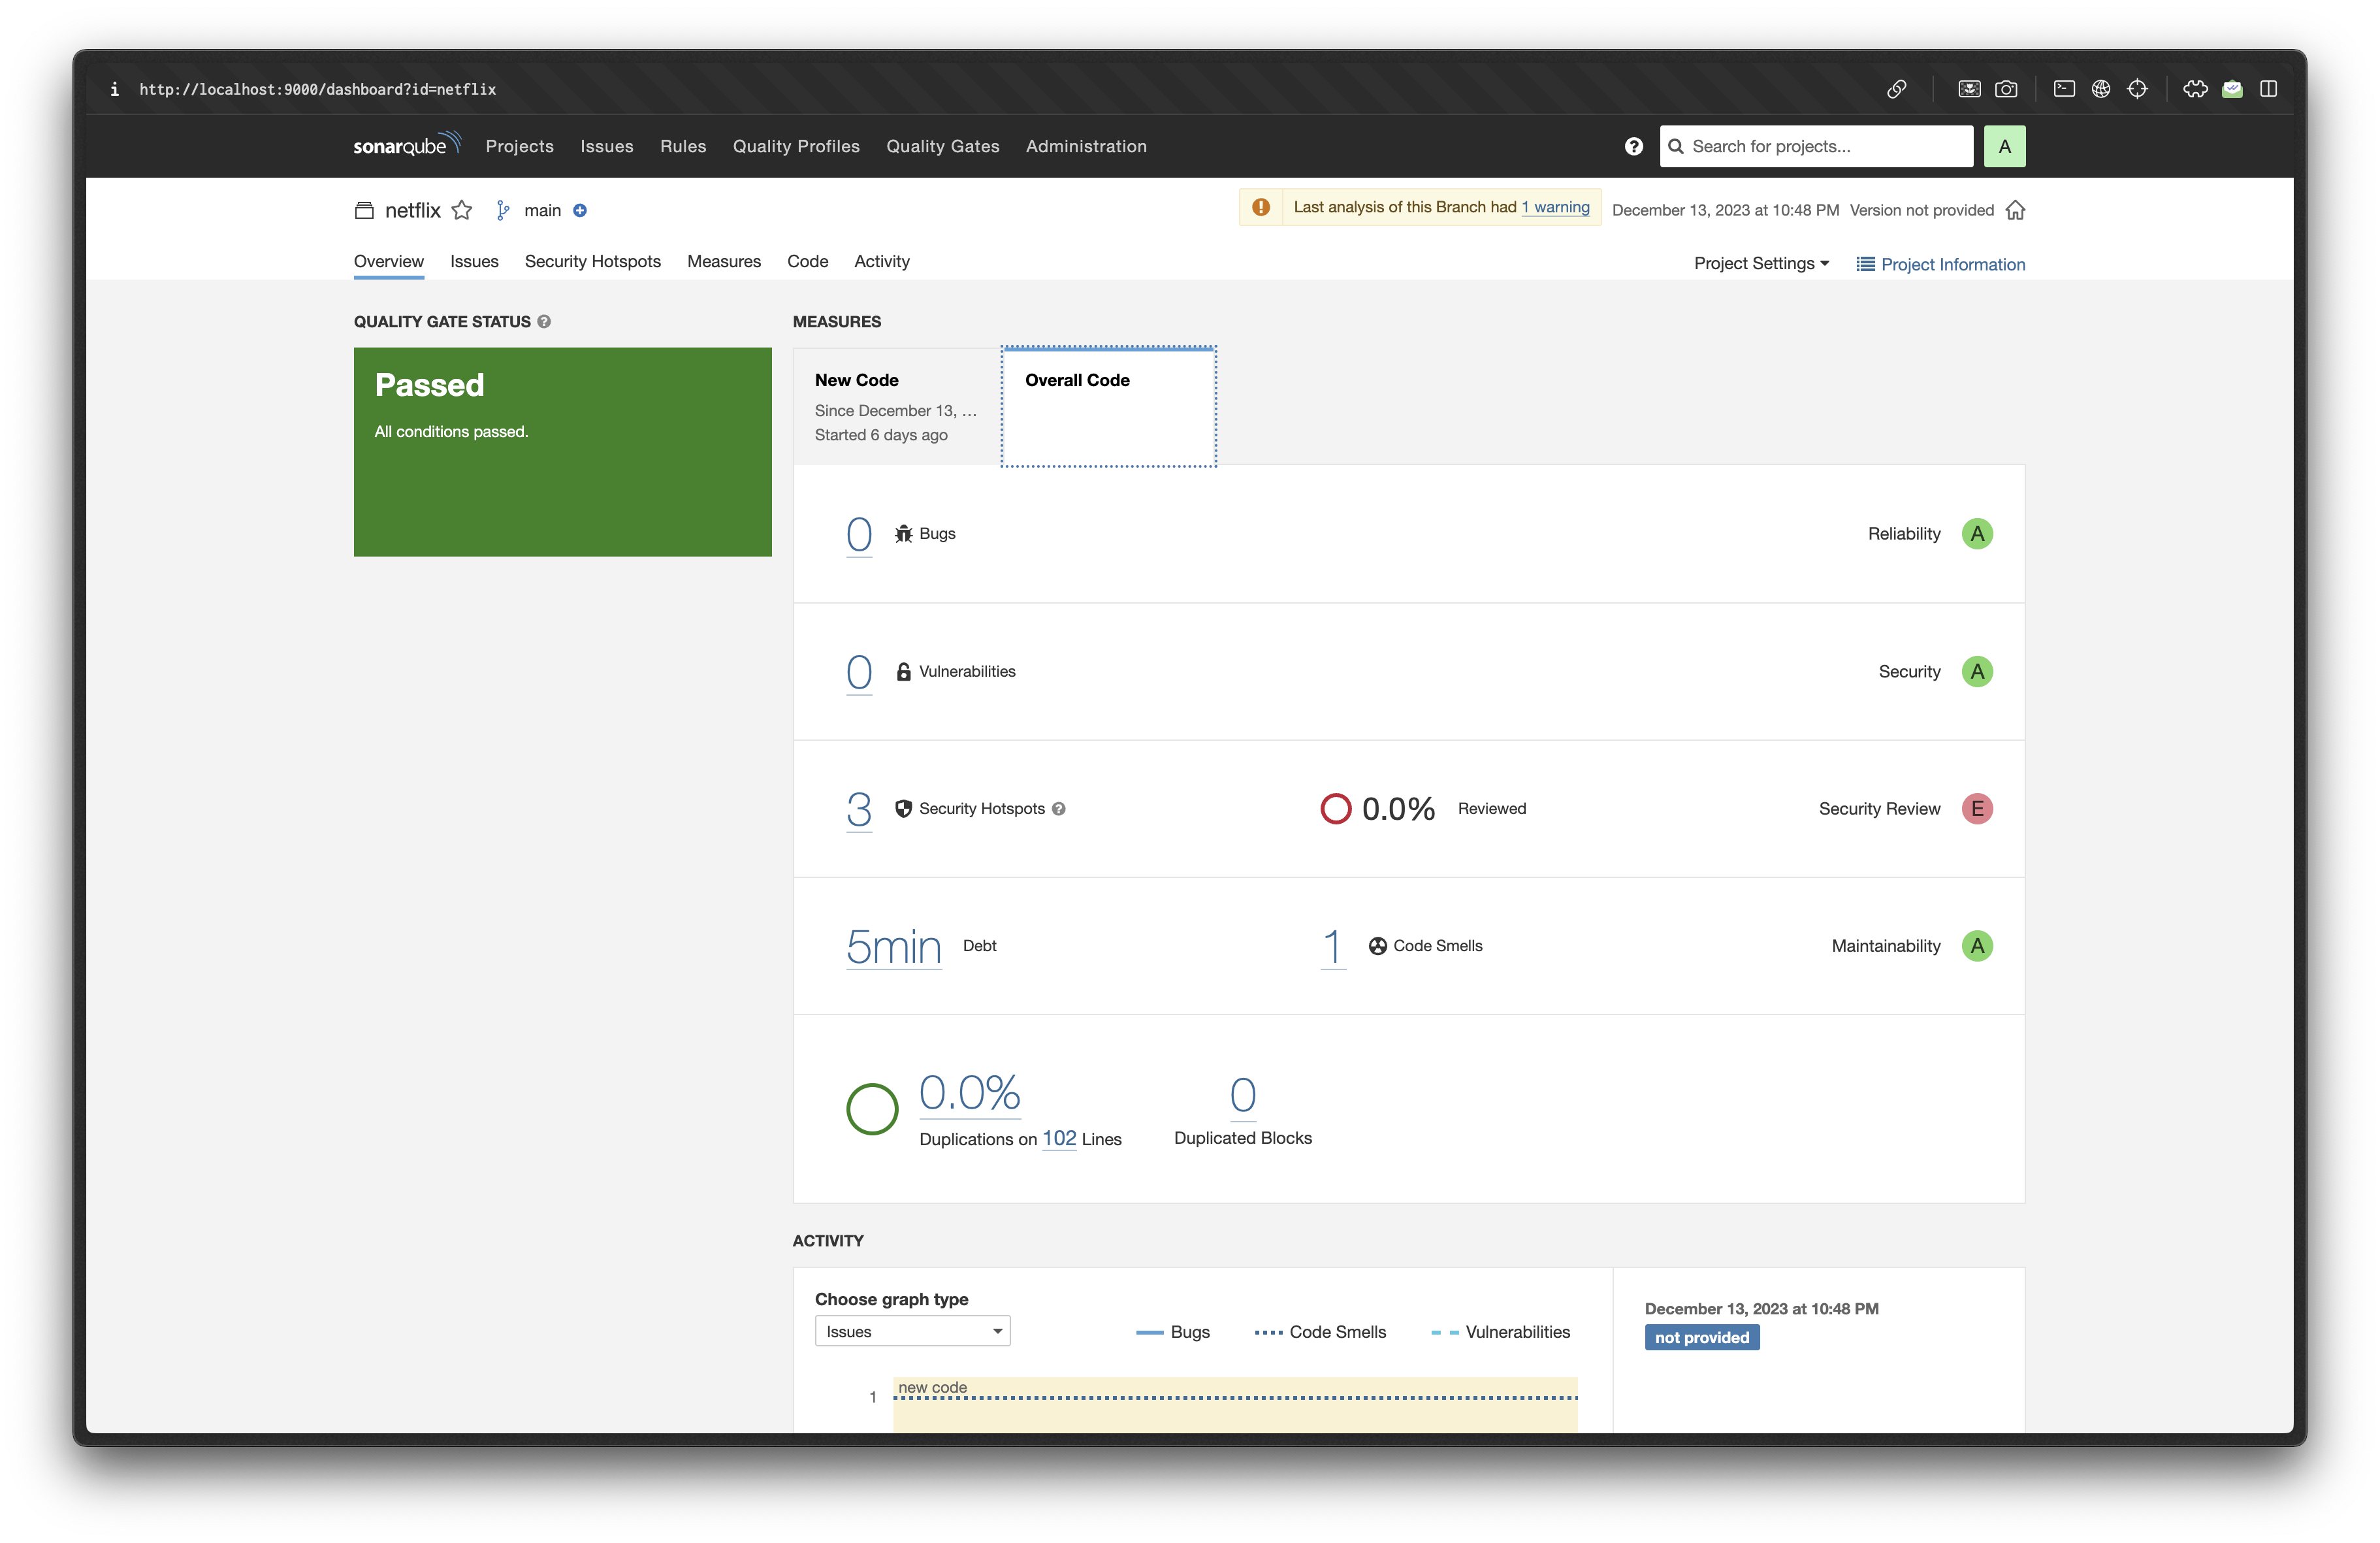
Now every is right the moment you push the code the Jenkins pipeline will trigger and start doing the job that is given to it.
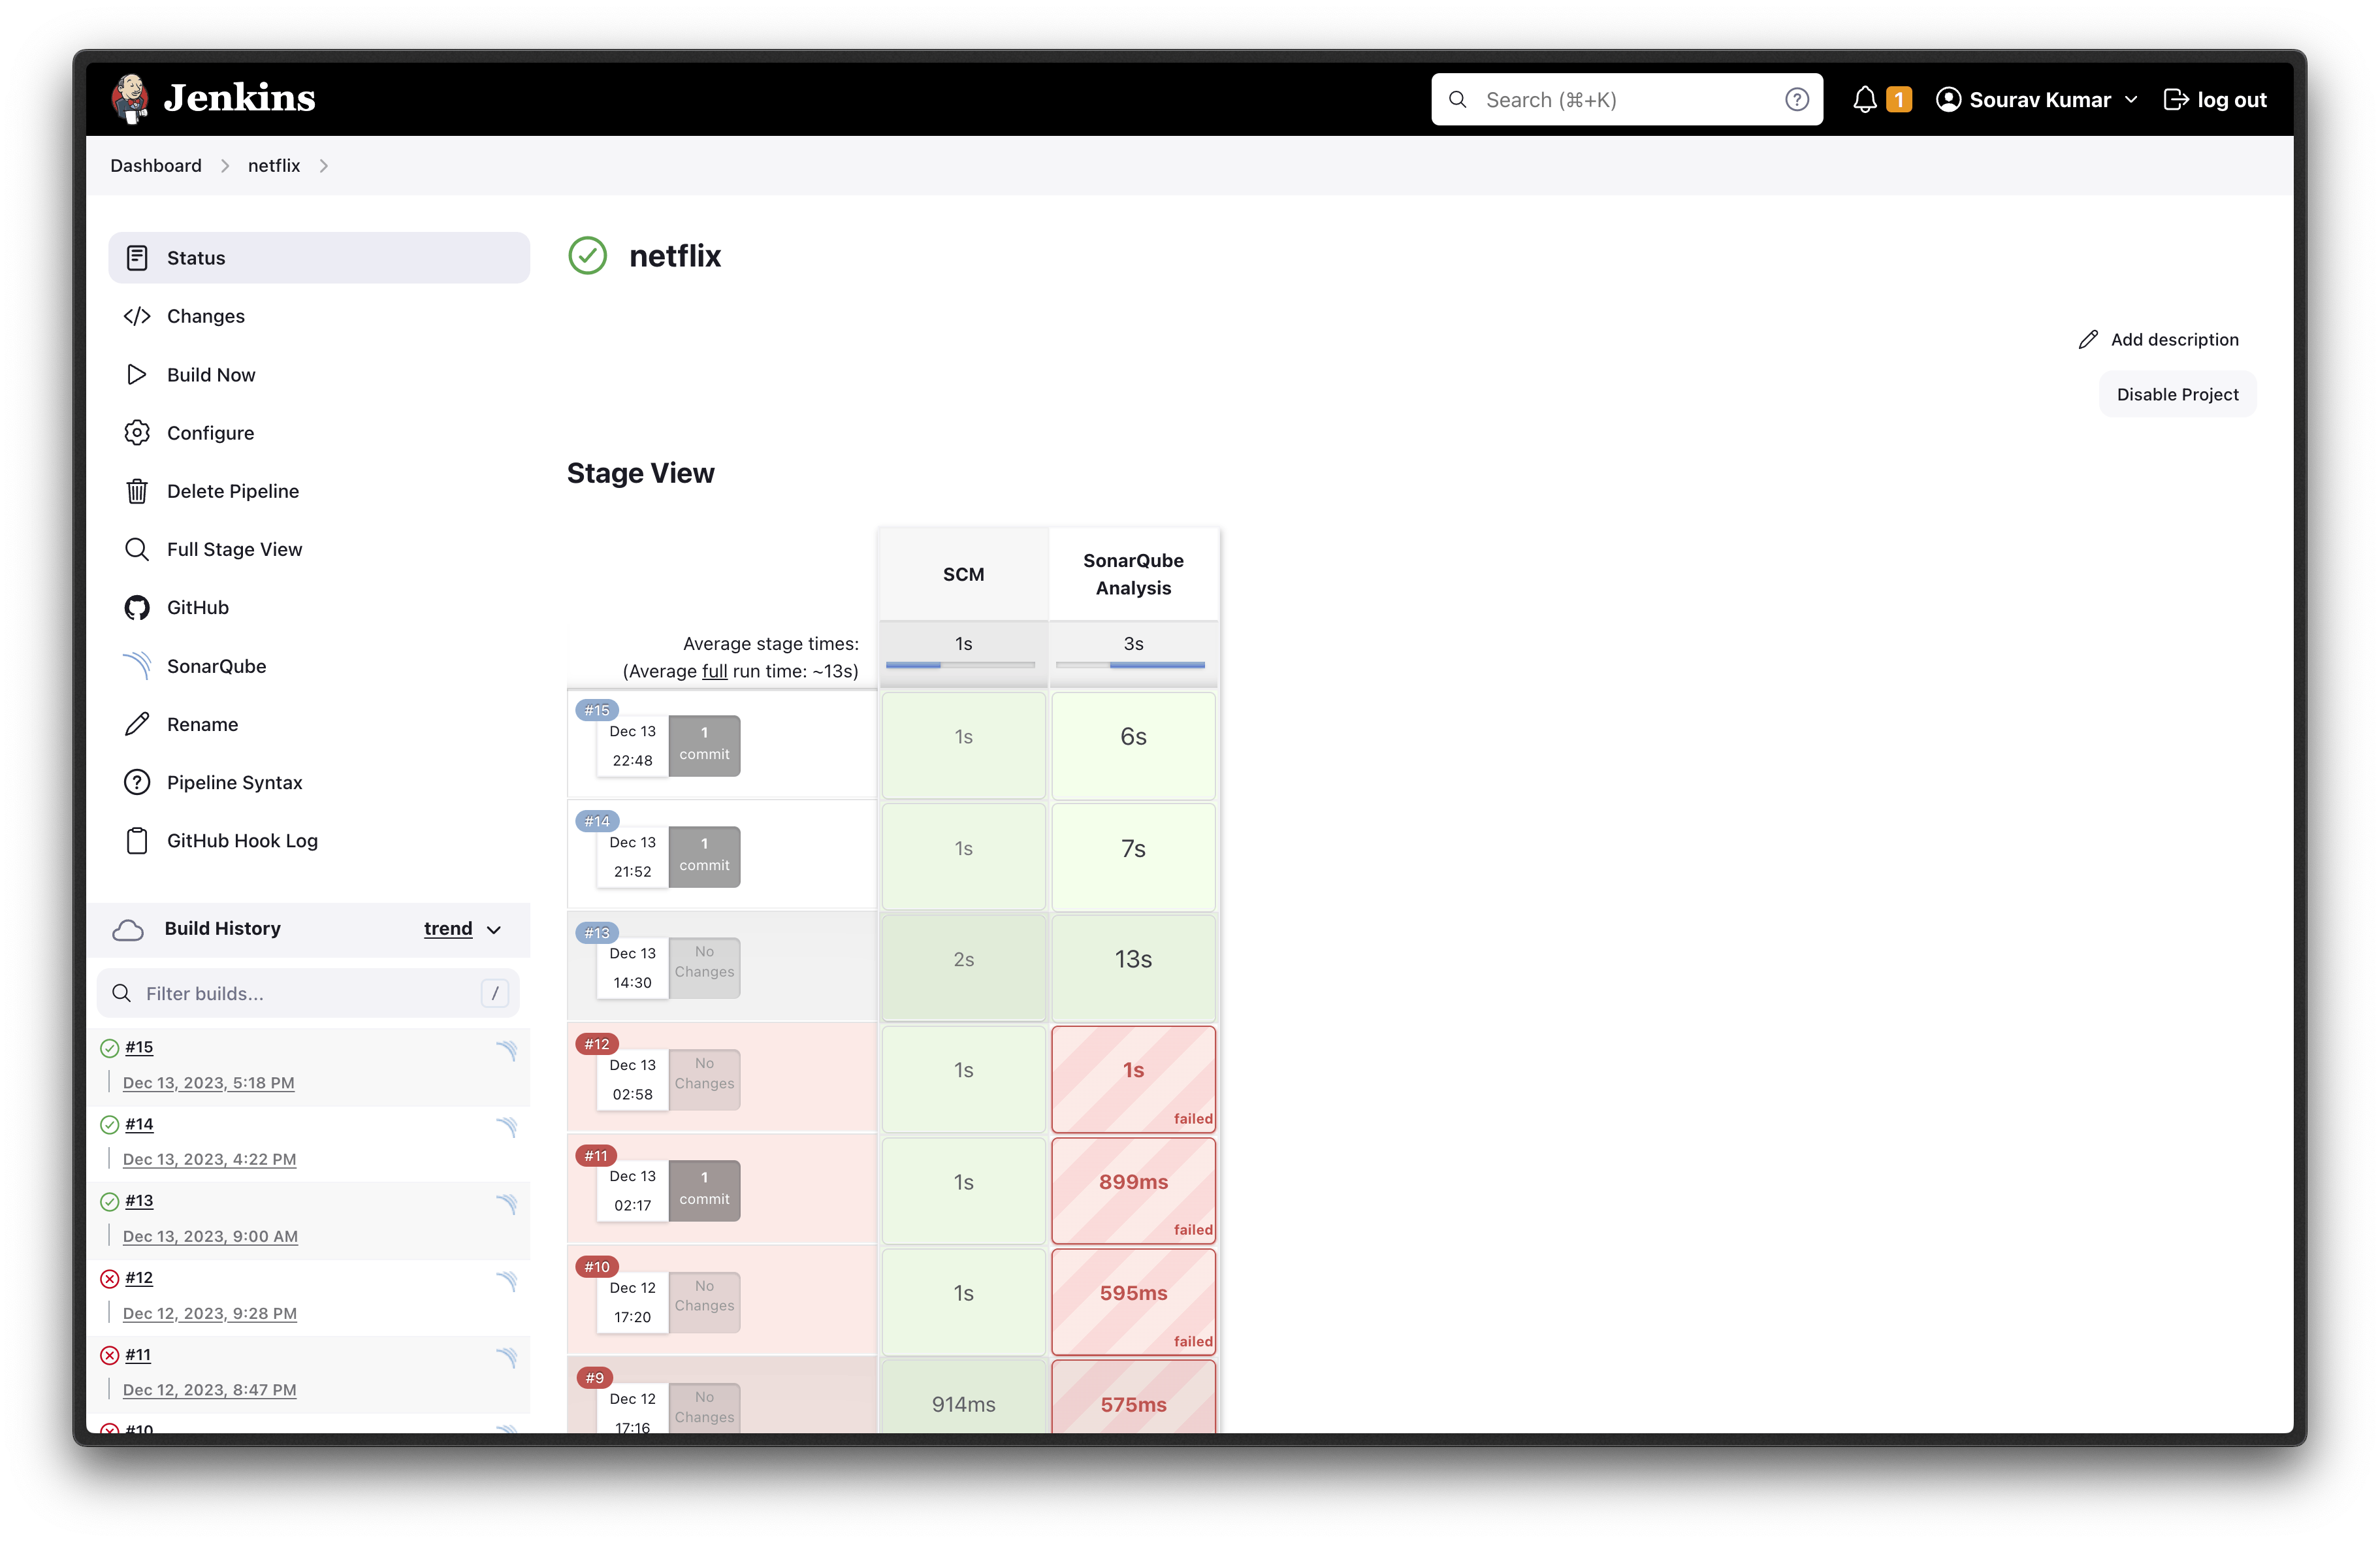
As you can see I have also failed so many times so you also have to keep trying until you pipeline runners successfully.
THE END
Thank You for reading this blog it you have any doubt or you stuck on a problem please let me I will be very much happy to help you.