


Streamlining Scalability: A Guide to Installing Redis on Kubernetes with Helm Charts


In the dynamic landscape of modern applications, scalability and efficient data management. Harnessing the power of Kubernetes, a robust container orchestration platform, can be a game-changer in achieving seamless scalability and resource optimization. In today's blog, we embark on a journey to enhance your Kubernetes cluster with Redis, a high-performance, in-memory data store that's become a cornerstone for real-time applications.
What is Redis?
Imagine you have a big box of toys, and you want to find your favorite toy car quickly. Instead of searching through the entire box, you could put the toy car in a special box that's easy to access. Redis is like that special box for your data. It's a super-fast data store that lets you keep frequently used data in memory, so you can access it much quicker than going to a traditional database.
Think of Redis as a super-organized helper that keeps track of your important information and makes it easy to find when you need it. It's like having a personal assistant for your data, always ready to help you out.
What is Helm Charts?
Imagine you want to build a house, but instead of starting from scratch each time, you have a blueprint that outlines the design and construction details. A Helm chart is like that blueprint for deploying applications in Kubernetes. It's a standardized package that contains all the necessary configuration files and templates to set up an application in a consistent and repeatable way.
Think of Helm charts as pre-assembled LEGO blocks for Kubernetes. They provide a structured approach to deploying applications, ensuring that all the required components are properly configured and interconnected. It's like having a handy toolkit that simplifies the process of building and deploying applications on Kubernetes.
Let's Install Redis (without PV)
Currently building a system of queues for batch processing, you need to deploy a highly available Redis set-up using a helm chart in a Kubernetes cluster.
The challenge is the following:
Use a helm chart to deploy Redis with 3 pods (1 master, 2 replicas) in the namespace cluster-Redis with persistence.
Prerequisite
Install Minikube/EKS/GKS/AKS
First, we have to have a Kubernetes Cluster and for that, we have to have either an AWS Kubernetes Cluster / Google Kubernetes Cluster / Azure Kubernetes Cluster and Minikube.
I'm using Minikube for this example. To Install the Minikube Click here.
Install Helm
To install the helm as per your system click here. If you are using Linux then you can follow me here.
Helm now has an installer script that will automatically grab the latest version of Helm and install it locally.
You can fetch that script, and then execute it locally. It's well documented so that you can read through it and understand what it is doing before you run it.
$ curl -fsSL -o get_helm.sh https://raw.githubusercontent.com/helm/helm/main/scripts/get-helm-3
$ chmod 700 get_helm.sh
$ ./get_helm.sh
Yes, you can curl https://raw.githubusercontent.com/helm/helm/main/scripts/get-helm-3 | bash if you want to live on the edge.
Now install Redis
First, we have to add a Bitnami repo using the helm command. Because we are using bitnami to install the redis.
helm repo add bitnami https://charts.bitnami.com/bitnami
helm repo list
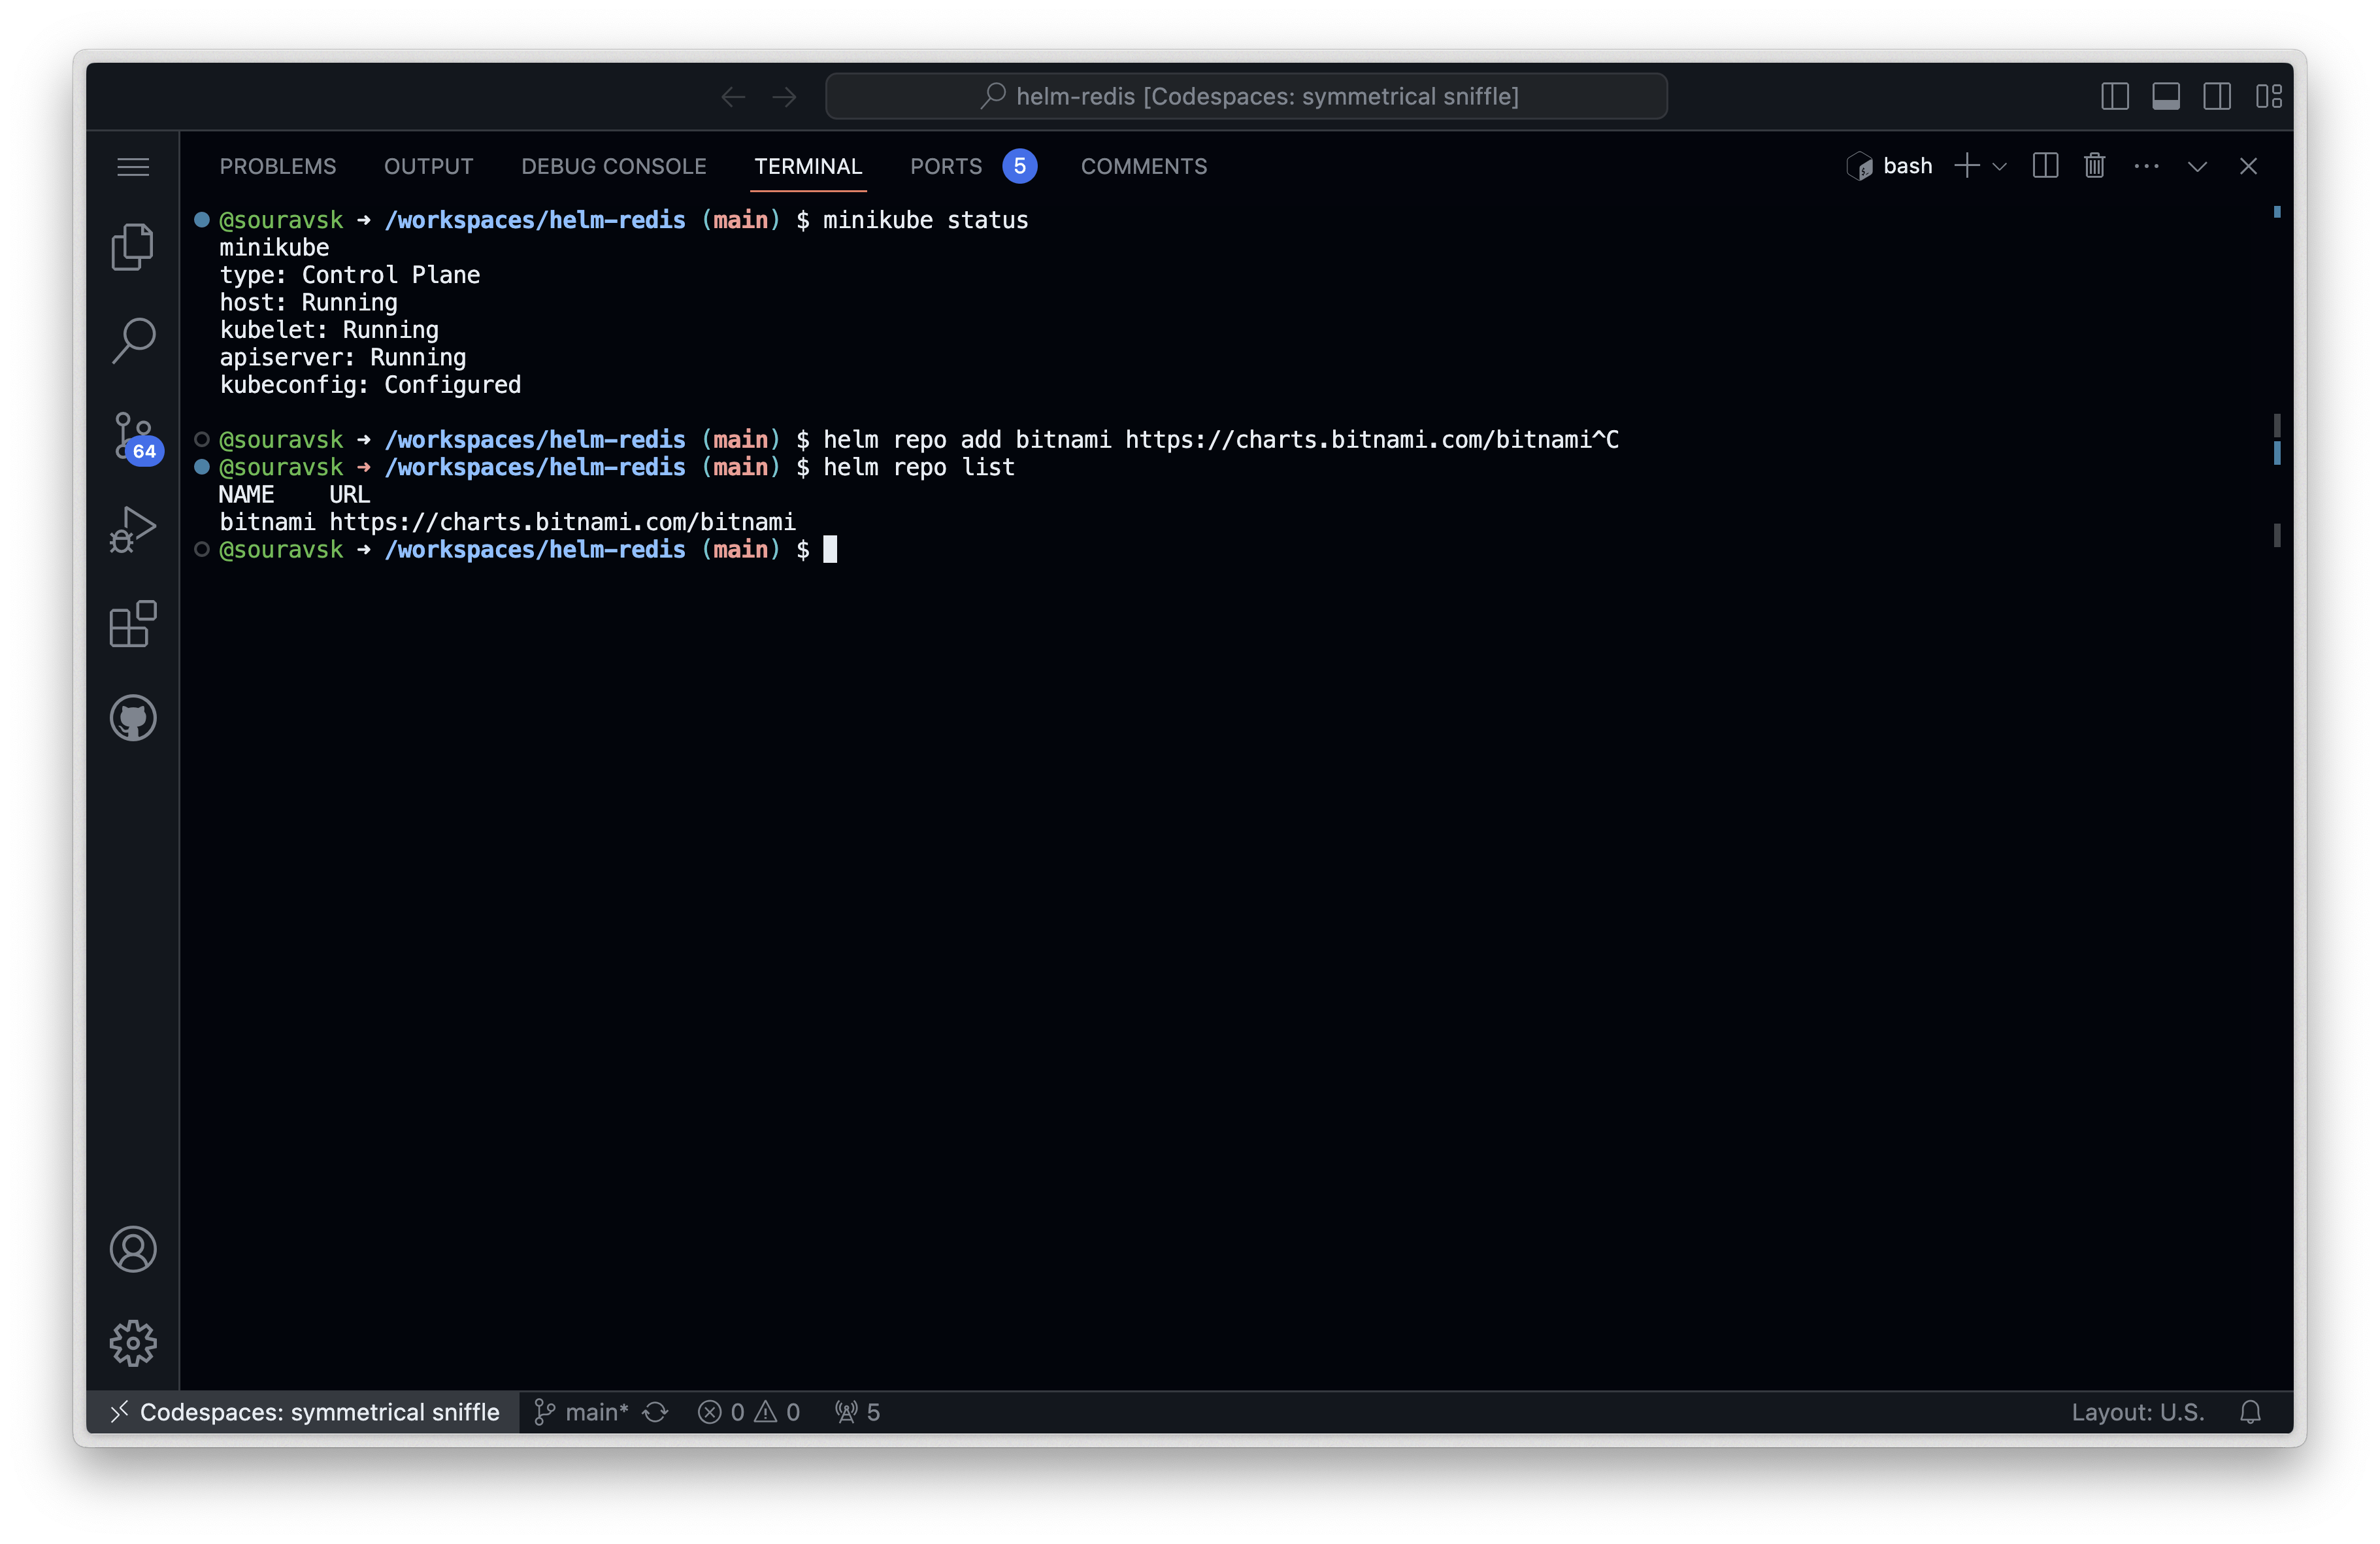
As you can see you have added the Bitnami repo to install Redis.
Now let's search the Redis with the help of the helm command into the Bitnami repo.
helm search repo bitnami | grep redis
This command will list all the Redis helm charts that are available in the Bitnami repo.
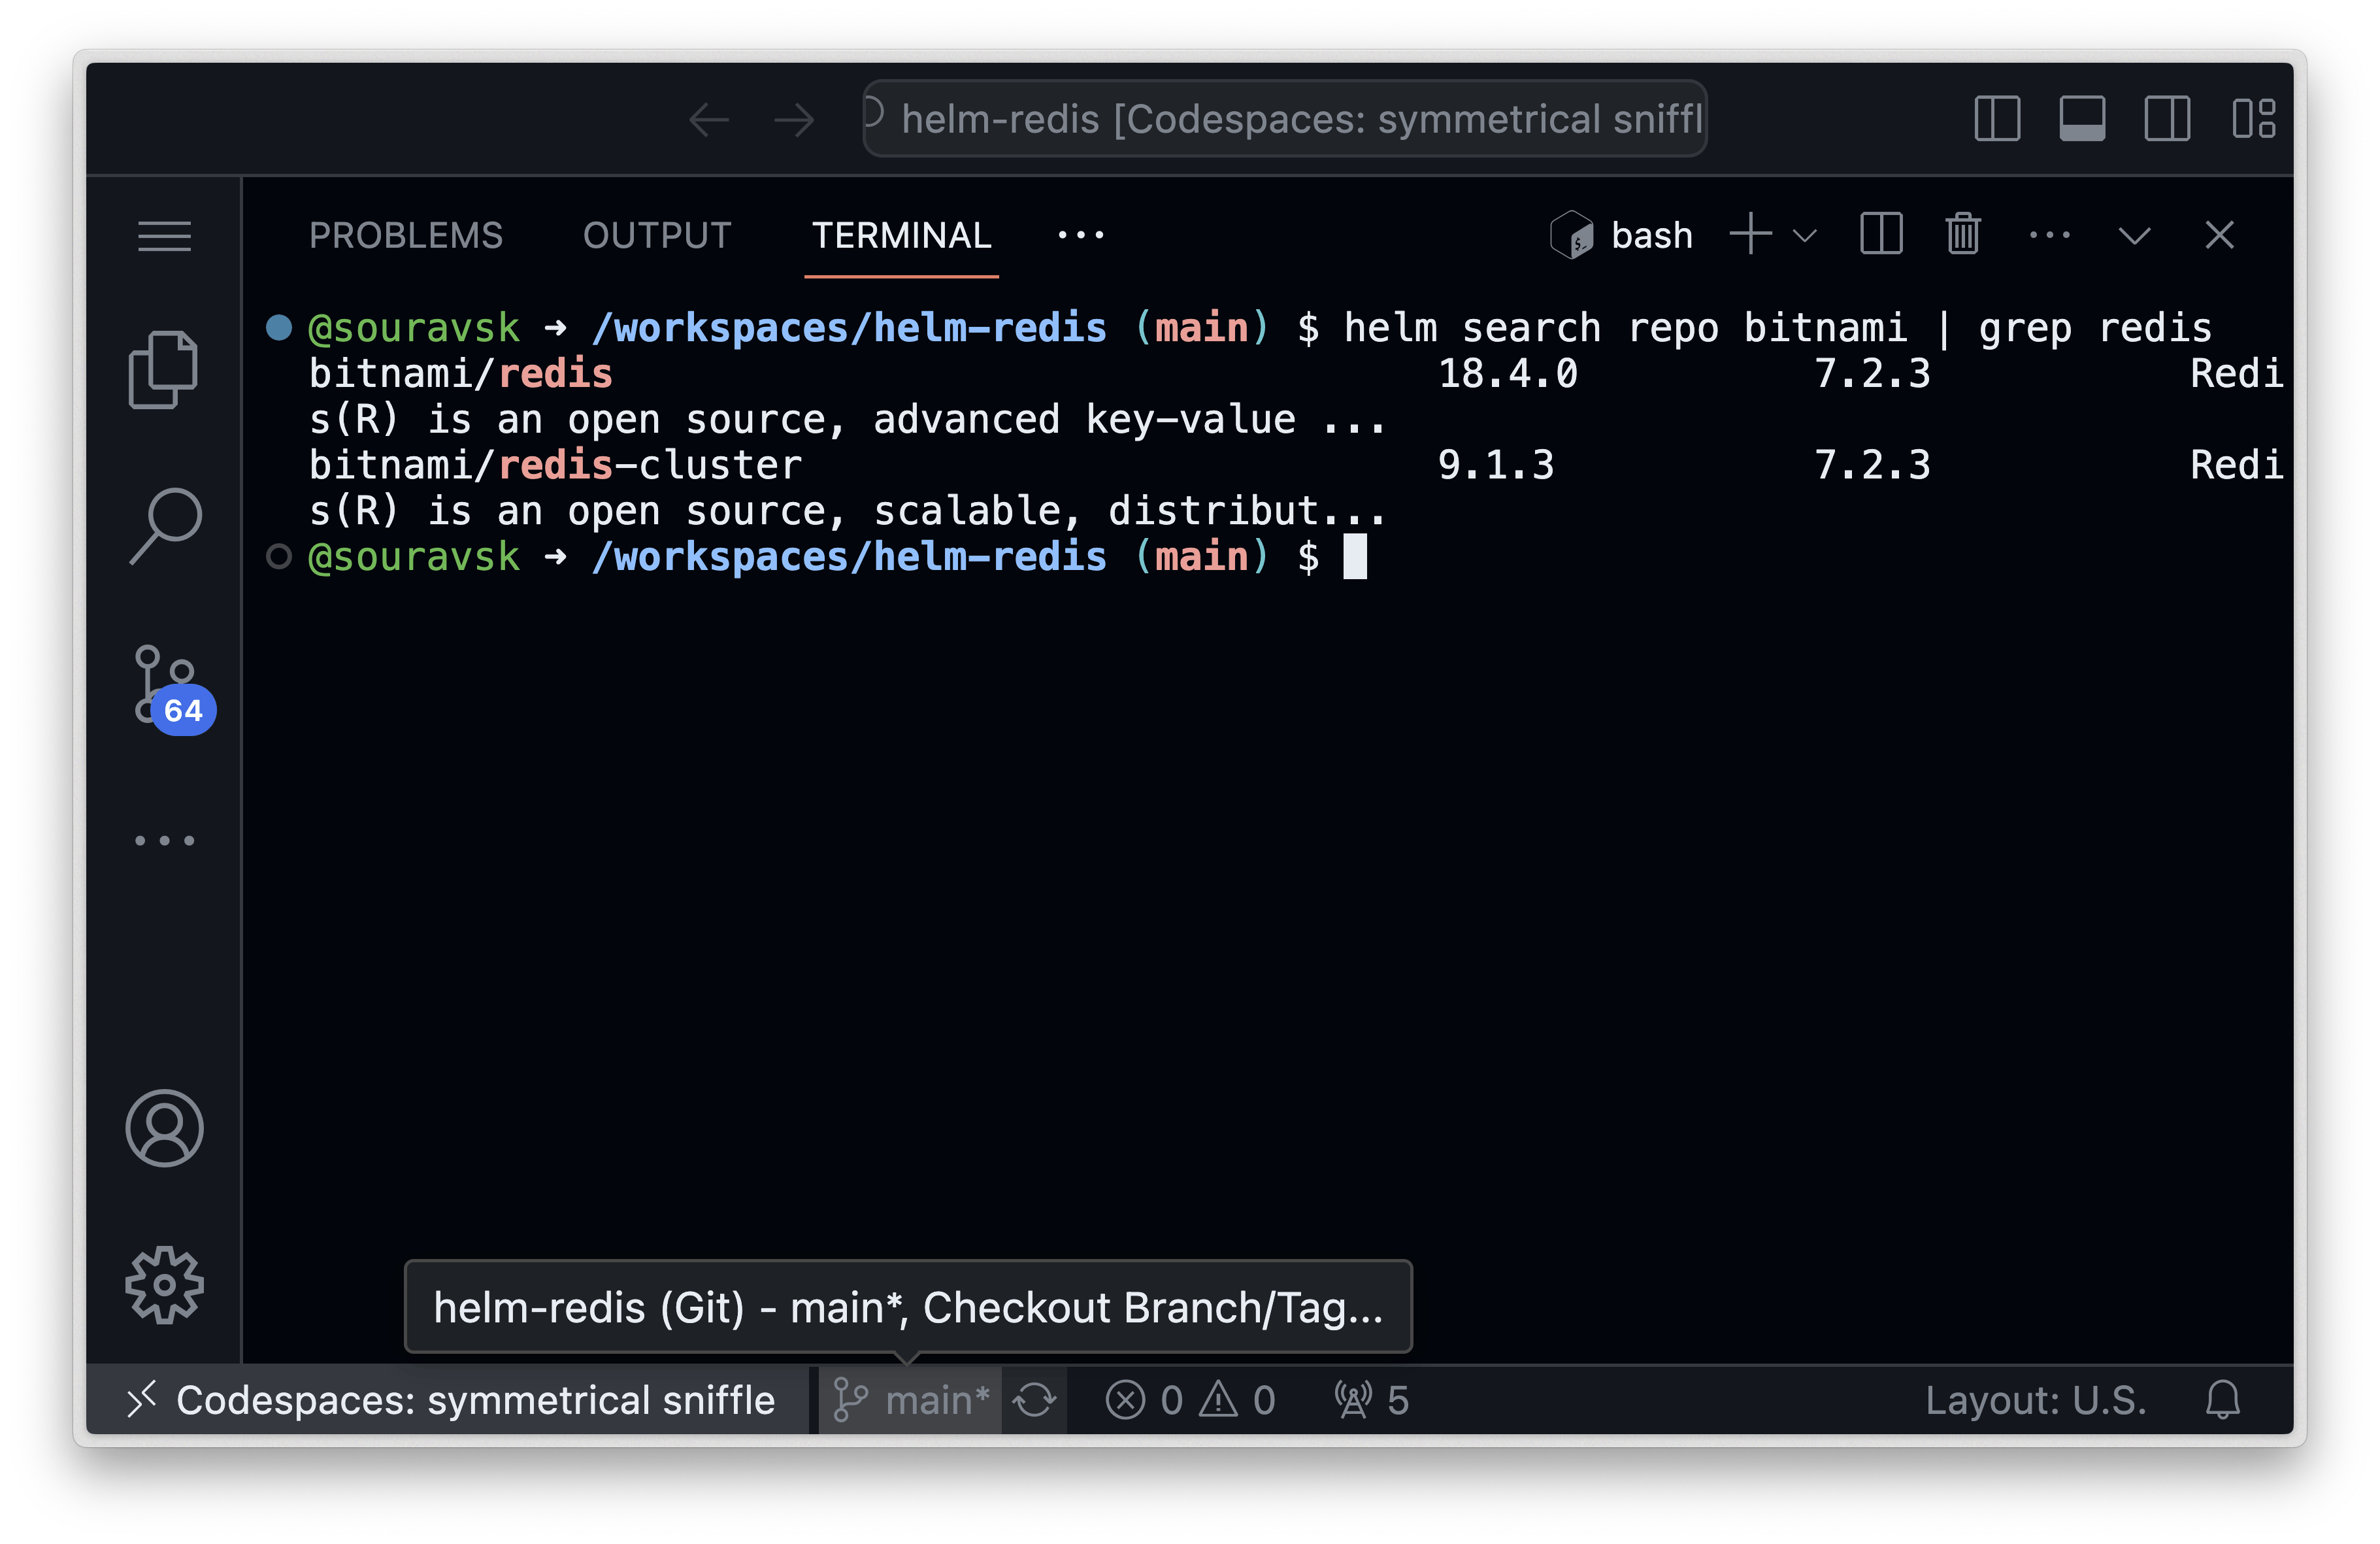
As you can see we have 2 Redis charts we are going to use the Redis chart as we are installing the Redis database.
Now we will pull the chart in our local system so that we can make changes in the redis yaml chart as per our/your requirements. We will use the command
helm pull bitnami/redis --untar
This command will pull the Redis charts in your system.
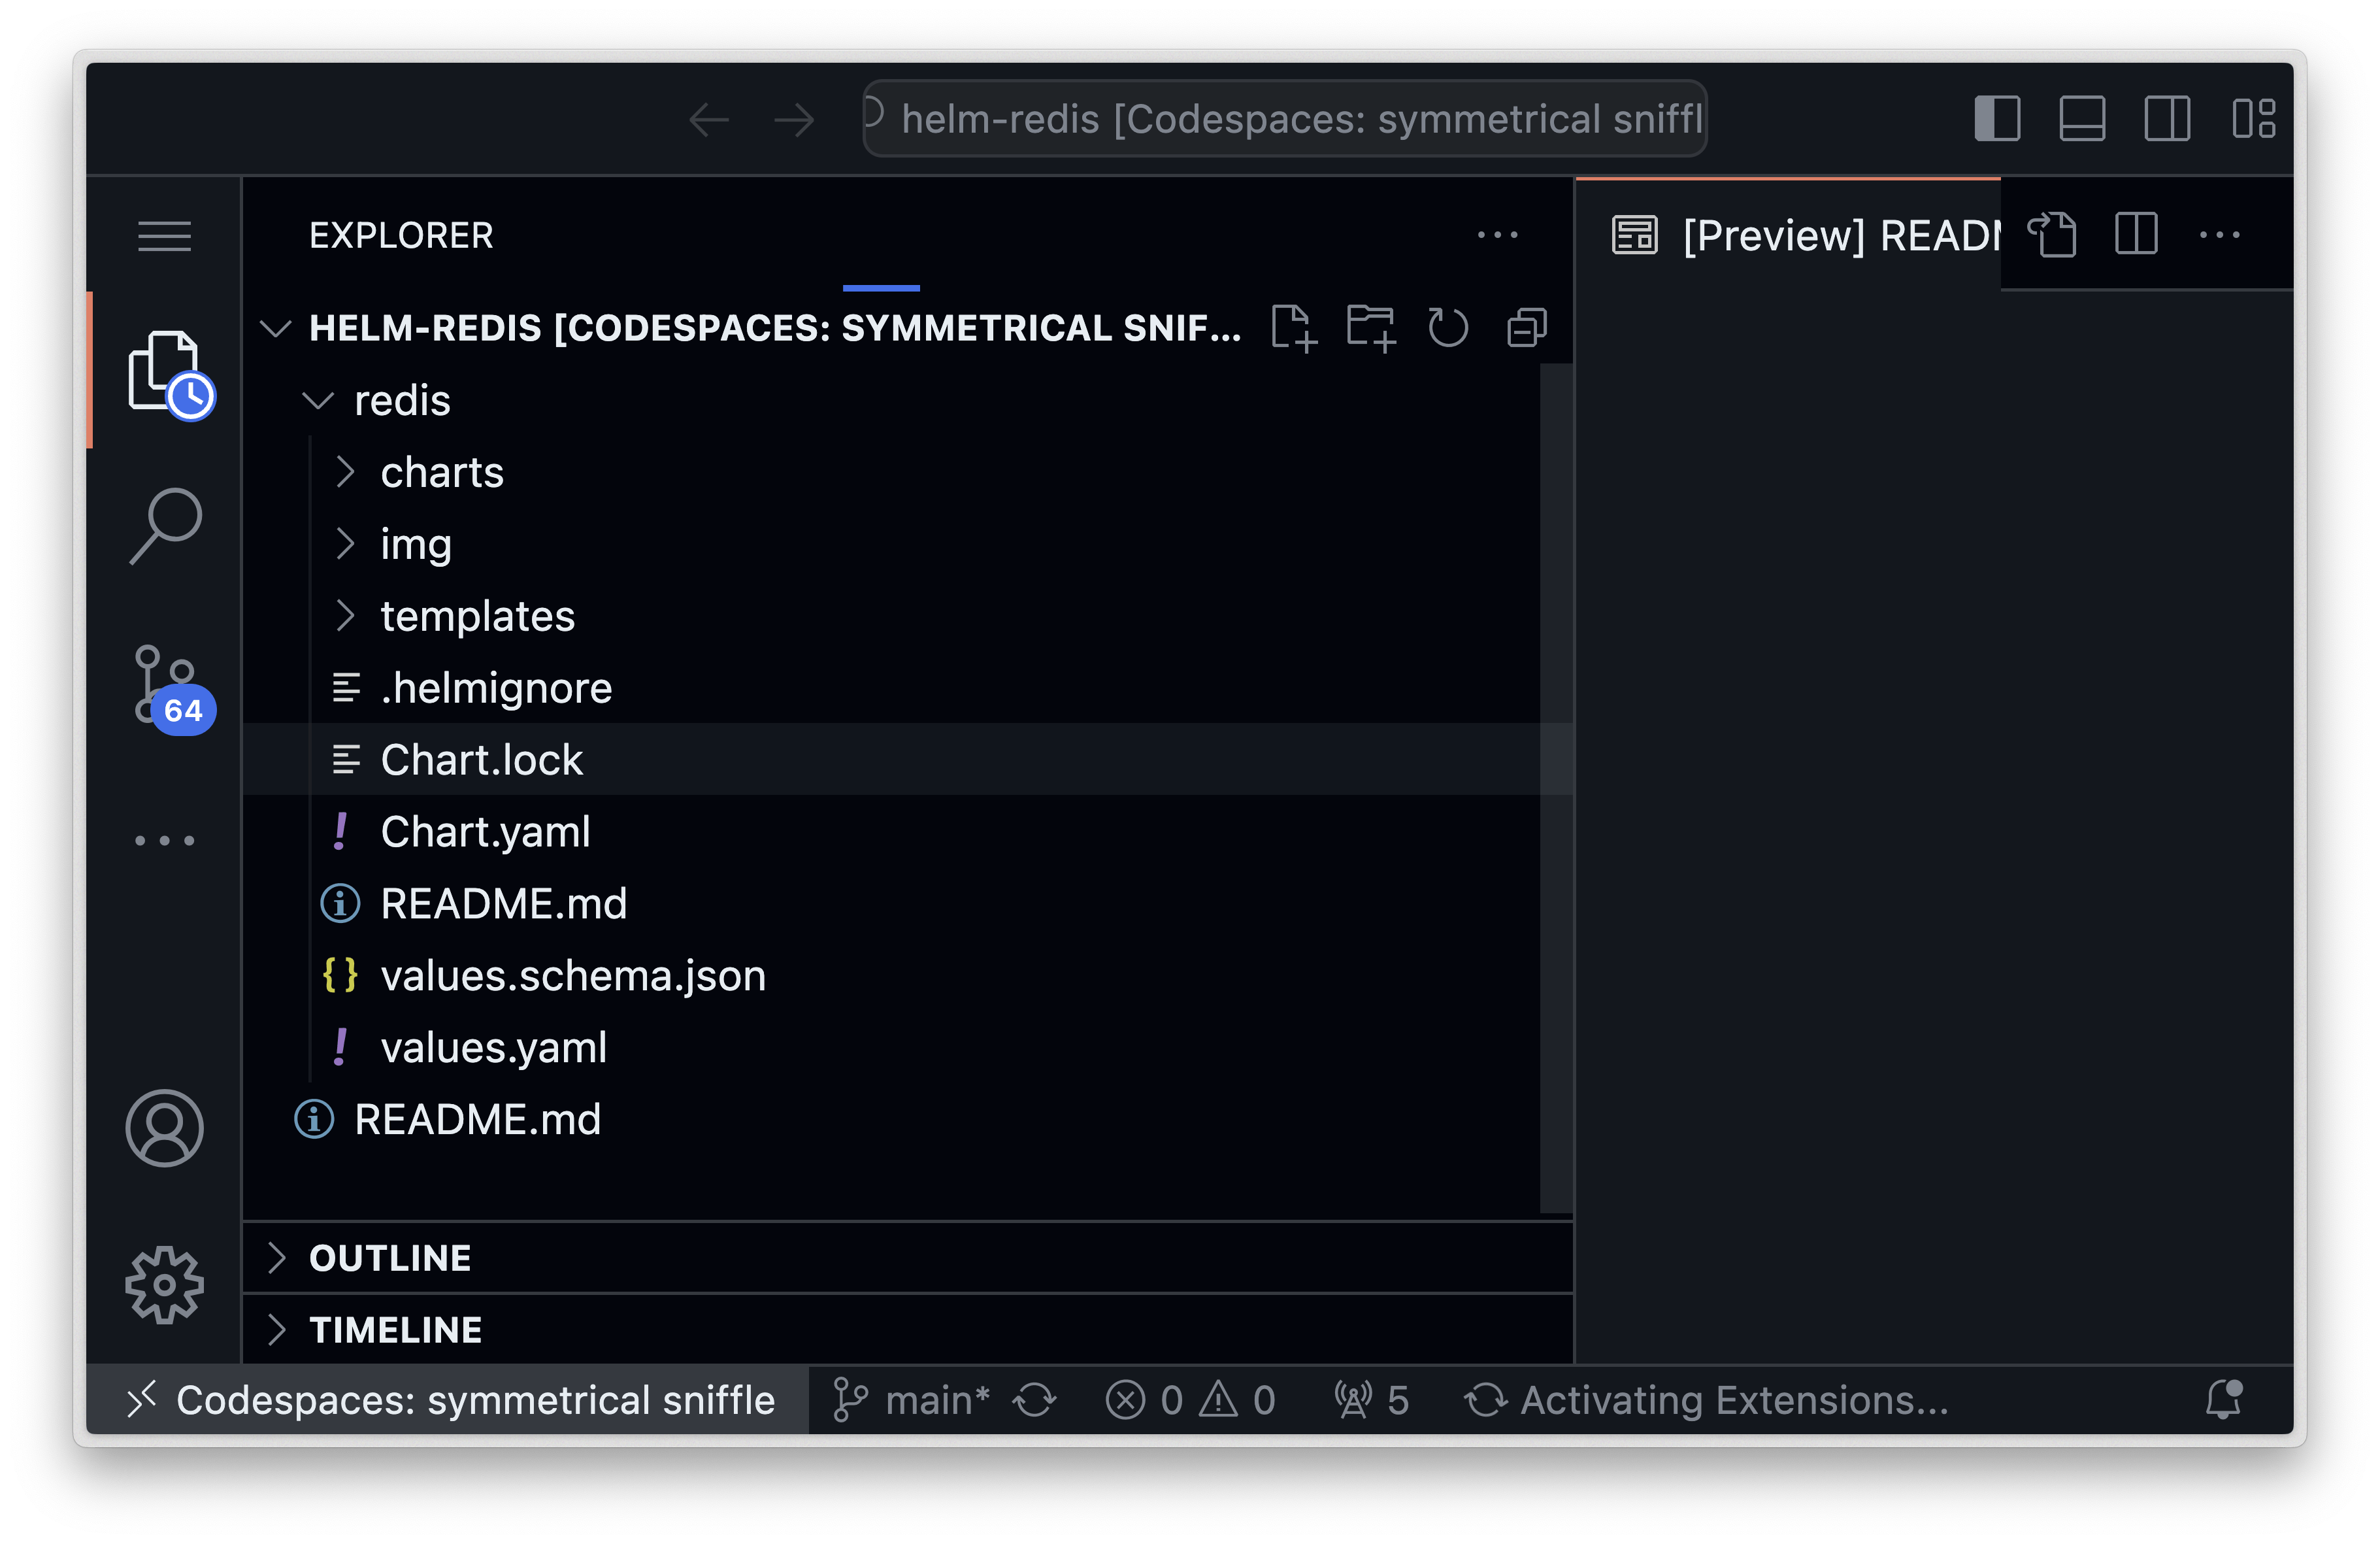
As you can see we have pulled the helm Redis charts now you can make changes to whatever you want as per your requirements.
I have made some changes to the values.yaml file. Like change changing the replicas.
After the change has been done we can install the helm chart with this command
helm intall <chart-name> <dir-name-of-redis-chart> -f <dir/values.yaml>

As you can see we have installed the Redis, it also shows how you can get the password.
Let's check all the deployments by using the command.
kubectl get all

As you can see all the deployments are running.
You can use this command to get the password
kubectl get secret --namespace default redis -o jsonpath="{.data.redis-password}" | base64 -d
Let's Install Redis (with PV)
Currently building a system of queues for batch processing, you need to deploy a high available redis set-up using an helm chart in a kubernetes cluster.
The challenge is the following:
Use a helm chart to deploy redis with 3 pods (1 master, 2 replicas) in the namespace fixtheops-redis with persistence disabled (No PVC should be used).
Install Redis
- Create the
fixtheops-redisnamespace:
kubectl create namespace fixtheops-redis
- Download the Redis Helm chart:
helm repo add bitnami https://charts.bitnami.com/bitnami
helm chart pull bitnami/redis
- Deploy Redis using Helm:
helm upgrade --install \
  redis \
  bitnami/redis \
  --namespace fixtheops-redis \
  --set service.type=LoadBalancer \
  --set replicas.enabled=true \
  --set replicas.replicaCount=3 \
  --set persistence.disabled=true
This command will deploy Redis with three pods (one master and two replicas), disable persistence (no PVC), and expose the Redis service as a LoadBalancer for external access.
THE END
That's All for today.